Painting pumpkins is one of my favorite ways to decorate for fall because it’s easy and mess-free compared to carving.
With just a few supplies, you can create bright, playful, or even spooky designs that last longer and work well indoors or outdoors.
I like that it’s fun for kids, relaxing for adults, and a simple way to bring seasonal charm into the home. You don’t need special skills – just some paint, brushes, and a little creativity.
In this blog, I’ll walk you through how I prep and paint pumpkins, plus share fresh ideas and tips to help keep them looking their best.
Let’s start with why painting pumpkins can be the better option.
Why Paint Pumpkins Instead of Carving?
Painting pumpkins is a fun alternative to carving. It’s safer, cleaner, and much easier for kids to enjoy. It also lasts longer. Since you don’t cut into them, they don’t rot or break down as quickly.
Another benefit is less mess. You don’t have to scoop out seeds or deal with sticky pumpkin guts, which makes cleanup simple.
Because they stay intact, painted pumpkins are great for both indoor and outdoor décor. They can brighten up your space for weeks without the smell or hassle of carving.
Step-by-Step Guide to Prep and Paint the Pumpkin
Preparing the pumpkin the right way makes the paint last longer and keeps your design looking sharp. These steps work for both real and foam pumpkins with a few small adjustments.
Materials and Tools Required
Before you start, collect these materials to keep your painting process smooth, enjoyable, and stressless.
- Acrylic paints: Quick-drying, strong coverage, and available in many colors
- Spray paint: Fast, even coating for larger pumpkins
- Washable paints: A safe option for kids’ projects
- Primer or base coat: Helps paint stick better, especially on foam pumpkins
- Sealer: Protects designs from chipping and fading
- Brushes and sponges: For smooth strokes and blending
- Stencils: Useful for patterns and sharp shapes
- Protective items: Newspaper, drop cloths, or gloves to keep your space clean
Step 1: Clean and Dry the Pumpkin
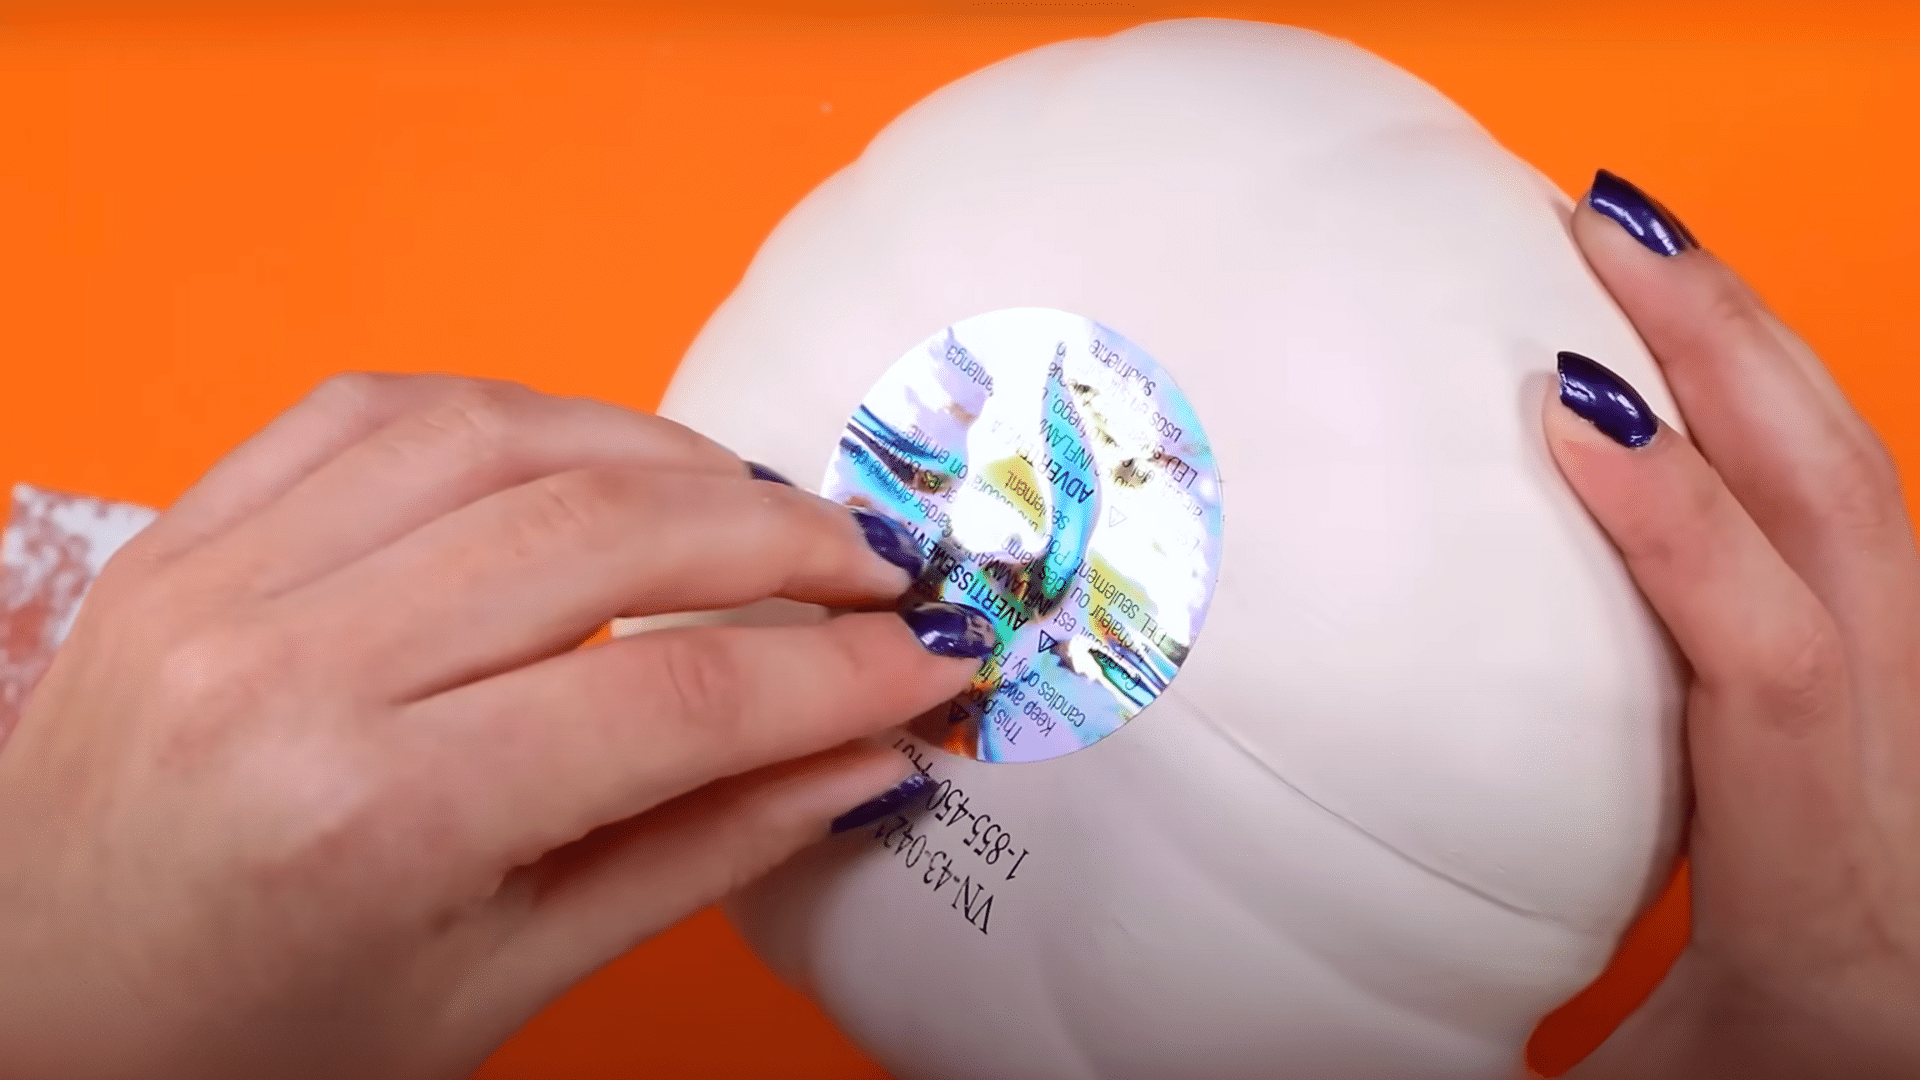
Start by wiping the pumpkin with a damp cloth to remove dirt, dust, or oils. For real pumpkins, make sure they are completely dry before painting to prevent mold.
If you’re using a foam pumpkin, a quick wipe-down helps remove factory residue that can make paint slip.
Step 2: Smooth the Surface (Sanding)
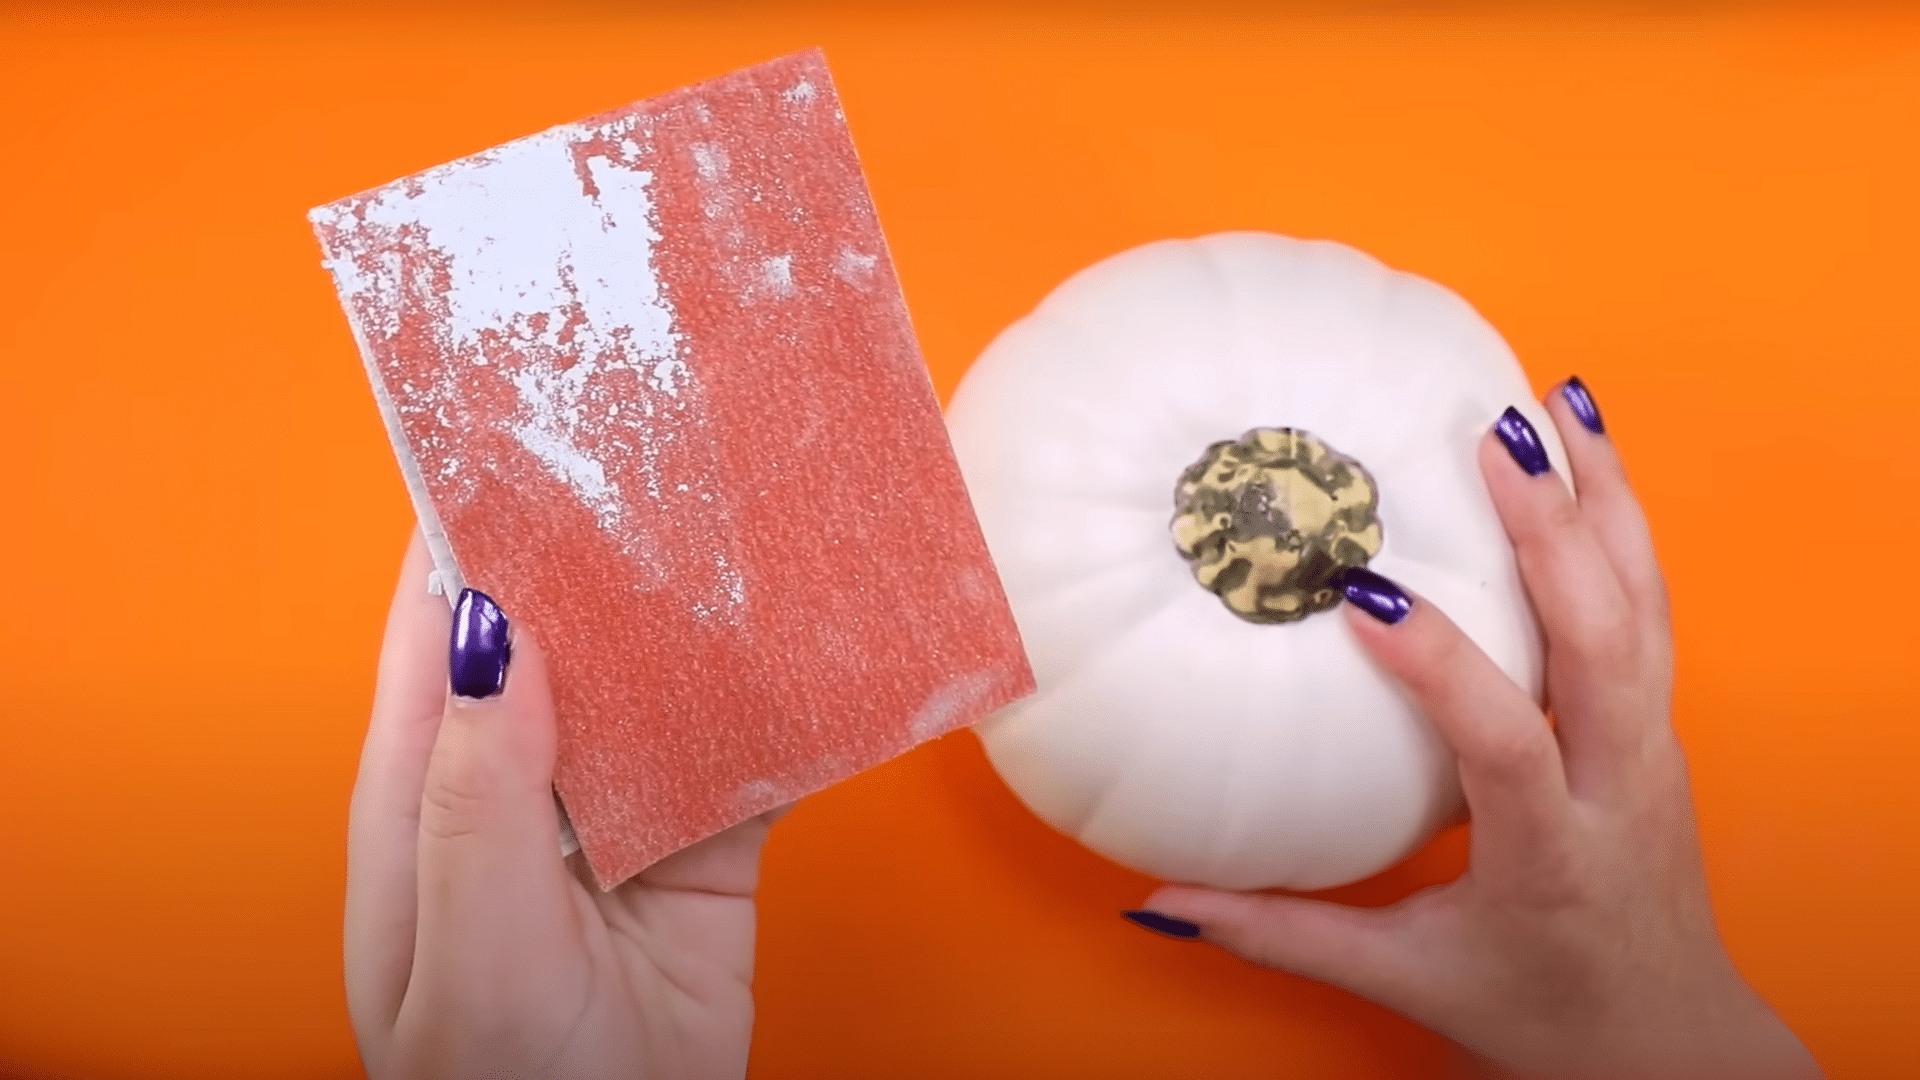
Some craft pumpkins have a slick, shiny coating. Lightly sand the surface with fine-grit sandpaper to give the paint something to grip.
Real pumpkins usually don’t need sanding, but you can still do a quick pass to knock off any rough spots.
Step 3: Prime or Base Coat

Applying a primer or base coat helps paint adhere evenly and reduces streaks. Gesso works well on foam, while a thin coat of acrylic sealer is best for real pumpkins.
If you’re short on time, you can skip this step, but keep in mind the finish may not last as long.
Step 4: Plan the Design
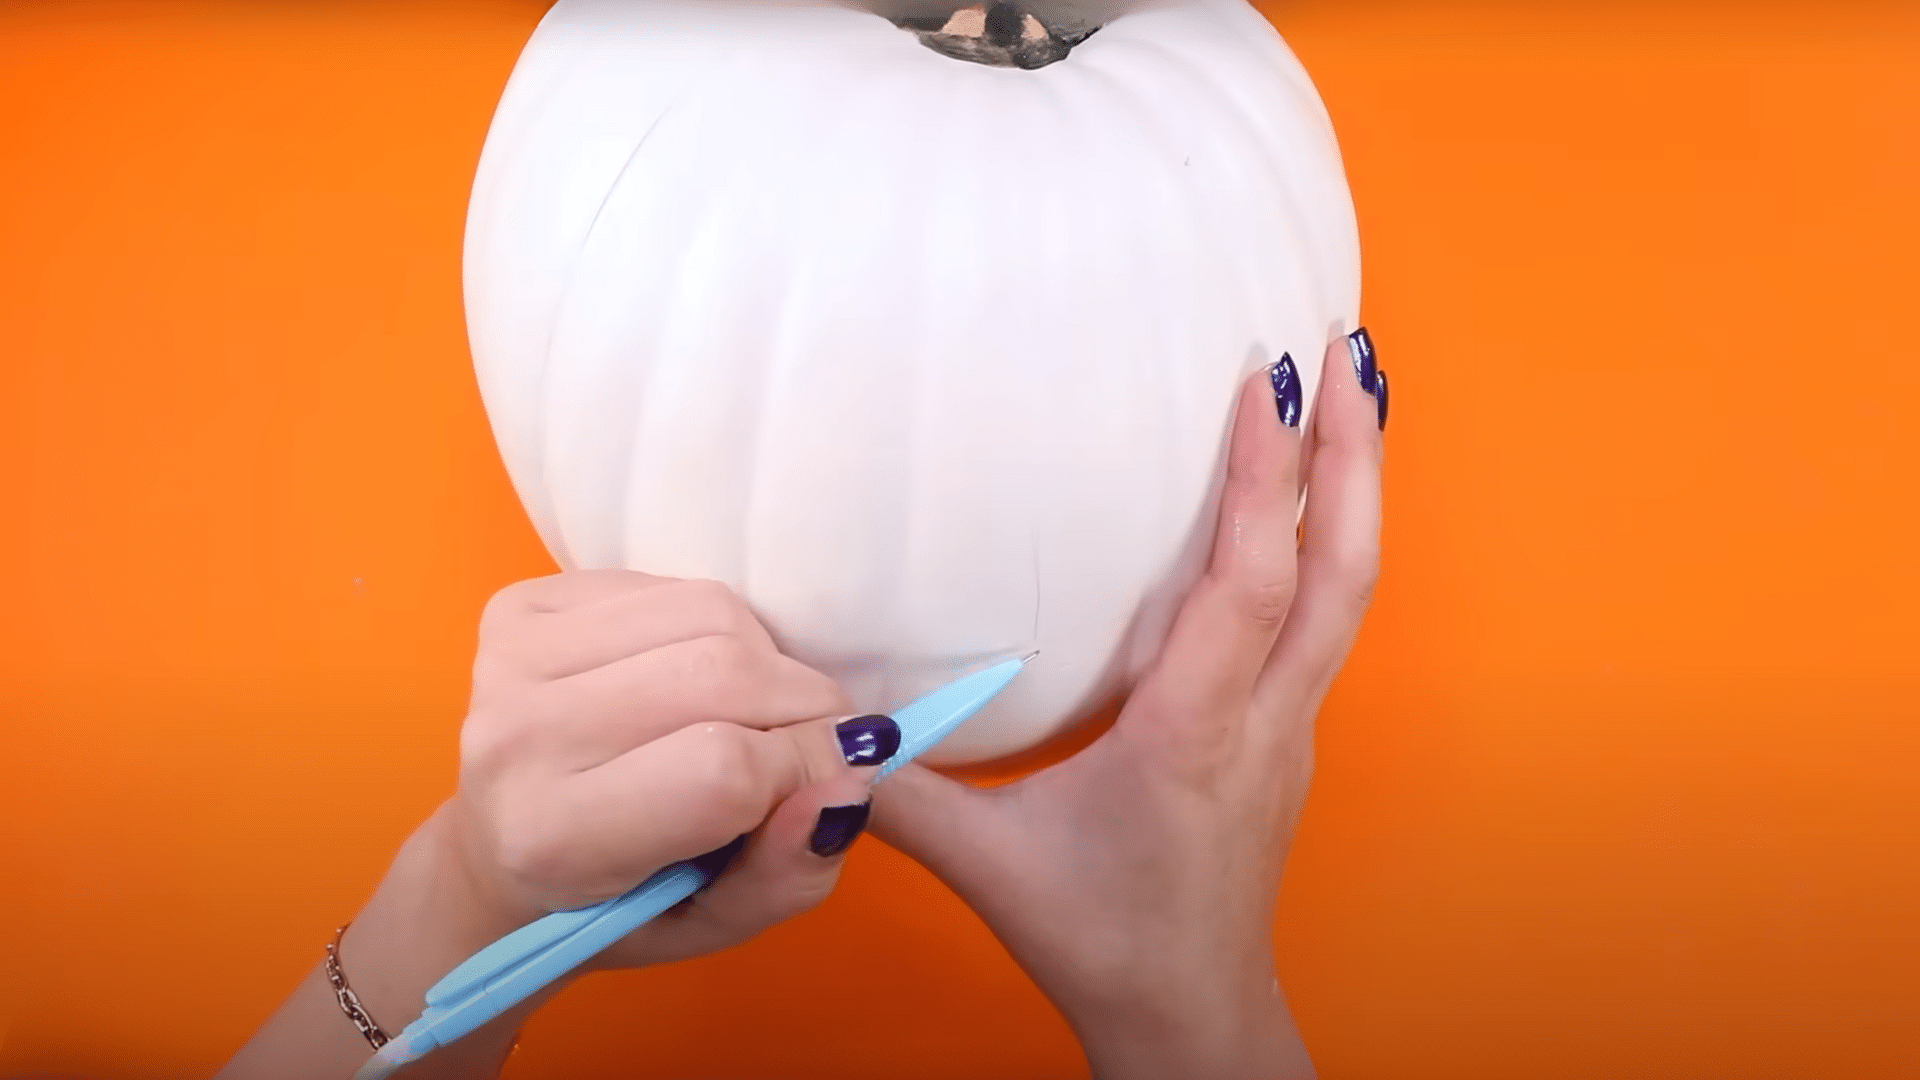
Before picking up a brush, sketch your design lightly with pencil or chalk. If you want to add features like ears, horns, or shapes, mold them from air-dry clay and attach them now.
Let clay details dry fully, usually 24 hours, before painting. Taking time with this step helps your pumpkin design look more polished and last longer.
Step 5: Paint in Layers
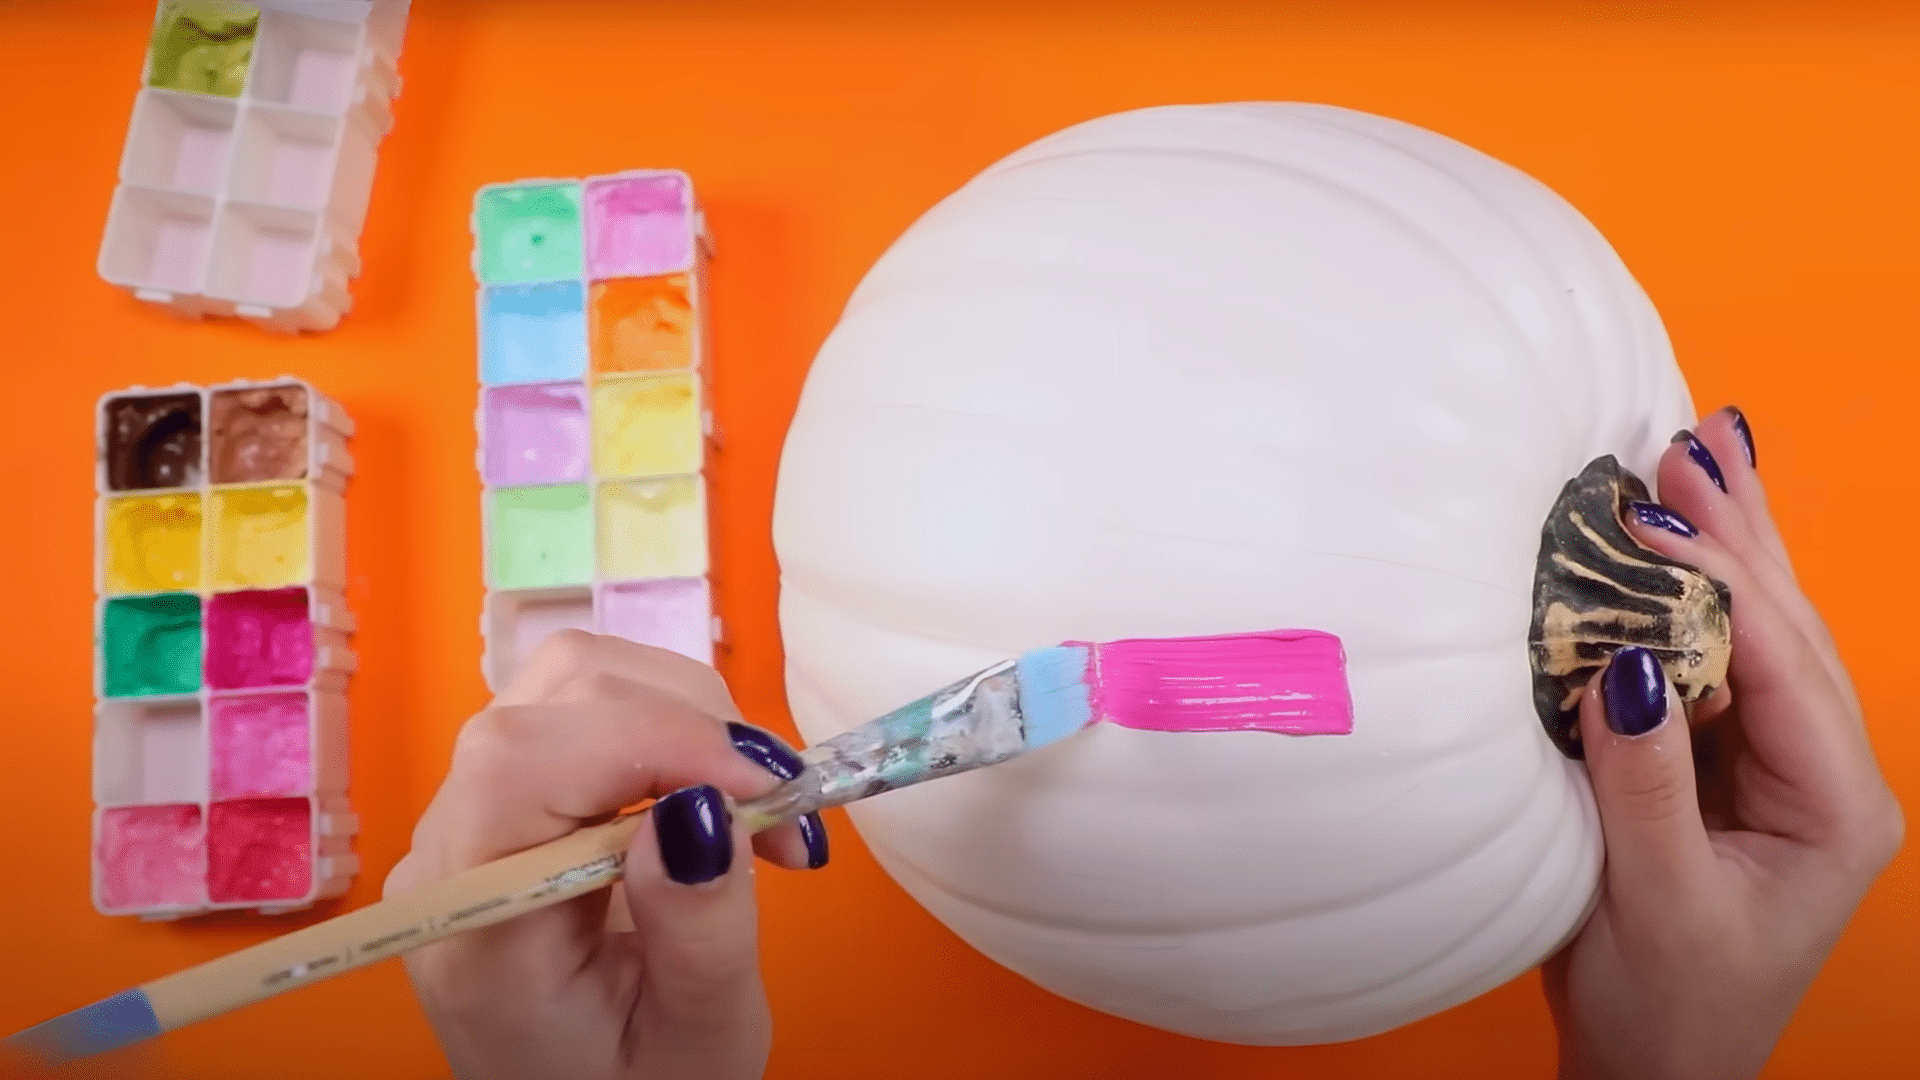
Use acrylic paint for the best results. Work in thin coats, painting one section at a time and letting it dry before moving on. This prevents smudges and helps create smooth coverage.
Two to three coats are often enough for a solid color. For kids, washable paint works too, though the finish won’t last as long.
Step 6: Add Details and Patterns
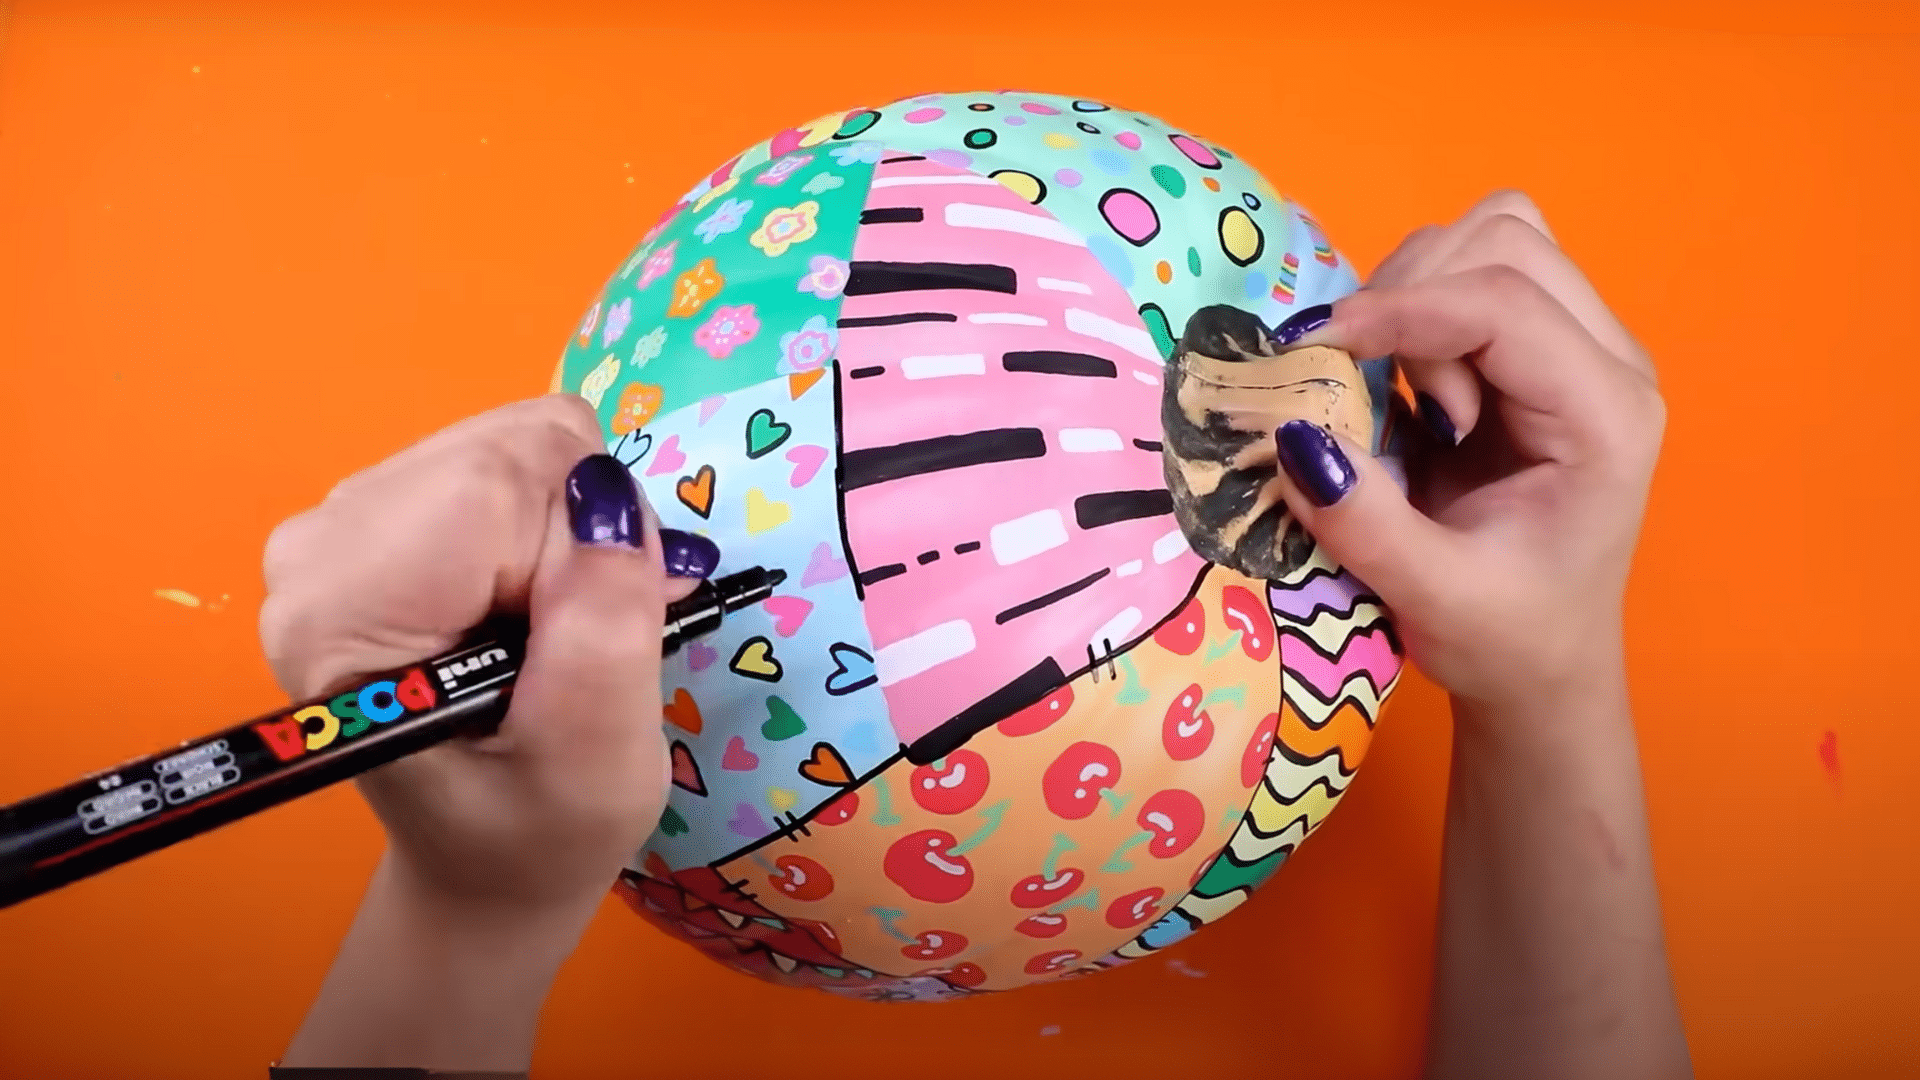
Once the base layer is dry, decorate your pumpkin with faces, stripes, dots, or any pattern you like. Paint pens or Posca markers are great for fine details.
You can also use stencils for sharp lines or try sponges for mixing effects. Mixing bright and dark colors adds depth and makes designs stand out.
Step 7: Seal and Protect Your Pumpkin
The last step is sealing your work. A clear spray sealer or brush-on topcoat locks in the paint and protects against chipping.
Choose matte for a soft look or gloss for shine. If the pumpkin will be outside, use a UV-protective sealer to keep colors from fading. For foam pumpkins, sealing also helps them last year after year.
Painting pumpkins is simple if you take your time. With the right prep and a little patience, you’ll have a colorful design that stays looking fresh through the season.
For a more detailed walkthrough of the process, check out the full video tutorial by @MoriahElizabeth below:
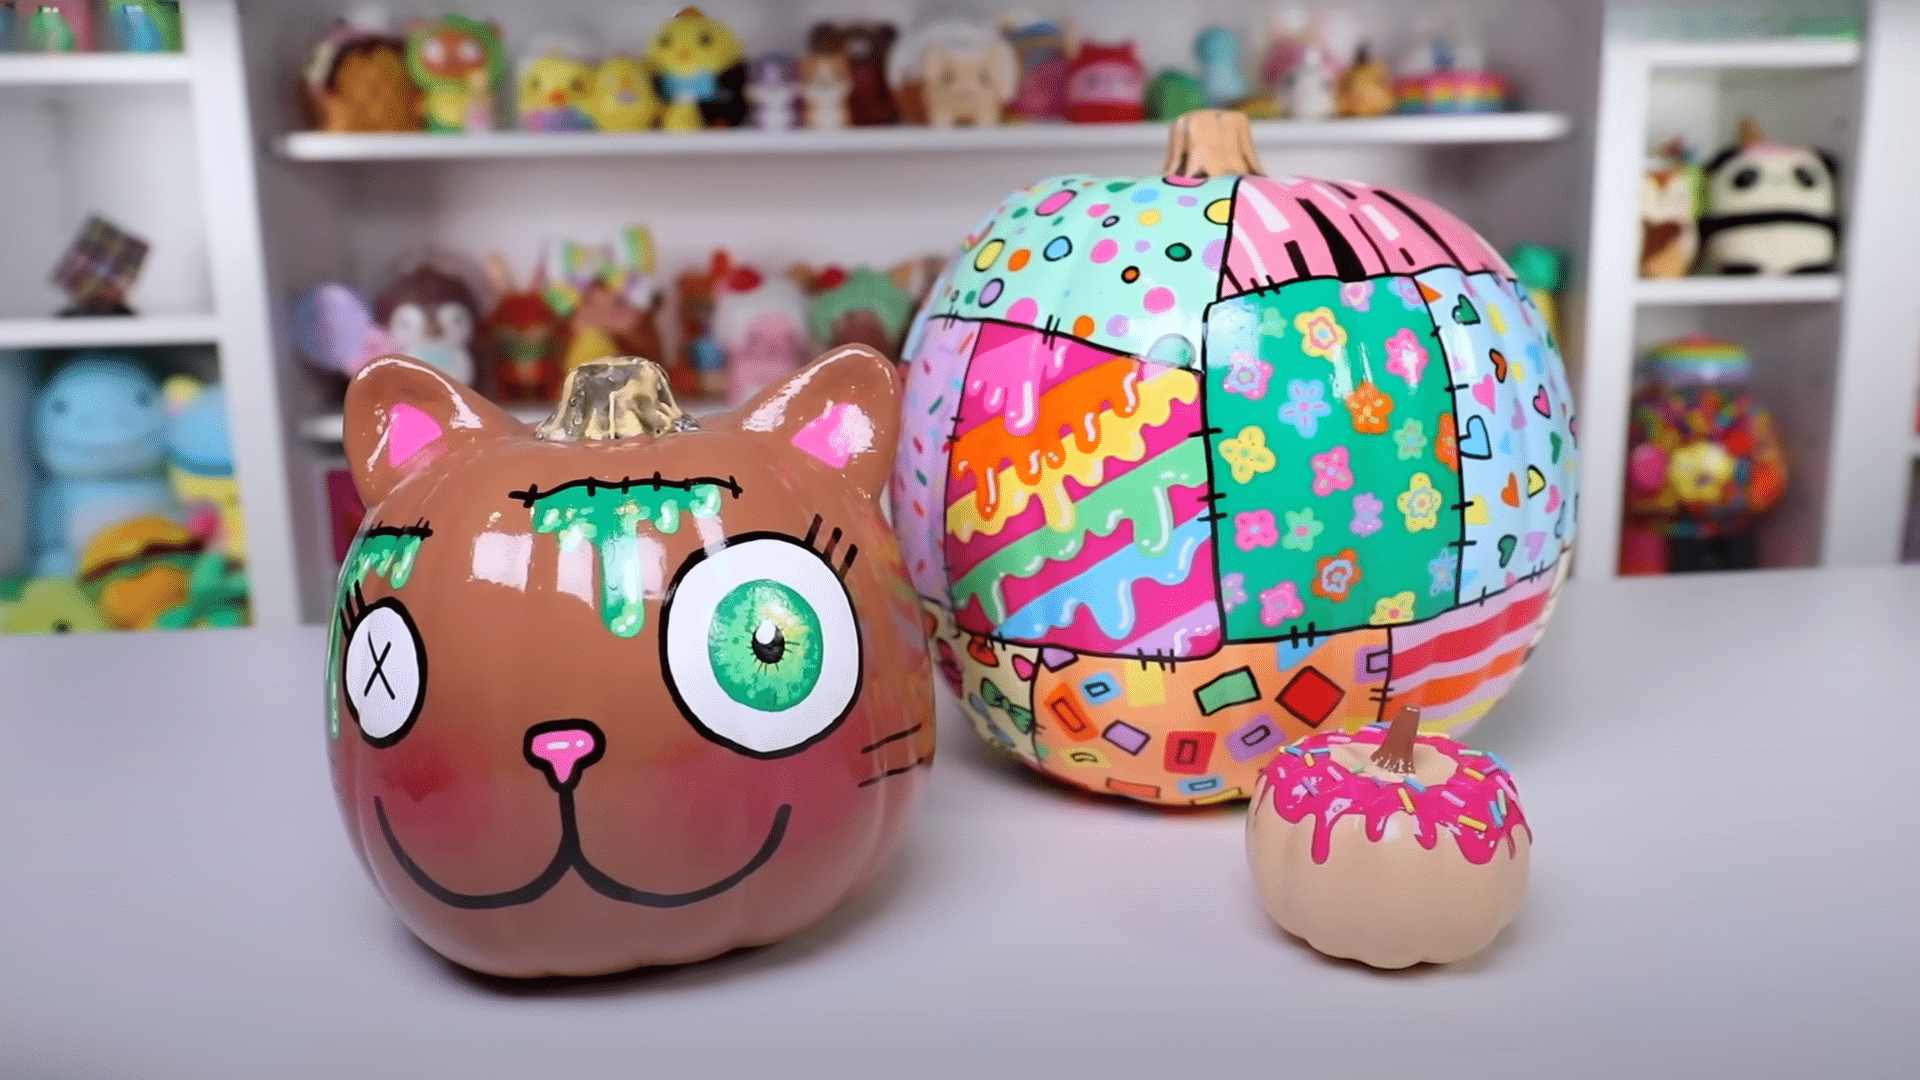
Creative Pumpkin Art Ideas
Painting pumpkins is flexible and fun. You can keep it simple or turn them into bold seasonal decor.
1. Simple for Beginners
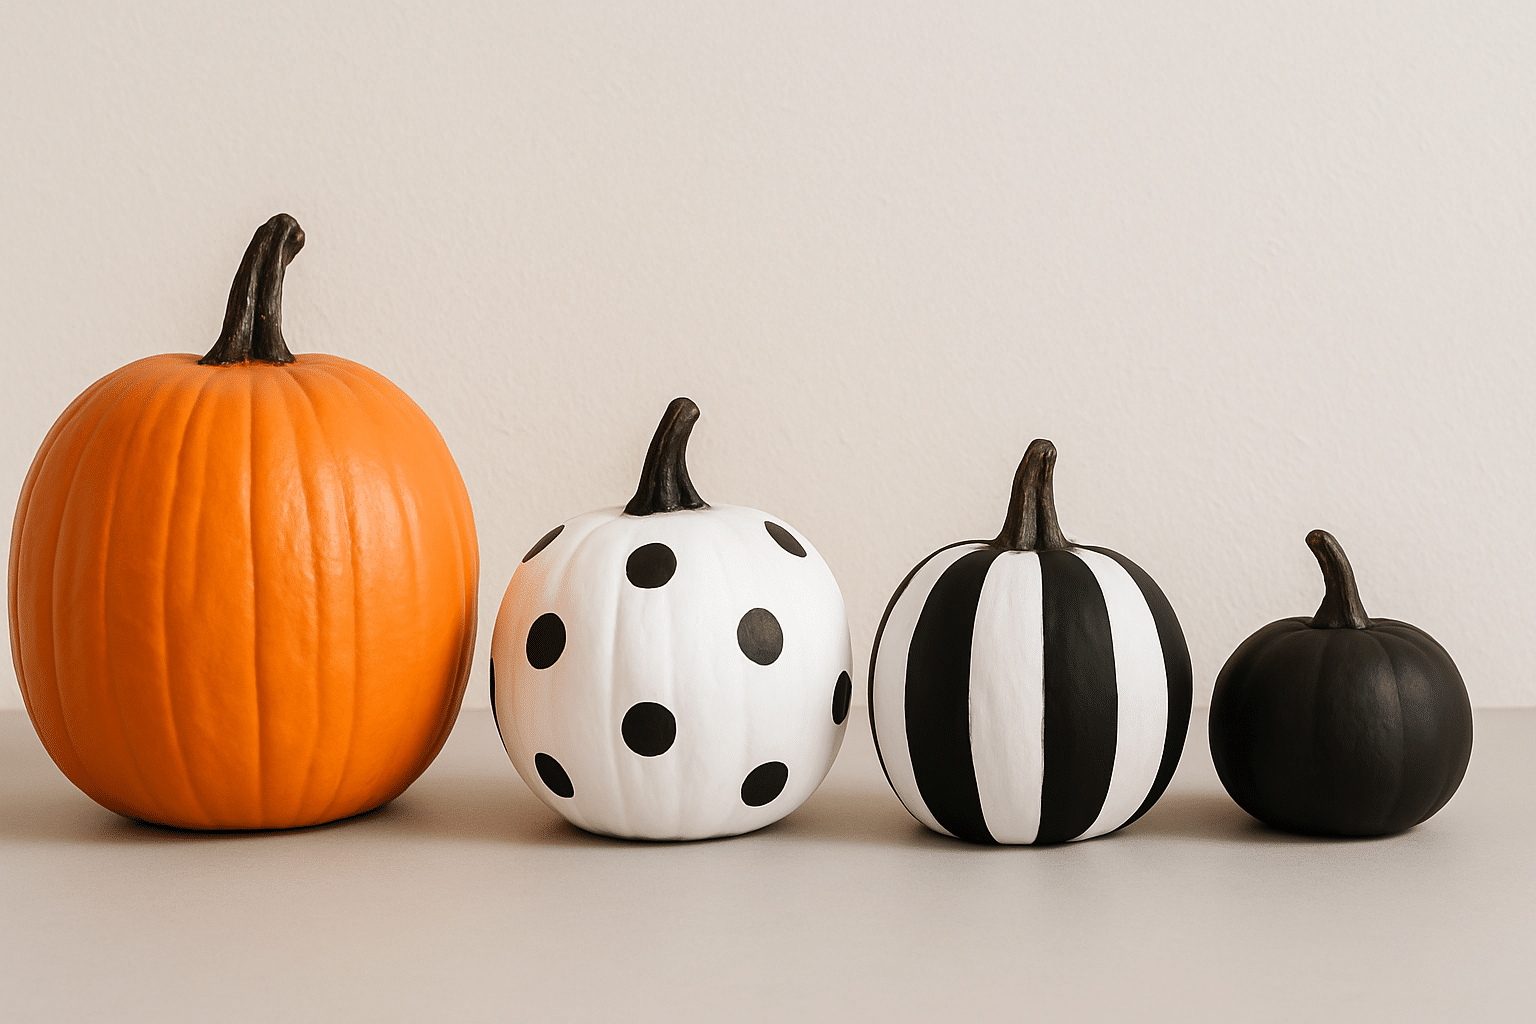
- Solid colors: Paint the whole pumpkin in one shade like orange, black, or white. This creates a clean, modern look that works indoors or outdoors.
- Polka dots: Dip the end of a brush or sponge into paint and dab dots all over. You can keep them even or mix sizes for a playful style.
- Stripes: Use painter’s tape to block off sections and paint stripes around the pumpkin. Vertical stripes look tall and sleek, while horizontal ones feel bold.
2. Kid-Friendly
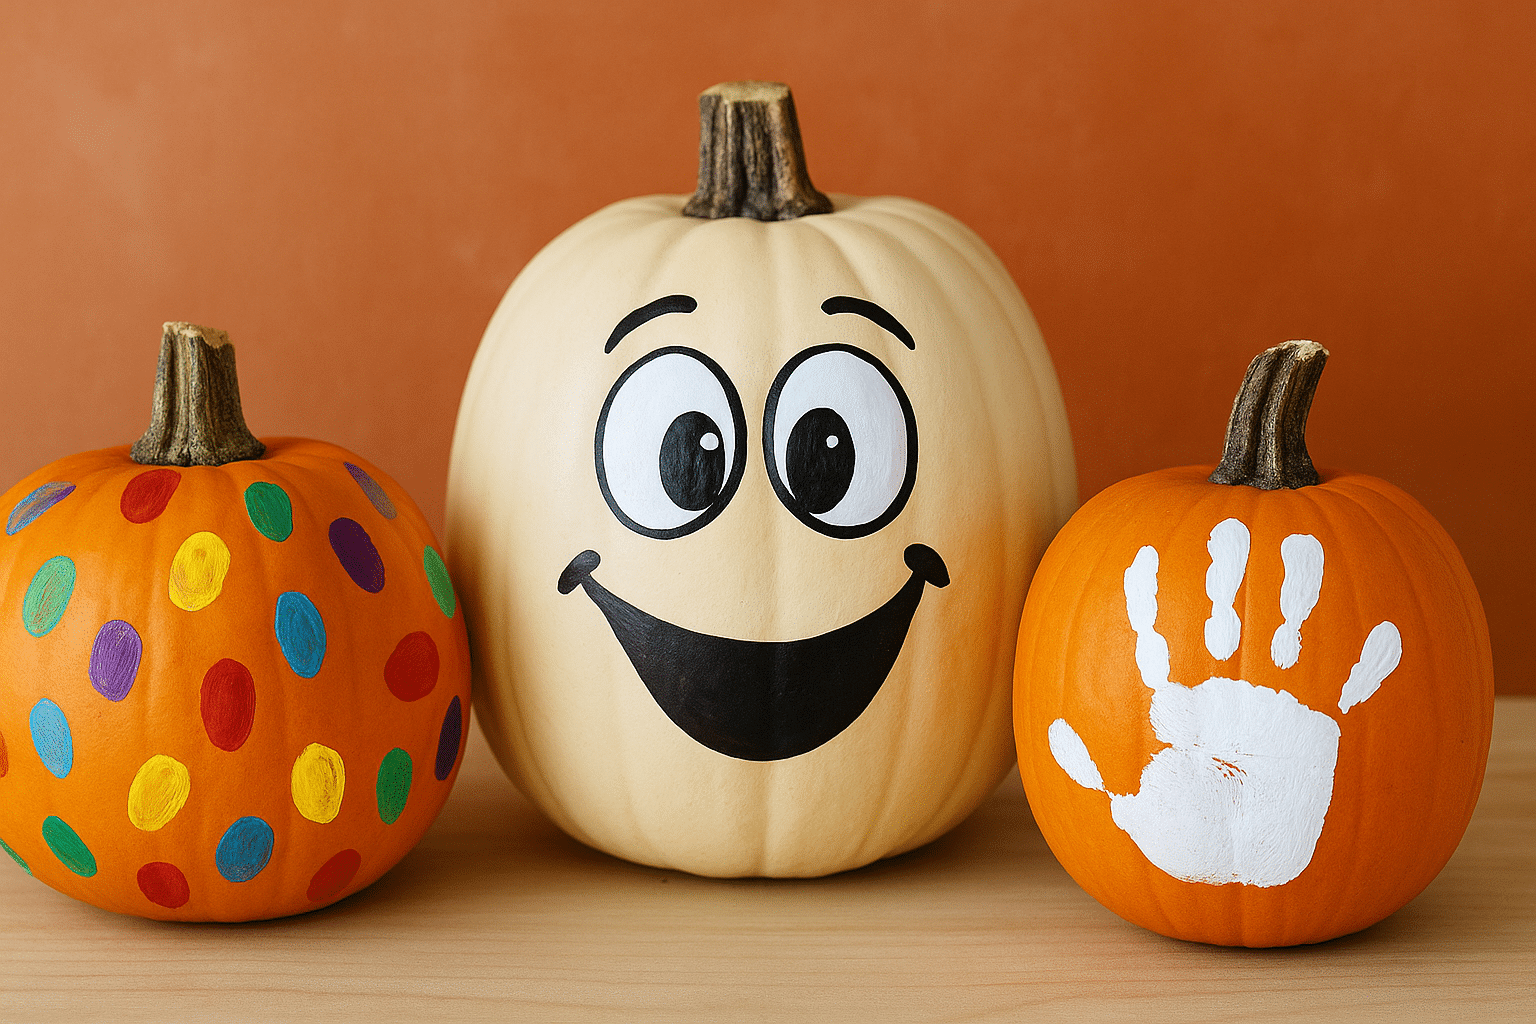
- Fingerprint art: Have kids dip their fingers in paint and press them on the pumpkin. Add details with a marker to turn prints into bugs, animals, or tiny characters.
- Cartoon faces: Big eyes, wide smiles, and silly expressions are easy for kids to paint. Use bold colors so the faces stand out.
- Handprints: Let kids press painted hands on the pumpkin to make a keepsake. This works well with bright, washable paint that’s easy to clean up.
3. Halloween-Inspired
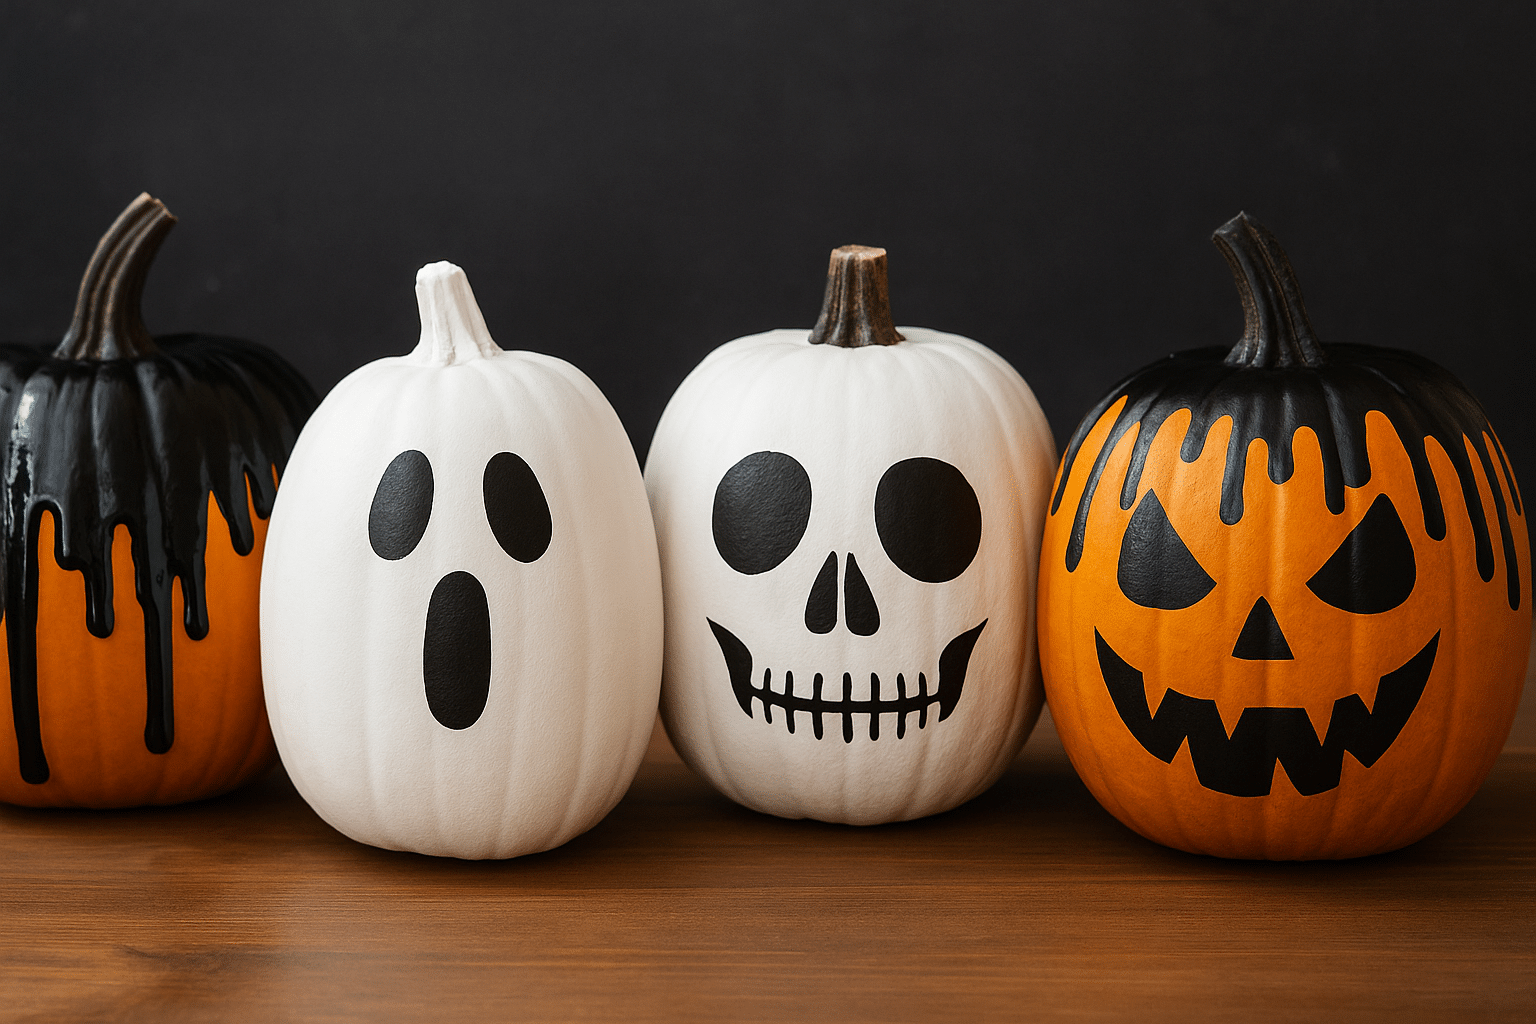
- Ghosts: Paint small ghost shapes in white on a dark base. Add eyes and mouths for a simple, spooky design.
- Skulls: Outline skull faces in black and fill with white paint. You can add teeth or shading for extra detail.
- Spooky drips: Use thin paint or puffy paint to create drip lines. Red looks like blood, green looks like slime, and black adds a creepy vibe.
4. Trendy Styles
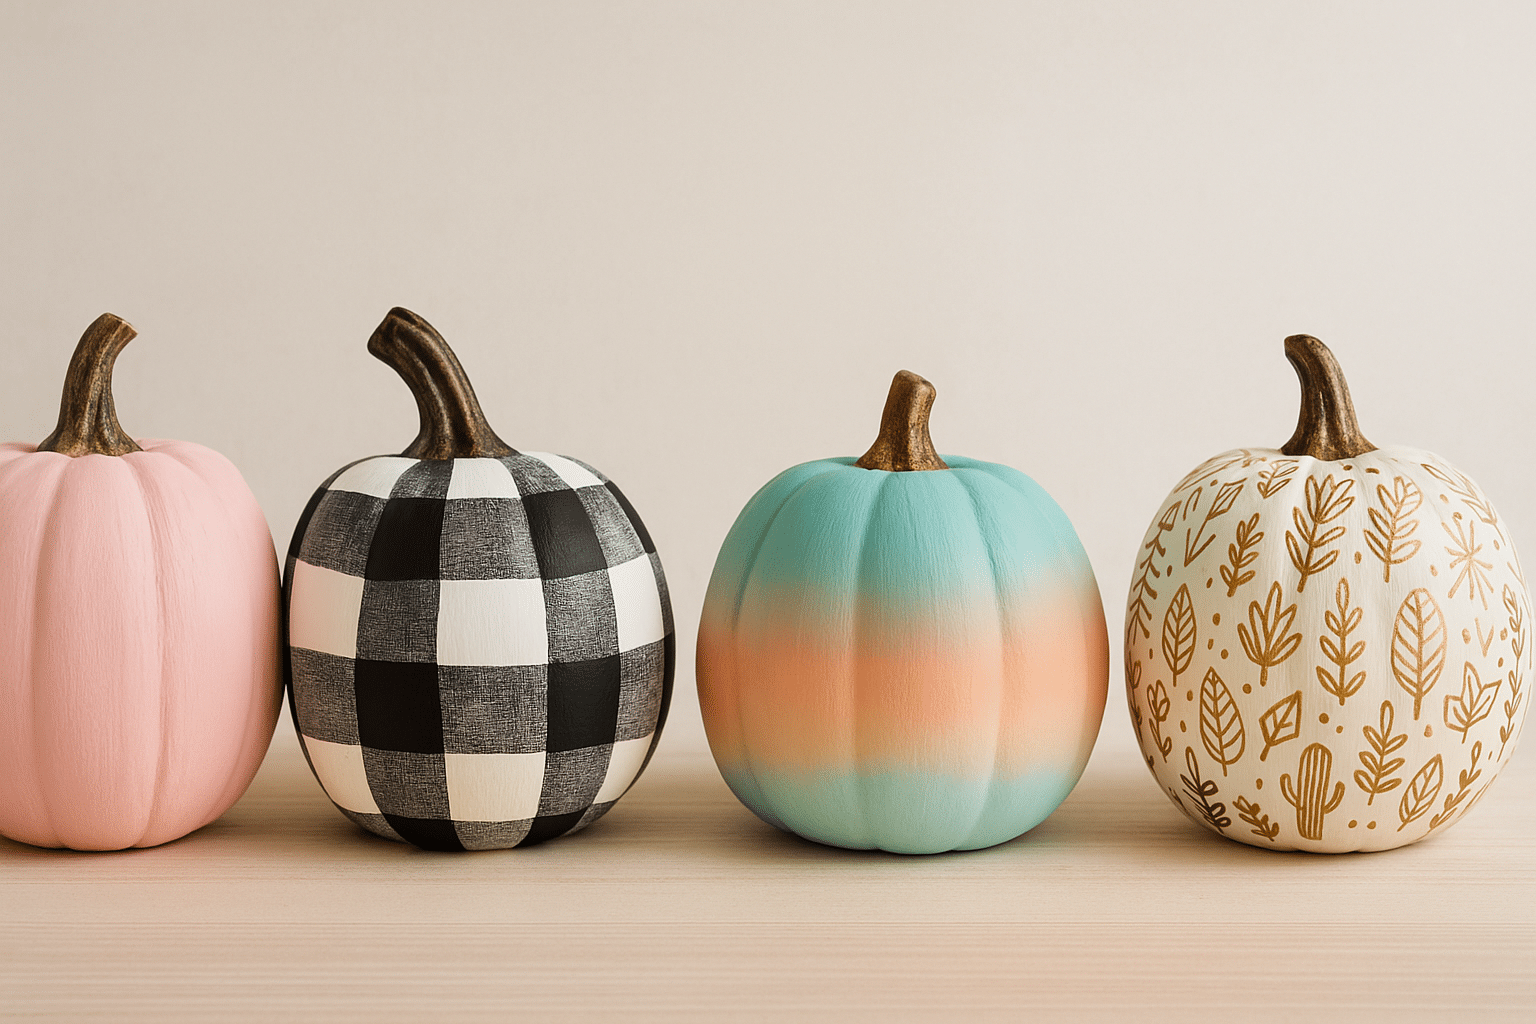
- Pastel pumpkins: Paint in soft shades like pink, mint, or lavender. These colors bring a modern, gentle look that’s great for indoor decor.
- Buffalo check: Use black and white paint to create a farmhouse-style plaid. This pattern works well with rustic or cozy spaces.
- Ombre Mix: Fade two or three colors together by mixing while wet. It looks eye-catching and works in bold or subtle tones.
- Boho doodles: Add freehand designs like arrows, stars, leaves, or swirls. Metallic paints or markers make these patterns pop.
5. Fall Decor Looks
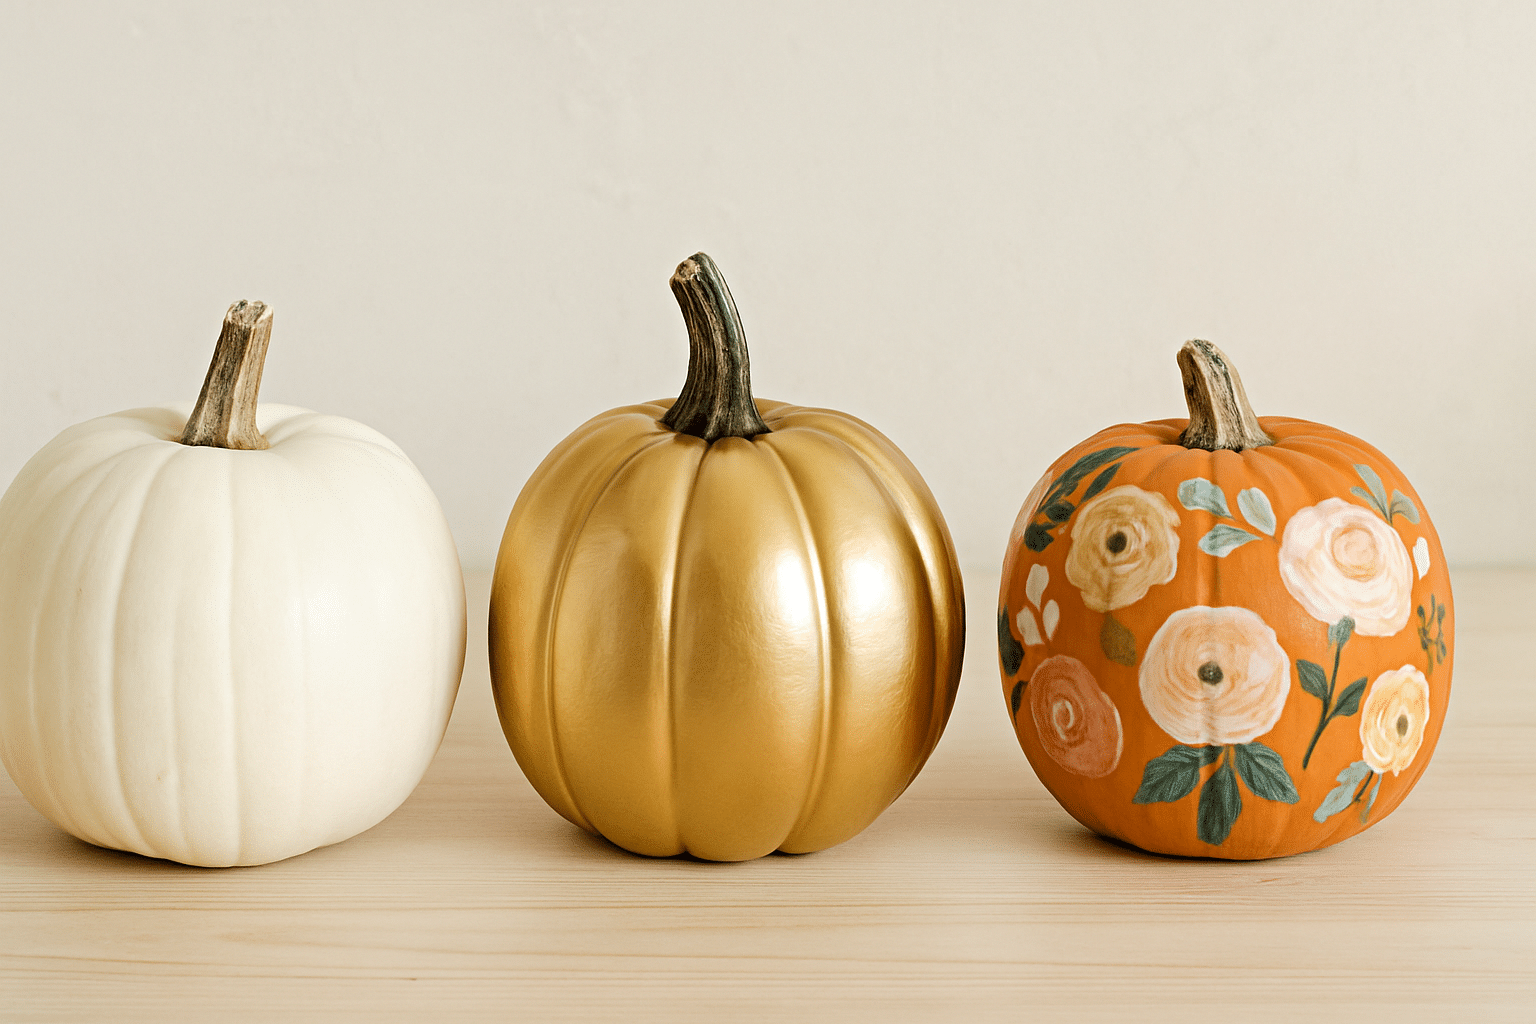
- Farmhouse white: Cover the pumpkin in creamy white and leave the stem natural. This gives a classic, rustic style that fits any fall display.
- Metallic pumpkins: Use gold, copper, or silver paint for a shiny finish. Metallic pumpkins stand out on tables and mantels.
- Floral accents: Paint simple flowers, vines, or leaves on the pumpkin. This adds a soft, decorative touch that pairs well with other fall décor.
Painting pumpkins lets you match them to any theme: playful, spooky, stylish, or seasonal. Choose the designs that fit your space and enjoy a custom fall look.
Real vs. Fake Pumpkins
You can paint both real and fake pumpkins. Each has its own pros and cons, so the best choice depends on how you plan to use them.
| Feature | Real Pumpkins | Fake Pumpkins (Foam/Plastic) |
|---|---|---|
| Cost | Usually cheaper, especially in season | Higher upfront cost |
| Availability | Widely sold in the fall at grocery stores, farms | Found at craft stores or online |
| Durability | Rot within 1–2 weeks after painting | Last for years when stored properly |
| Prep Needed | Must be cleaned and dried; may rot inside | Sometimes need sanding or priming |
| Painting Surface | Natural, textured surface | Smooth, consistent surface |
| Weight | Heavy, especially large pumpkins | Lightweight and easy to move |
| Best Use | Seasonal, short-term displays | Long-term décor, reusable each year |
Fake pumpkins are a smart choice if you want decorations that last. Once painted, they can be stored and reused year after year. They’re lightweight, don’t rot, and are perfect for both indoor and outdoor displays.
How to Make Painted Pumpkins Last
A little care will keep your painted pumpkins looking fresh and colorful for longer. Here are some tips:
- Keep painted pumpkins indoors on a dry surface and away from direct sunlight.
- Use a clear sealer with UV protection if displaying pumpkins outdoors.
- Place outdoor pumpkins under a porch or covered spot to shield them from rain.
- Wipe fake pumpkins clean, let them dry, and wrap them in tissue or bubble wrap before storing.
- Store fake pumpkins in a cool, dry place inside a sturdy box.
- Reapply sealer on real pumpkins every 7–10 days if they are outside.
- Apply one coat of sealer on fake pumpkins and only reapply if the finish looks dull or scratched.
By sealing, storing, and protecting them properly, your painted pumpkins will stay in great shape.
Conclusion
Painting pumpkins is one of the easiest and most enjoyable ways to decorate for fall. Unlike carving, it’s safe for kids, creates less mess, and allows your pumpkins to last longer.
With a little prep, the right paints, and a protective sealer, you can design pumpkins that stay bright and fresh throughout the season.
Real pumpkins bring a natural, seasonal feel, while fake pumpkins are perfect if you want pieces you can reuse year after year.
The creative options are endless, from simple stripes to bold Halloween faces or trendy pastel looks. Each pumpkin can reflect your own style and add warmth to your home.
For more simple DIY projects and seasonal ideas, check out my other beginner-friendly blogs.
Frequently Asked Questions
Can you paint pumpkins with chalk paint?
Chalk paint works well, especially on foam pumpkins, because it provides a matte, rustic finish. It also sticks nicely without heavy priming.
Do painted pumpkins attract bugs or animals?
Real painted pumpkins can still attract squirrels or insects outdoors, especially if they start to soften. Sealing helps, but placing them in a covered spot is best.
What’s the easiest way to remove paint from a pumpkin?
On real pumpkins, gently scrub with warm water and mild soap, though some staining may remain. For fake pumpkins, rubbing alcohol or acetone can remove paint, but test a small area first