Teaching a child to ride a bike can feel harder than it should. One day they’re excited, the next day they refuse to try again.
The problem is not effort, it’s the approach. If you follow the wrong order, learning becomes slow and frustrating for both of you.
In the guide, you’ll learn a simple method that actually works. It focuses on building the right skills at the right time so your child feels more in control from the start.
When done right, the process becomes smoother, faster, and far less stressful for everyone involved
What You Need to Help Your Child Achieve from Day One
Before you start, it helps to know what success looks like and what can go wrong. This keeps things simple and avoids frustration for both you and your child.
The goal is clear. You want to take your child from zero riding ability to riding on their own with control. That means they can balance, pedal, steer, and stop safely.
To get there, keep the method practical. Long explanations don’t help. A clear step-by-step approach works best, building one skill at a time.
You also need to handle three core challenges:
- Fear: If your child feels unsafe, they won’t try properly
- Balance: This is the foundation of riding
- Coordination: Balance, steering, and pedaling must come together
If any one of these is missed, progress slows down.
1. Why Balance-First Methods Work Better than Training Wheels
Training wheels keep the bike upright, so your child never learns real balance. Once removed, riding feels new again. Balance-first methods fix this by teaching stability from the start.
Riding combines three skills:
- Balance keeps the bike upright
- Steering controls direction
- Pedaling creates movement
Teaching all three at once overwhelms the child. Starting with balance makes the rest easier to learn.
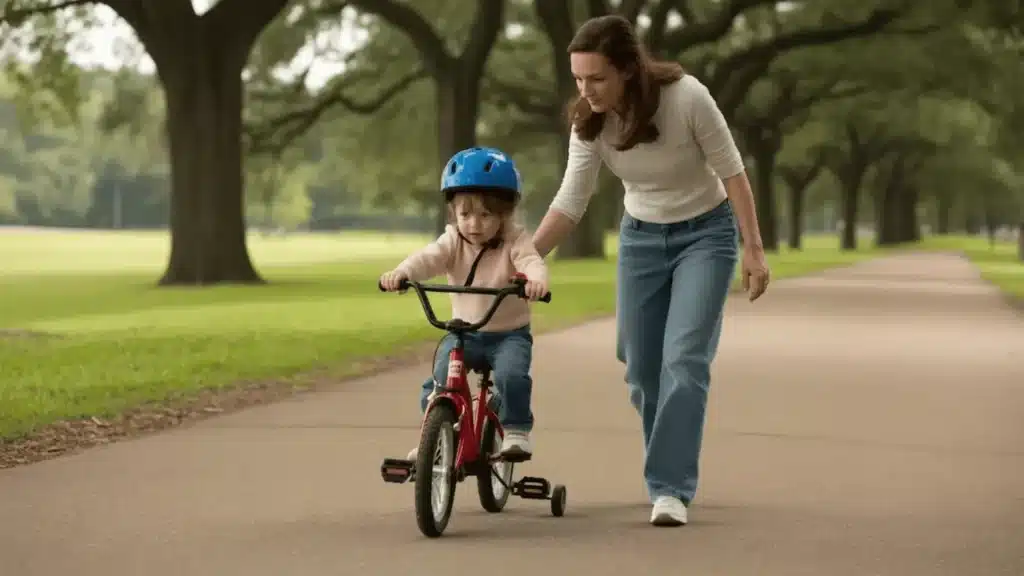
2. How to Physically Assist without Creating Dependency
Helping too much slows progress. Holding the handlebars means you control the bike, not your child.
Instead, support lightly from the body and reduce help gradually so they learn to correct themselves.
Most issues come from a few causes:
- Fear: Child won’t lift feet or try again
- Wrong Posture: Looking down or stiff body leads to wobbling
- Poor setup: High seat or bad surface makes balance harder
3. What Must Be Avoided
Some common mistakes make the process harder than it needs to be.
- Vague Advice: Saying “just practice more” doesn’t solve anything. The child needs clear steps, not repetition without direction.
- Too Many Methods at Once: Switching between training wheels, pushing, and other techniques confuses the child. Stick to one clear approach.
- Jumping Ahead Too Quickly: If you add pedaling before balance is stable, the child struggles with everything at once. This leads to frustration and slower progress.
- Over-Focusing on Gear: Special tools and accessories are not the solution. The method matters more than the equipment. A simple setup done right works better than complicated add-ons
Knowing this helps you fix problems quickly.
Step-By-Step Method to Teach Your Child to Ride a Bike
Once you understand the basics, the next step is to follow a clear process. Each stage builds on the previous one, so your child learns without feeling overwhelmed.
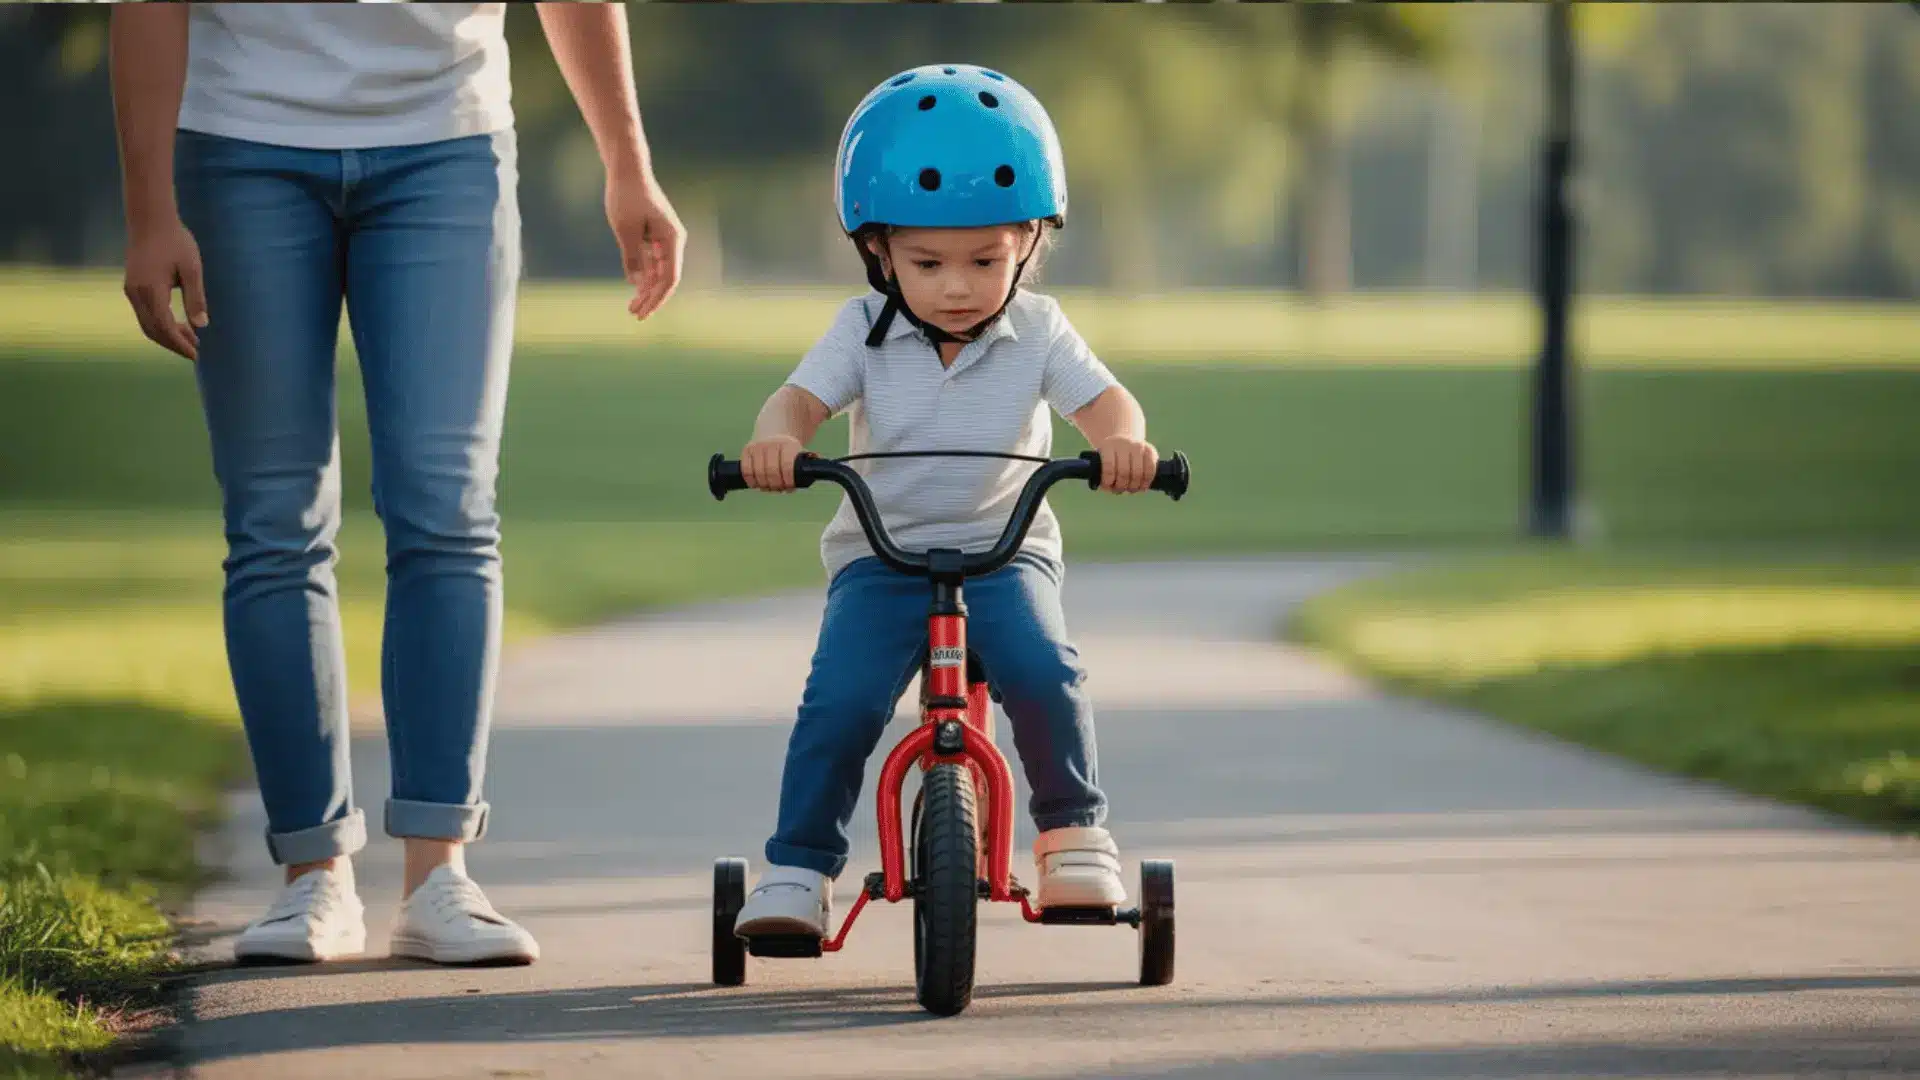
Step 1: Set up The Bike and Environment Correctly
Start with the right setup. Lower the seat so your child can place both feet flat on the ground. This gives them control and reduces fear.
Remove the pedals or use a balance bike so they can focus only on balance. Choose a flat, open area, and once they improve, use a gentle slope to help with momentum.
Always use a helmet and avoid rough surfaces or a high seat, as both make learning harder.
Step 2: Start with Balance Before Pedaling
Focus only on balance in the beginning. Let your child walk the bike while seated to understand movement and steering.
Then move to gliding by lifting their feet for a few seconds. Speed helps stability, so gliding improves balance faster.
Make sure they look ahead, not down, as vision affects control. If they keep their feet down or look down, it usually means fear or lack of confidence.
Step 3: Help the Child without Controlling the Bike
Support your child the right way. Hold their torso or under the arms, not the handlebars, so they can learn to steer themselves. Gradually reduce your support without a sudden release.
You can also use a towel under their arms for light support. Encourage short independent attempts early.
Avoid holding the handlebars or giving constant support, as both create dependency.
Step 4: Introduce Pedaling Only After Balance is Stable
Add pedaling only when your child can glide and steer well. Reattach the pedals and teach the power pedal start, where one strong push creates momentum.
This makes balancing easier while starting. Help them connect pedaling with balance slowly.
Starting too early or with weak momentum can cause wobbling and frustration.
Step 5: Teach Starting, Stopping, and Turning Safely
Now build full control. Teach smooth starts with proper push and pedal timing. Show how to brake gently so they feel safe stopping anytime.
Introduce gentle turns using a slight lean and steering together. Practice controlled stops and turns until they feel natural.
Skipping braking or trying sharp turns too early can lead to fear or falls.
Step 6: Manage Fear and Build Confidence During Practice
Confidence drives progress. Fear makes the body stiff, which affects balance. Keep sessions short and positive, and end on a small success.
Celebrate small wins like better glides or smoother starts. Allow safe mistakes so your child learns to adjust. Avoid long sessions or pressure, as both can slow learning.
In most cases, following this step-by-step flow is enough to help your child ride independently. Stay patient, keep things simple, and let progress build naturally.
Quick Step-By-Step Summary (Repeatable Teaching Flow)
If you want a simple way to follow everything, use this quick checklist. It keeps the process clear and easy to repeat.
| Step | What To Do | Why It Matters |
|---|---|---|
| 1 | Lower the seat and remove the pedals | Gives control and lets your child focus only on balance |
| 2 | Let them walk the bike | Builds comfort with movement and steering |
| 3 | Practice gliding | Teaches balance using momentum |
| 4 | Teach looking ahead and steering | Improves stability and direction control |
| 5 | Add pedals after balance is stable | Prevents overload and makes learning easier |
| 6 | Practice power pedal starts | Creates strong momentum for better balance |
| 7 | Teach braking and turning | Builds full control and safety |
| 8 | Keep sessions short and positive | Maintains confidence and steady progress |
Follow this flow, and your child will build skills naturally without feeling overwhelmed.
Fix Common Problems that Slow Down Learning
Even if you follow the right steps, some kids get stuck. Most of the time, the issue isn’t the method, it’s a small problem that needs fixing.
- Won’t Lift Their Feet: Usually caused by fear. Go back to shorter glides and build confidence slowly, even 1–2 seconds at a time.
- Constant Wobbling: Often happens because they’re looking down or moving too slowly. Encourage them to look ahead and gain a little more speed.
- Refuses to Try Again: Usually due to a negative experience like a fall or frustration. Reset the environment and return to an easier step to rebuild confidence.
- Can Balance but Struggle to Pedal: The problem is usually timing. They may not be getting a strong enough start, so practice the power pedal position again.
Fixing these small issues early makes a big difference. Once the root problem is solved, progress usually picks up quickly.
Conclusion
Teaching your child to ride is less about pushing them and more about guiding them in the right order.
When you focus on balance first, support them correctly, and keep things simple, progress becomes much easier to see. Small wins add up quickly when the process feels safe and manageable.
If you follow a clear method, teaching a kid to ride a bike becomes far less confusing and much more enjoyable for both you and your child.
Stay patient and keep it positive. Start today with one small step and build from there.
Frequently Asked Questions
What is the Easiest Way to Teach a Kid to Ride a Bike?
Start by focusing on balance first instead of teaching everything together. Remove the pedals and practice gliding. Once your child can balance and steer, add pedaling gradually.
Should I Use Training Wheels or Skip Them?
Training wheels may feel easier at first, but they delay balance learning. Skipping them helps your child learn proper balance early, making the transition to independent riding smoother.
How Long Does It Take for A Child to Learn Riding A Bike?
Learning time depends on confidence and coordination. Many children learn the basics within a few sessions, but steady practice over several days improves control and confidence significantly.
What if My Child is Scared of Falling?
Fear is normal and can slow progress. Lower the seat, use a soft surface, and focus on small wins. Feeling safe helps your child relax and improves their ability to balance.