Art is a fantastic way to express yourself, unwind, and bring a bit of color and creativity into your life.
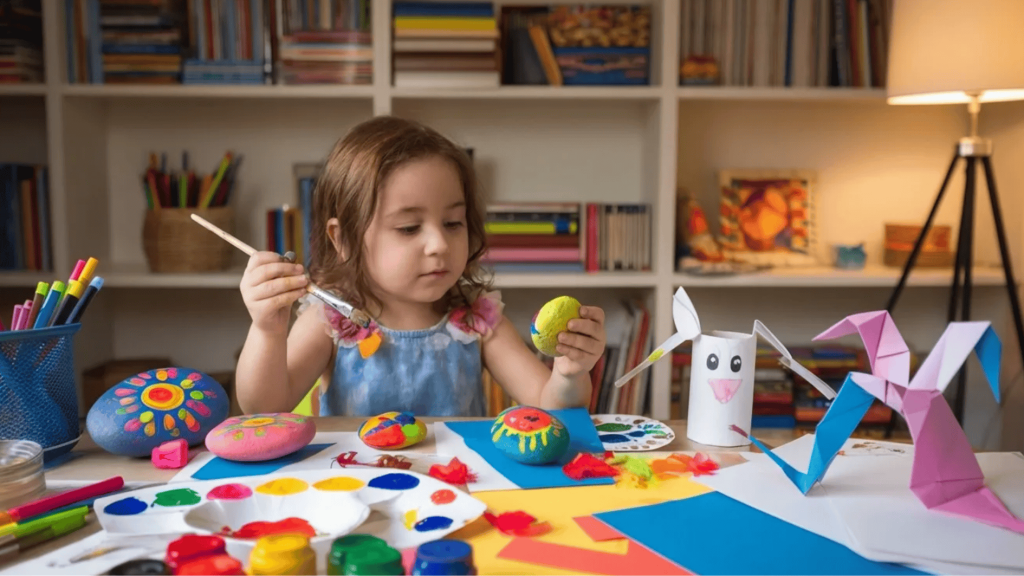
If you’re a busy adult looking to unwind after a long day or a parent looking for fun activities for kids, these art projects are quick, easy, and cost-free!
You don’t need to be an expert artist to have fun, just a few supplies and a willingness to create something beautiful.
This post features fun, simple art projects that can be done in minutes. All you need is a little bit of time, some basic materials, and an open mind!
Why Art is the Perfect Activity for Relaxation
Art has long been a powerful tool for relaxation and mindfulness.
Engaging in creative activities helps the mind focus on the present moment, offering a break from the stresses of daily life and promoting a sense of calm.
The process of creating art encourages a state of “flow,” where time seems to stand still. This focus on colors, textures, and forms reduces anxiety and quiets the mind, helping to alleviate tension.
Art also provides an emotional outlet. Through painting, drawing, or sculpting, it allows for self-expression, helping release emotions that may be hard to verbalize, leading to emotional relief and balance.
In addition, the physical aspect of creating art, such as drawing or painting, helps release tension in the body, making it a simple yet effective way to relax both the mind and body.
Ultimately, art is a form of self-care that offers peace and mindfulness in the midst of everyday chaos.
Quick and Easy Art Projects to Try Today
Try these quick and easy ideas to spark your creativity today!
1. Paper Plate Animal Crafts

Turn simple paper plates into adorable animal faces with markers and craft materials. This easy project is perfect for kids and encourages creativity with colors and textures.
Materials required: Paper plates, markers, glue, and scissors.
How to make:
- Cut the paper plate into the shape of an animal’s face (e.g., lion, owl, or bear).
- Use markers to draw the details like eyes, nose, and mouth.
- Add extra textures using materials like paper or yarn for the animal’s fur or feathers.
- Glue everything into place and enjoy your cute animal creation.
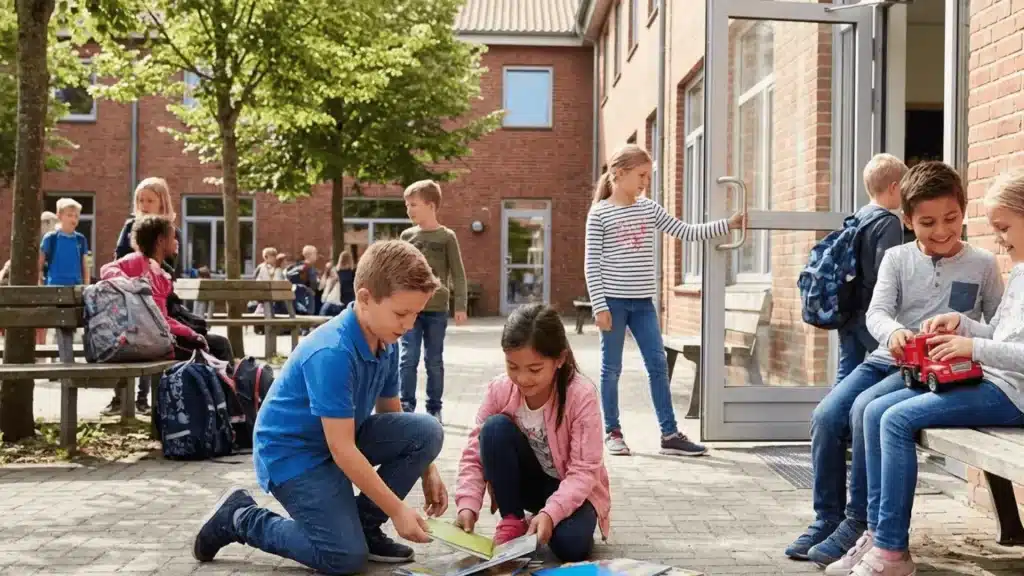
2. DIY Bookmark Art
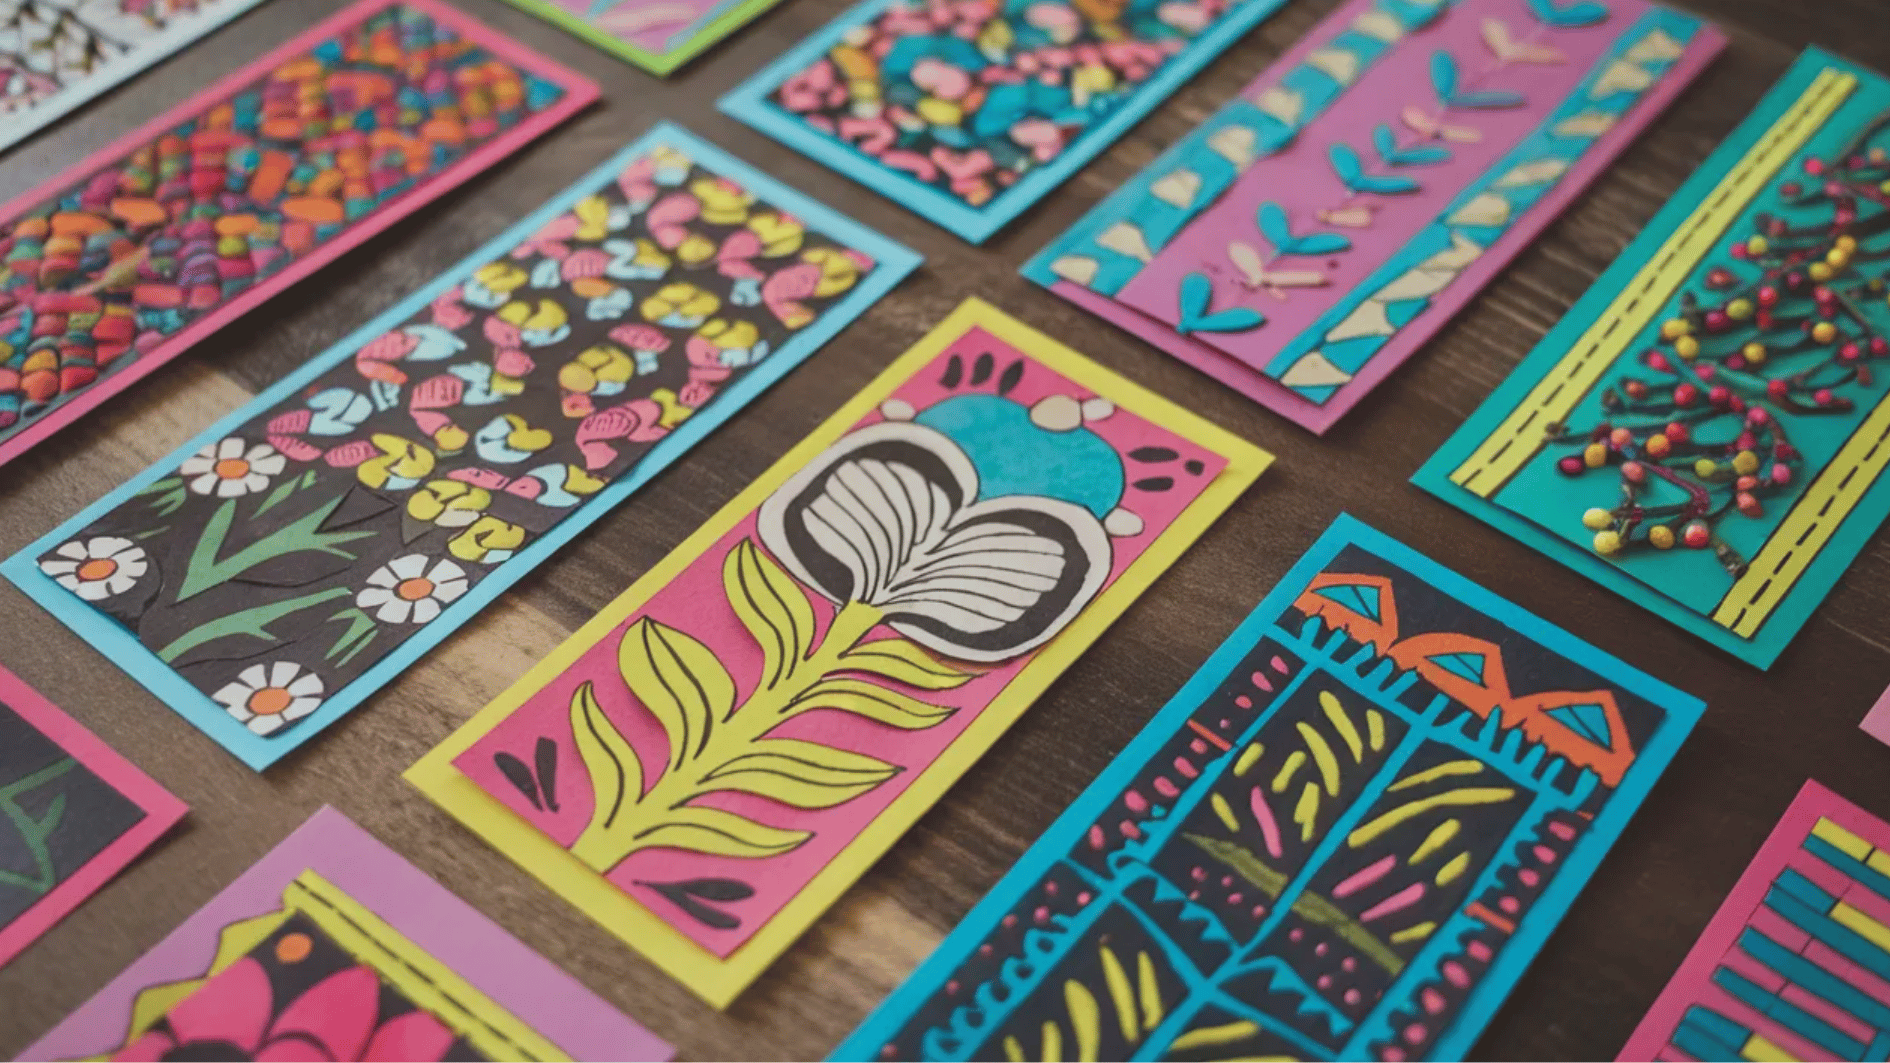
Create personalized bookmarks that make reading more fun and colorful. This quick craft lets you decorate with patterns, quotes, and bright designs.
Materials required: Markers, colored pencils, cardstock, and scissors.
How to make:
- Cut a piece of cardstock to the size of a bookmark.
- Decorate it with your favorite patterns, designs, or motivational quotes.
- Add color with markers or colored pencils.
- Laminate the bookmark for durability and a finished look.
3. Rock Painting for Beginners
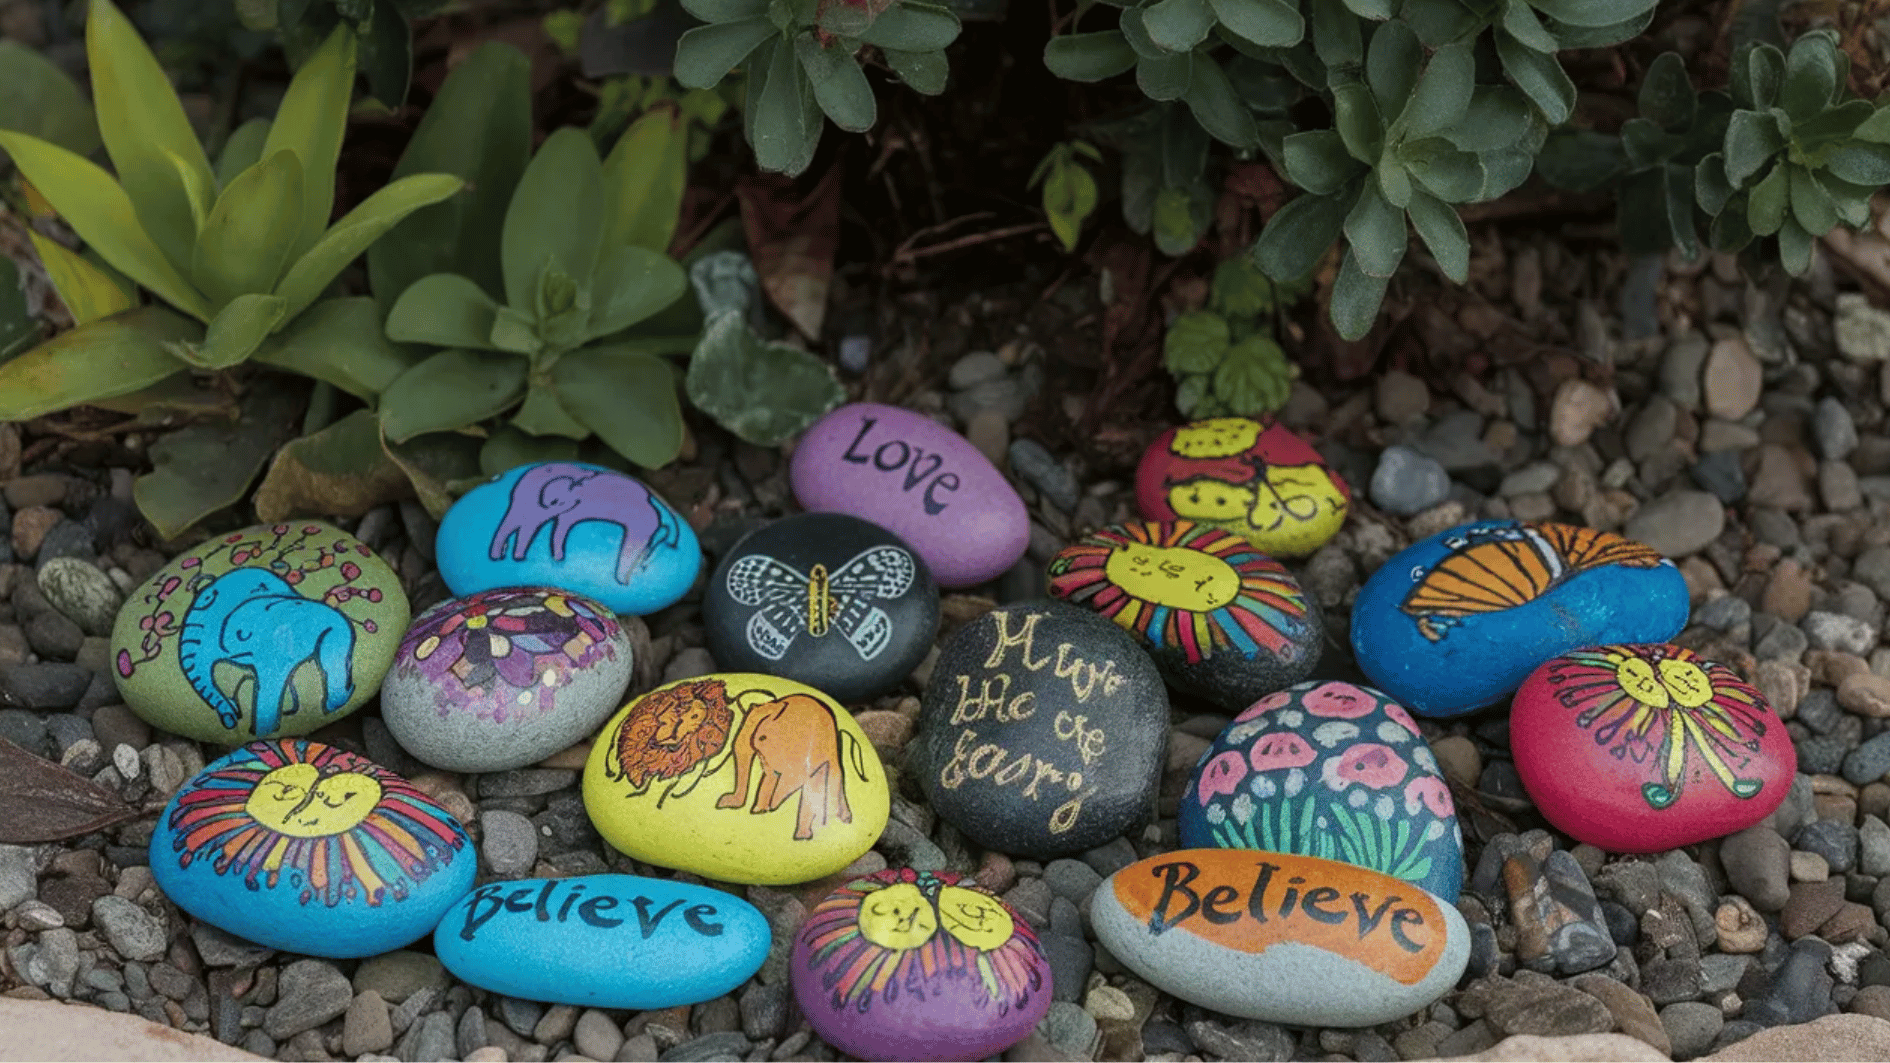
Transform ordinary rocks into colorful mini artworks with paint and markers. Painted rocks can be used as decor, garden accents, or thoughtful handmade gifts.
Materials required: Rocks, acrylic paint, brushes, and markers.
How to make:
- Collect smooth rocks from outside.
- Paint the rocks with bright, fun designs, patterns, or positive messages.
- Allow them to dry and place them around your home or garden, or give them as gifts.
4. Toilet Paper Roll Crafts
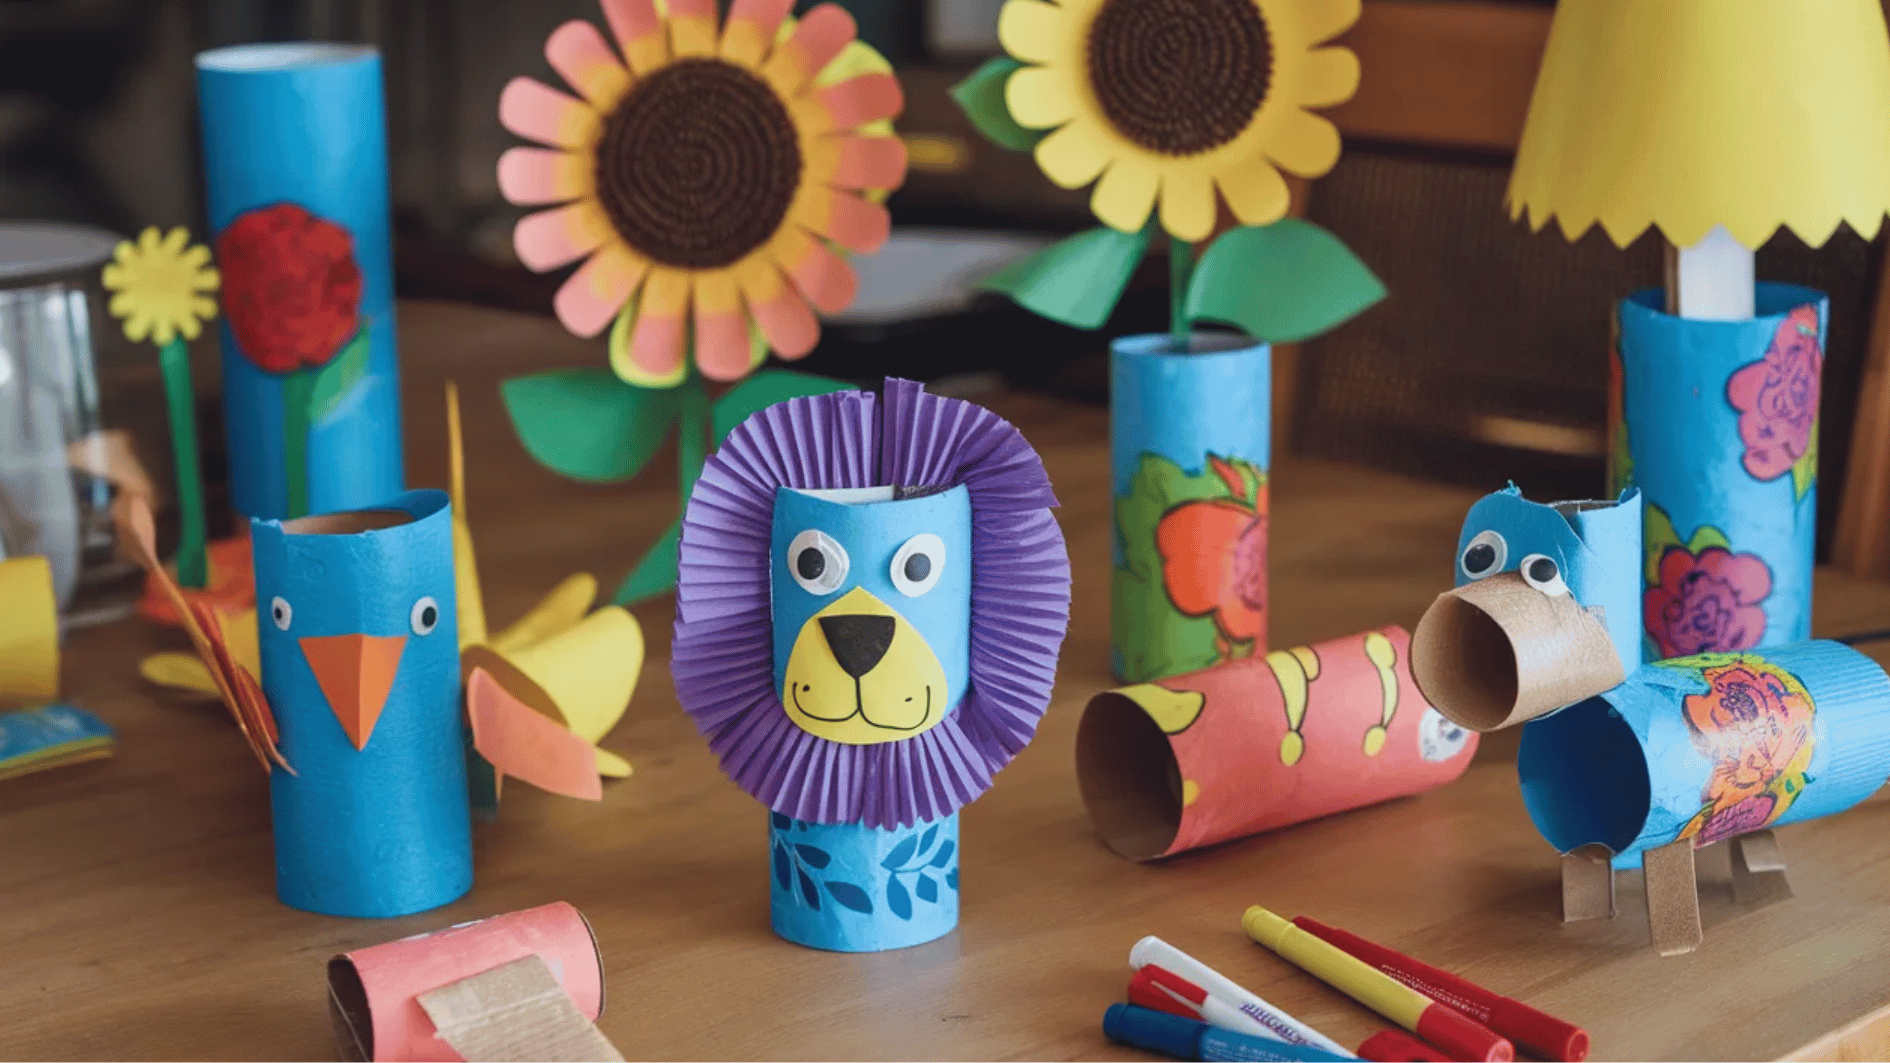
Give empty toilet paper rolls a creative makeover by turning them into animals, flowers, or decorations. It’s a fun and eco-friendly craft using recycled materials.
Materials required: Toilet paper rolls, glue, scissors, and paint.
How to make:
- Cut and shape the toilet paper roll into various fun shapes, such as flowers or animals.
- Paint and decorate the rolls with markers or other craft supplies.
- Assemble them into animals, flowers, or home decor items.
5. Salt Painting Art
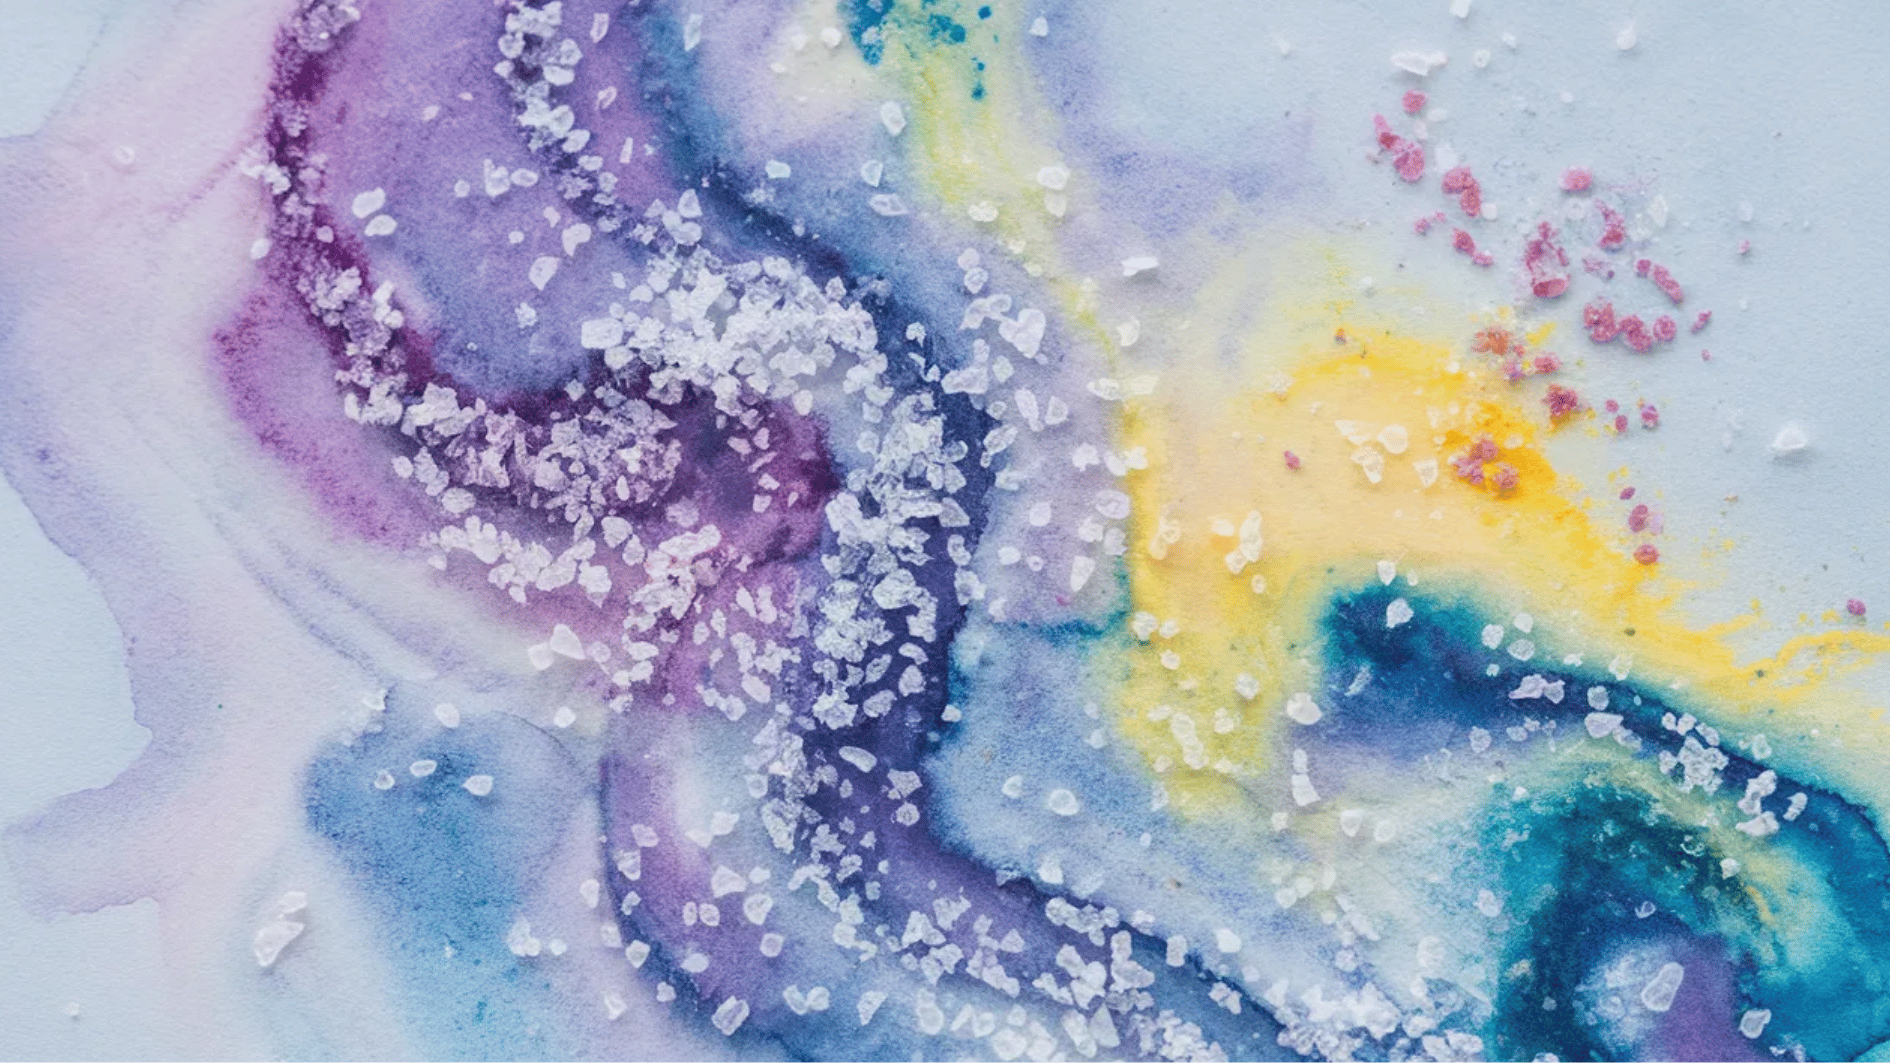
This simple art technique creates beautiful textures using watercolor paint and salt. The salt absorbs the paint and forms unique patterns as it dries.
Materials required: Watercolor paints, salt, and heavy paper.
How to make:
- Paint a watercolor design on your paper.
- While the paint is still wet, sprinkle salt on top and watch it create interesting textures.
- Allow it to dry completely and display your magical artwork.
6. Newspaper Collage
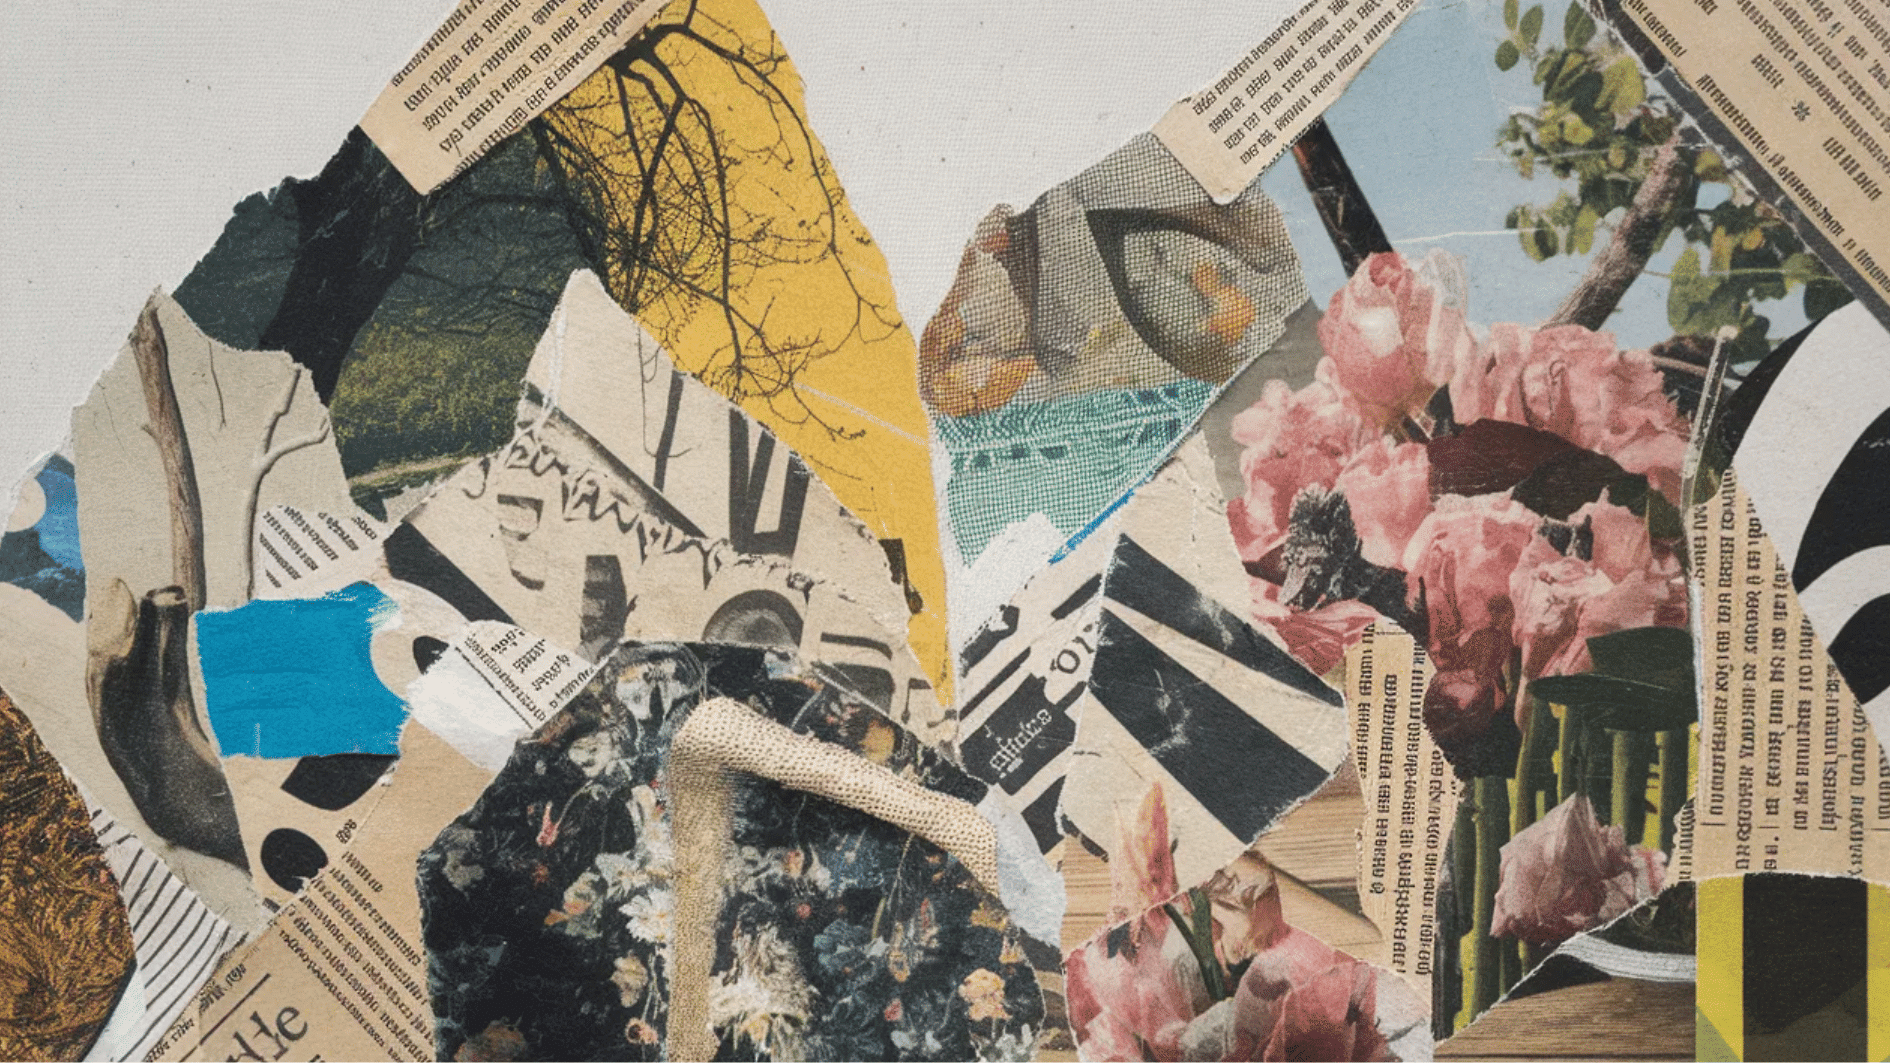
Old newspapers can become creative artwork when cut and arranged into designs. This collage craft is a great way to reuse paper while making something artistic.
Materials required: Old newspapers, glue, scissors, canvas or thick paper.
How to make:
- Cut or tear newspaper pieces with interesting text, images, or patterns.
- Arrange them on a canvas or paper to form a collage.
- Glue the pieces in place and let them dry.
7. Mandala Drawing

Mandala drawing is a relaxing activity that uses repeating patterns and shapes. The process encourages focus and creativity while producing beautiful symmetrical designs.
Materials required: Paper, markers, colored pencils.
How to make:
- Draw a large circle in the center of the paper.
- Create symmetrical patterns radiating from the center.
- Fill in the design with bright colors for a calming and meditative effect.
8. Simple Doodle Art
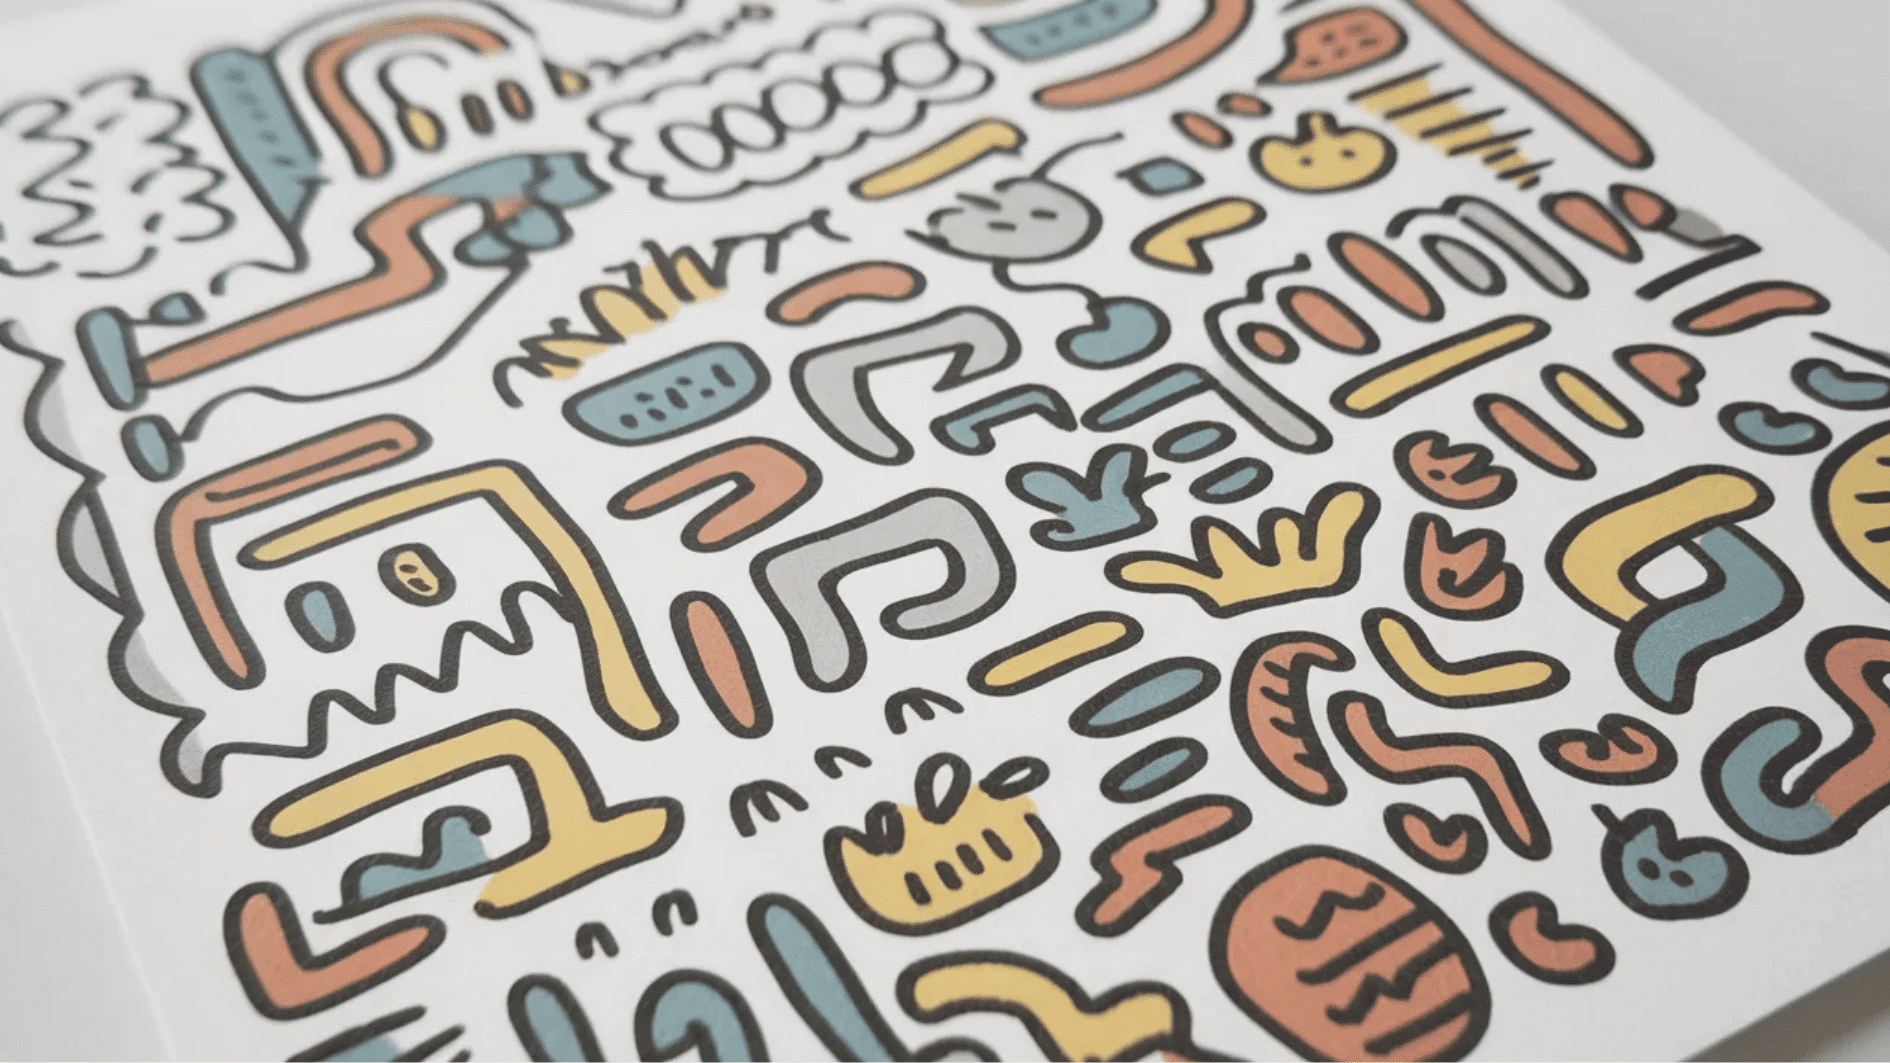
Doodling lets creativity flow without rules or pressure. Start with simple lines and shapes and watch them turn into unique designs.
Materials required: Paper, pens, and markers.
How to make:
- Start by drawing simple shapes or lines on your paper.
- Let your mind wander as you add more shapes, patterns, and designs.
- Enjoy the process and let the doodles flow naturally.
9. DIY Wall Art from Fabric Scraps
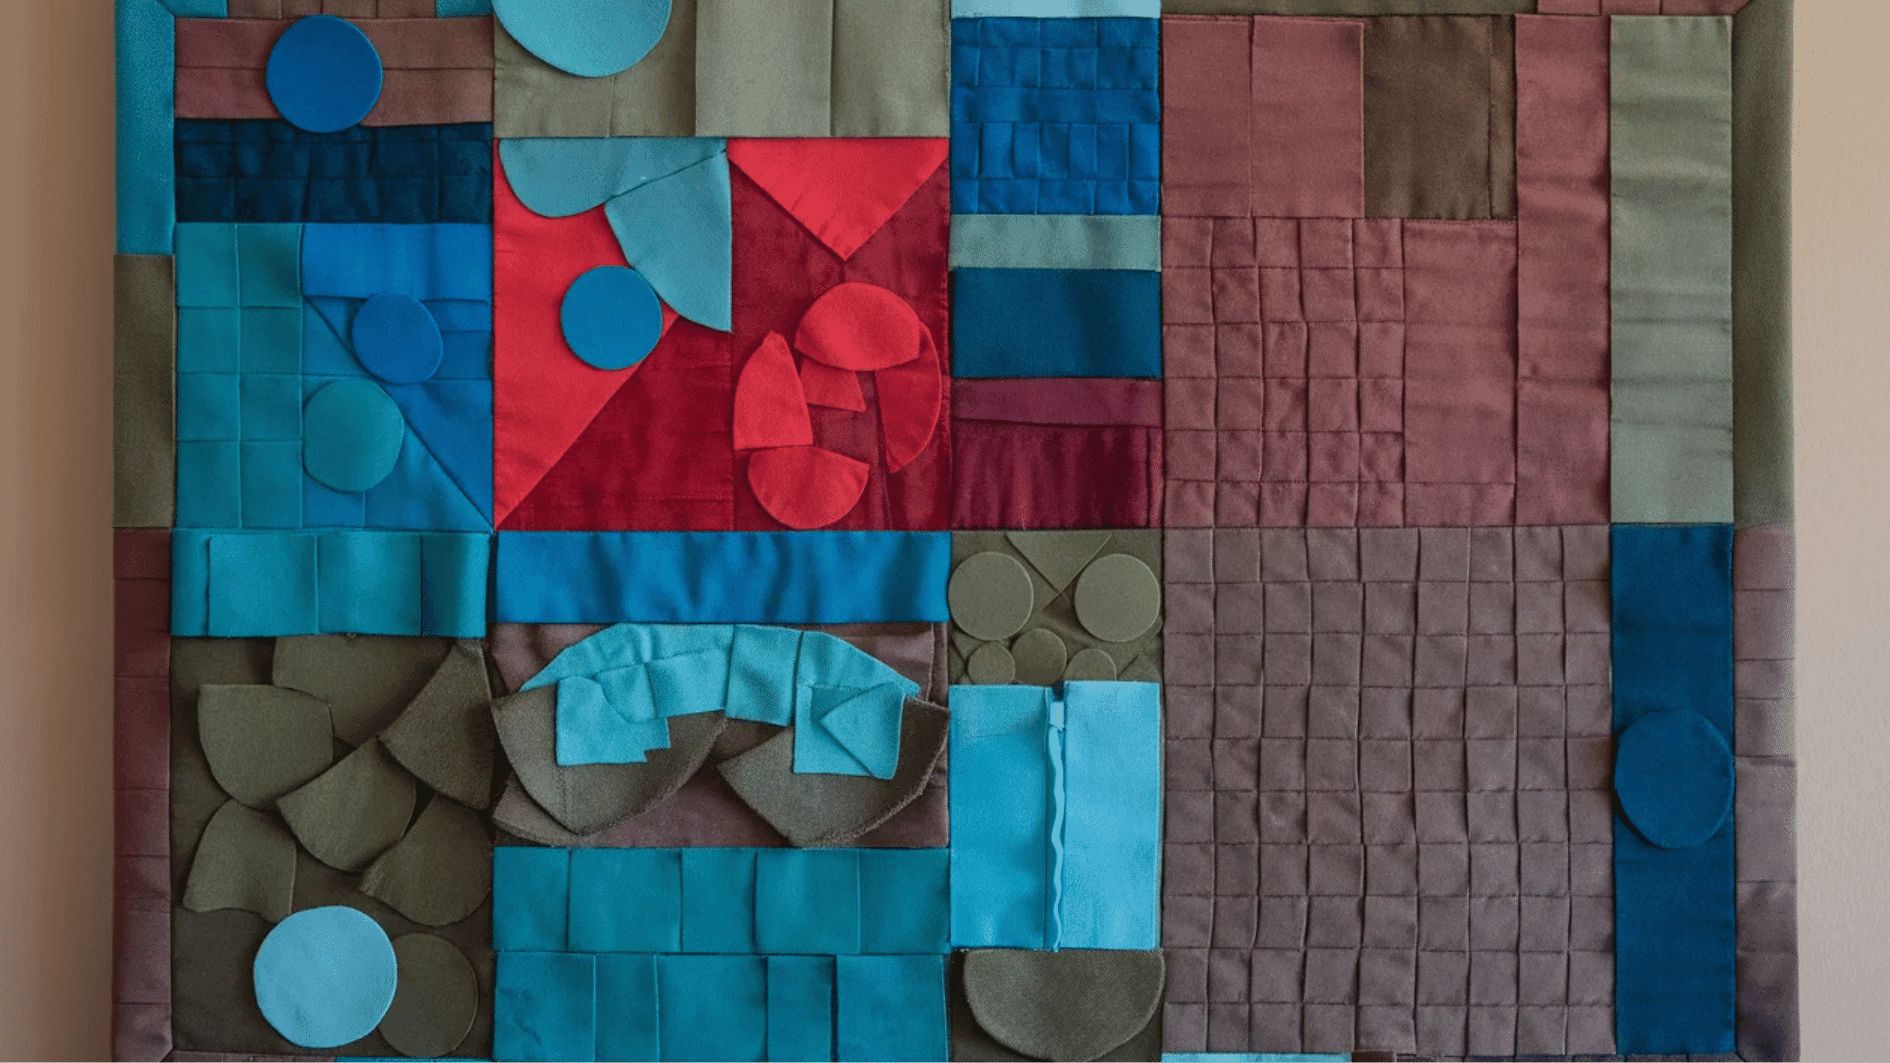
Fabric scraps can be turned into colorful wall decor with simple arranging and gluing. This project creates textured artwork that adds personality to any space.
Materials required: Old fabric pieces, canvas, and glue.
How to make:
- Cut fabric scraps into various shapes (circles, squares, etc.).
- Glue the fabric pieces onto a canvas in a design of your choice.
- Use different colors and patterns to create a unique art piece for your home.
10. Painted Glass Jars for Home Decor
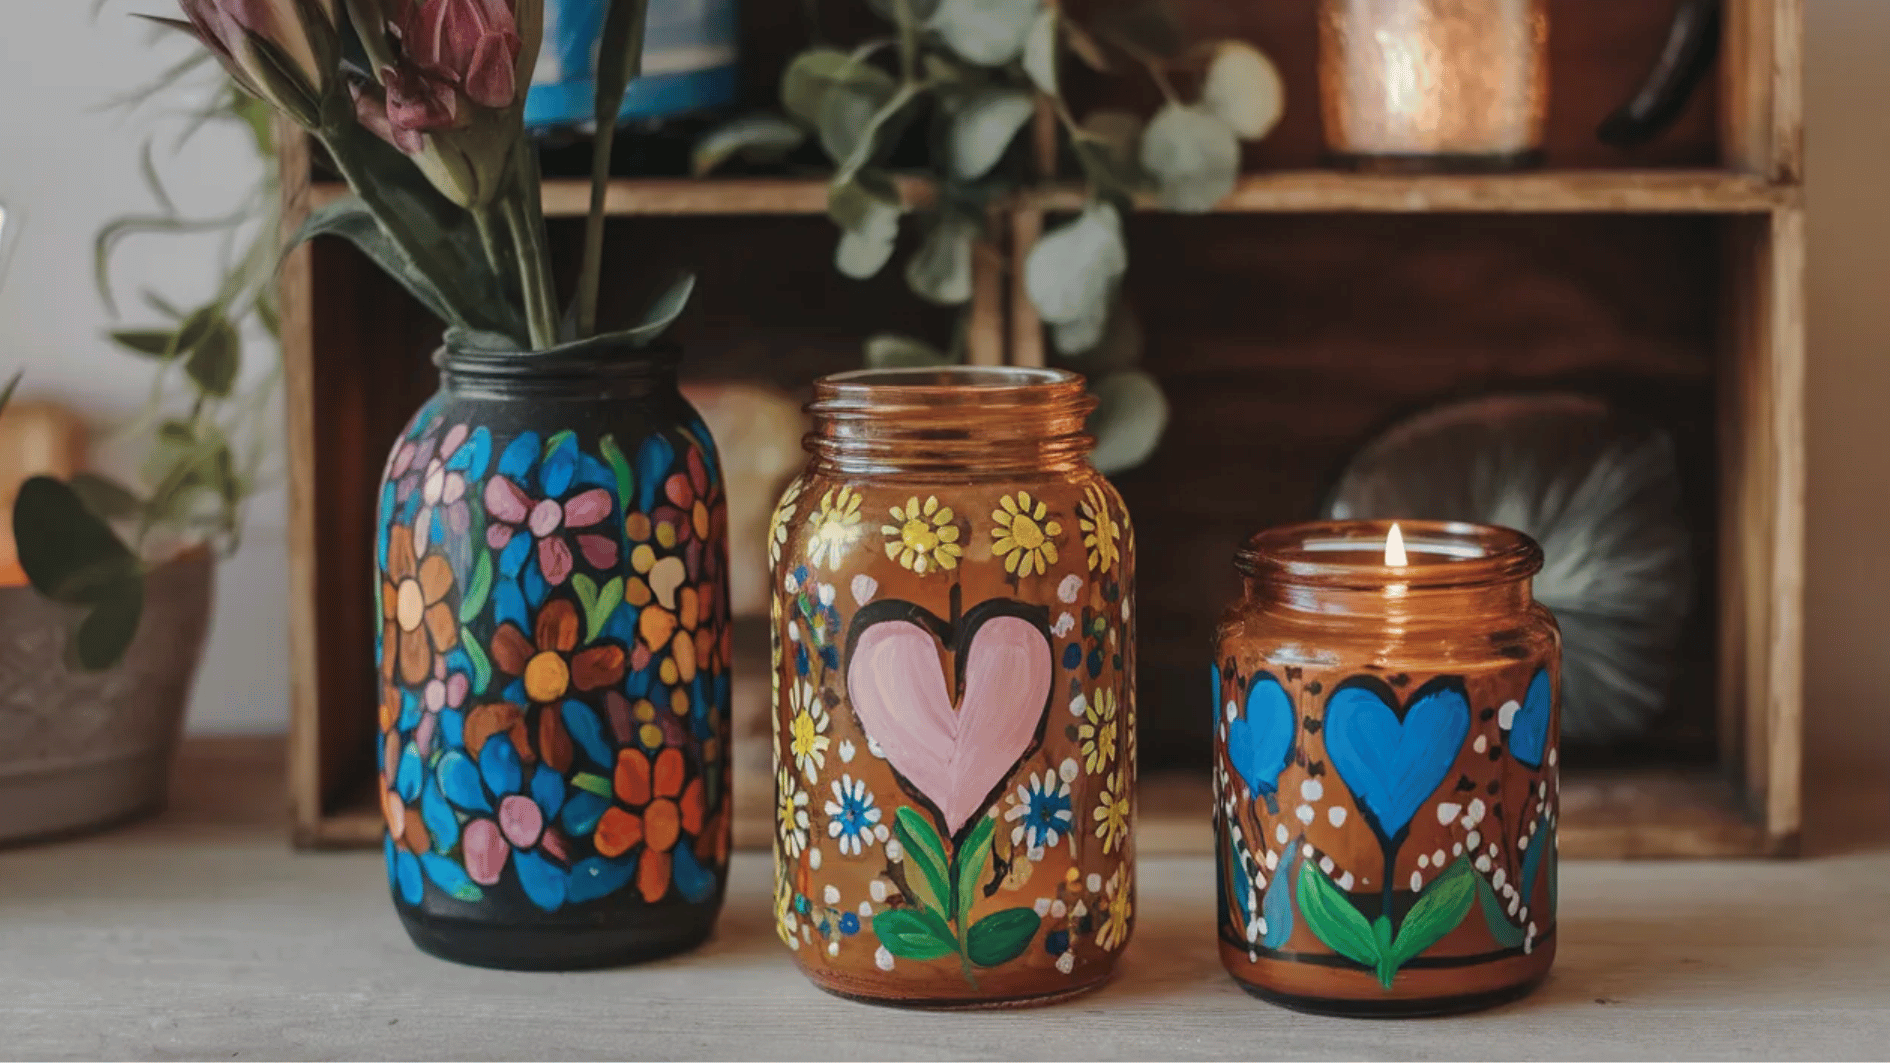
Old glass jars become beautiful decor when painted with creative designs. They can be used as vases, candle holders, or decorative storage.
Materials required: Glass jars, paint, and brushes.
How to make:
- Clean the glass jars thoroughly.
- Paint them with your preferred colors and designs.
- Use them as vases, storage jars, or candle holders once the paint is dry.
11. Paper Towel Roll Stamps
Turn paper towel rolls into fun paint stamps by cutting them into shapes. Stamp colorful patterns onto paper to create unique artwork.
Materials required: Paper towel rolls, paint, and paper.
How to make:
- Cut the ends of the paper towel roll into shapes (like a flower or star).
- Dip the cut edges into paint and stamp onto paper.
- Create a pattern or unique designs with each stamp.
12. Button Collage
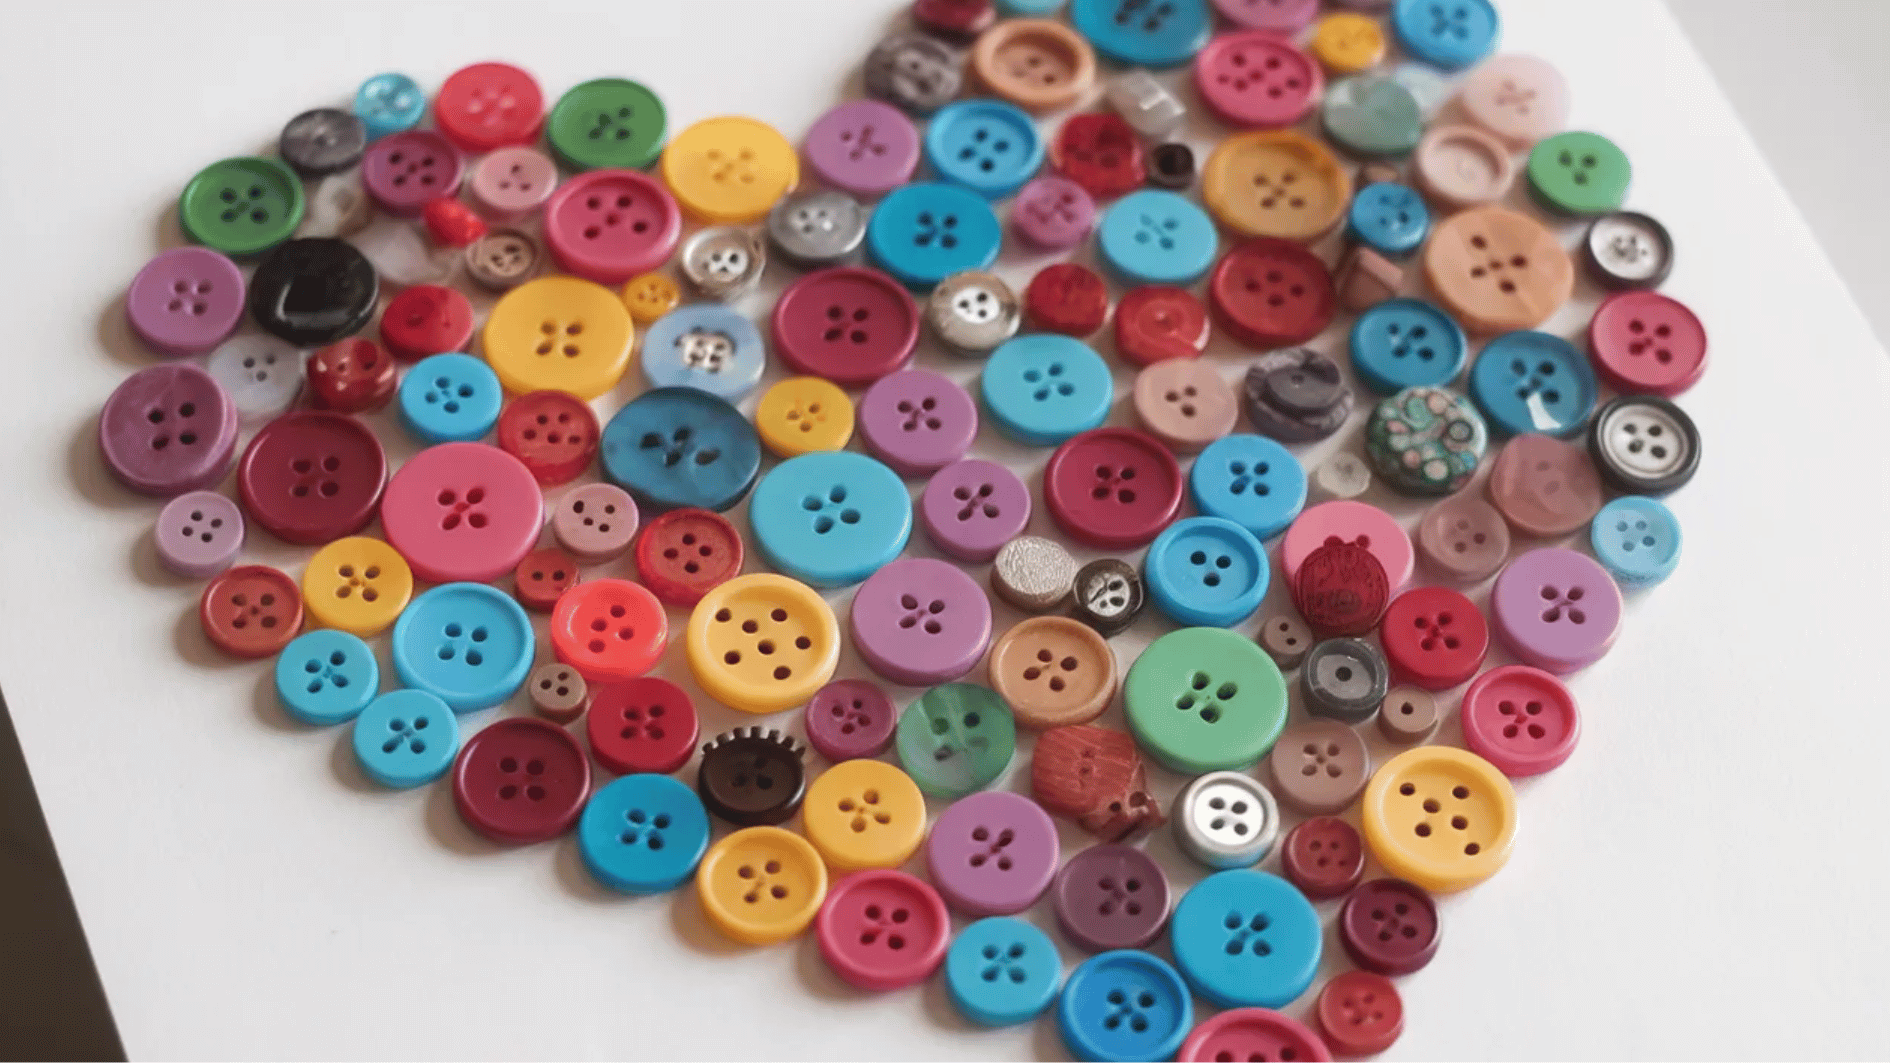
Use colorful buttons to build creative shapes, patterns, or pictures. This craft adds texture and bright colors to simple paper art.
Materials required: Buttons, glue, paper.
How to make:
- Arrange colorful buttons on a piece of paper in a shape or design.
- Glue them down to create a textured and vibrant piece of art.
13. String Art

Arrange and glue the string onto the cardboard to form shapes or words. The layered strings create a textured and eye-catching design.
Materials required: String, glue, cardboard, and scissors.
How to make:
- Cut pieces of string and glue them onto cardboard into shapes or patterns, such as hearts, geometric designs, or words.
- Allow the glue to dry and enjoy your unique, textural art.
14. Painted Rock Magnets
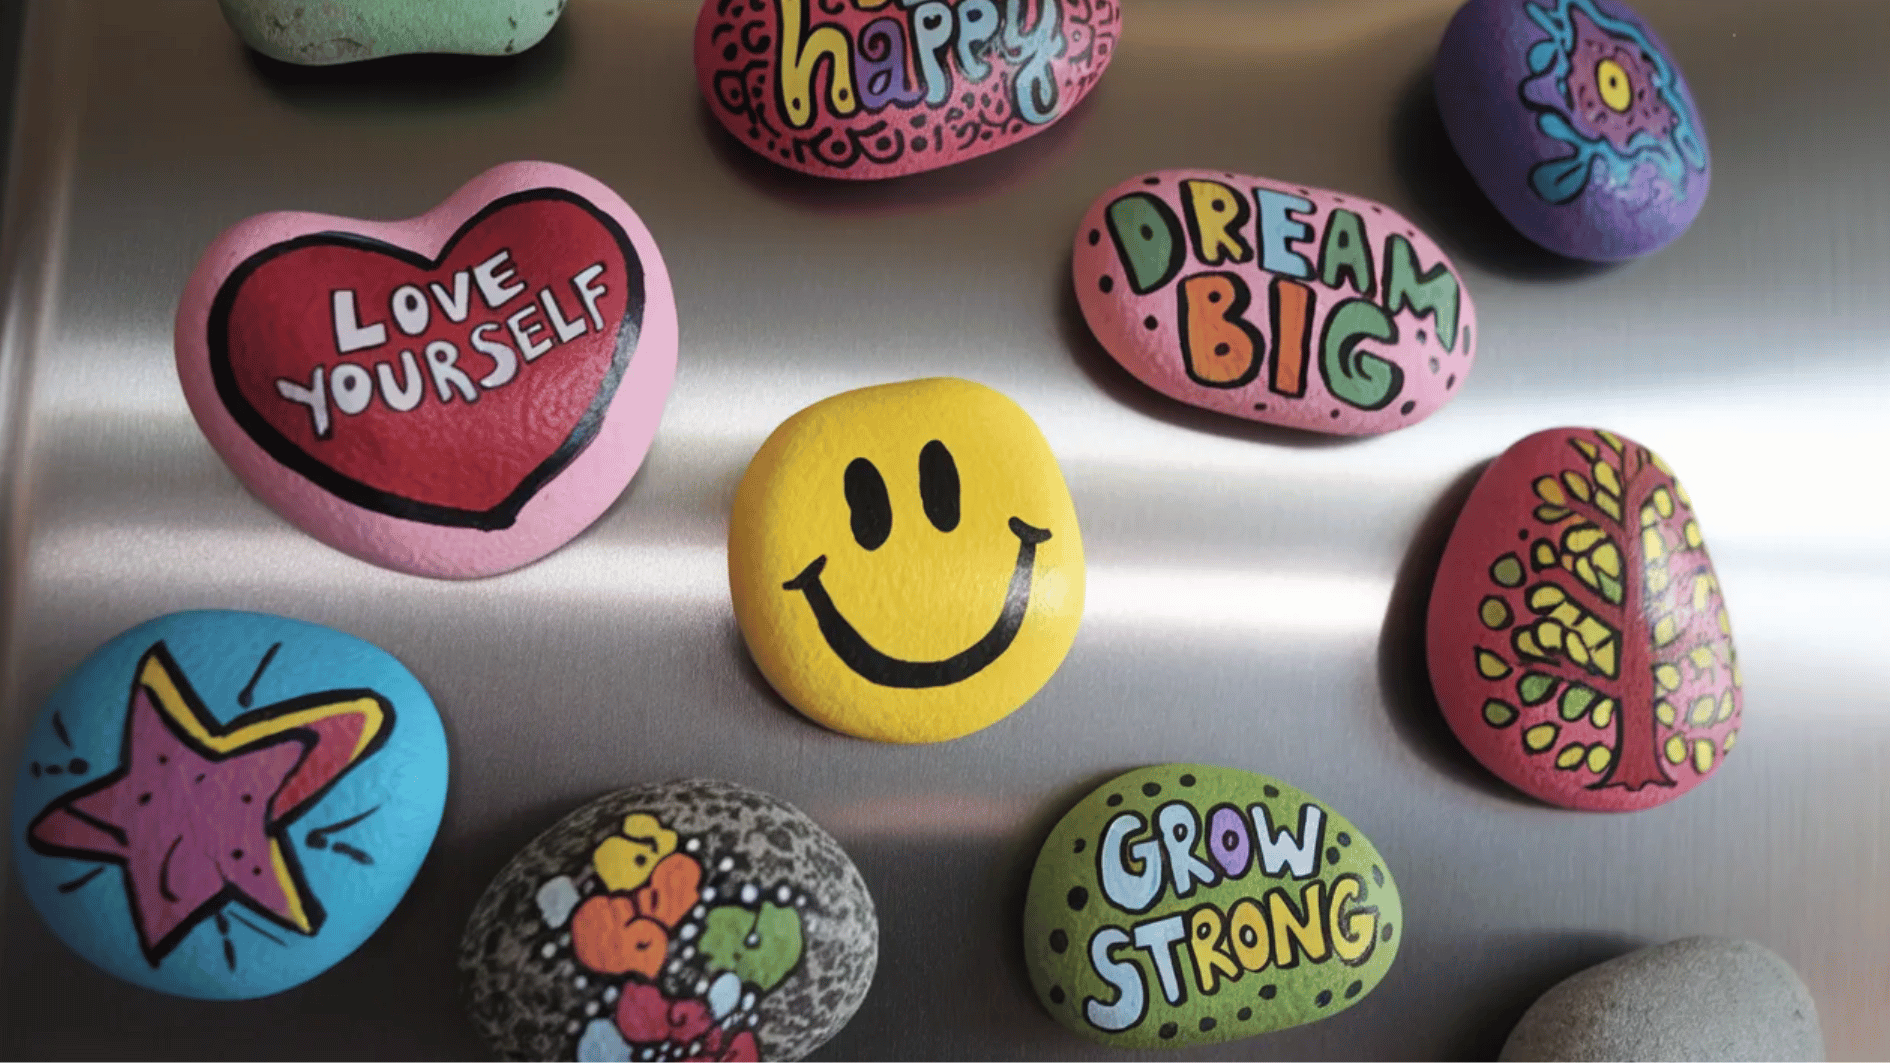
Small rocks can be painted with fun designs and turned into fridge magnets. These mini artworks add personality to any kitchen space.
Materials required: Small rocks, paint, magnets, and glue.
How to make:
- Paint small rocks with fun designs, such as animals or inspirational words.
- Once the paint is dry, glue a magnet to the back.
- Stick them on your fridge or give them as small gifts.
15. Handprint Art
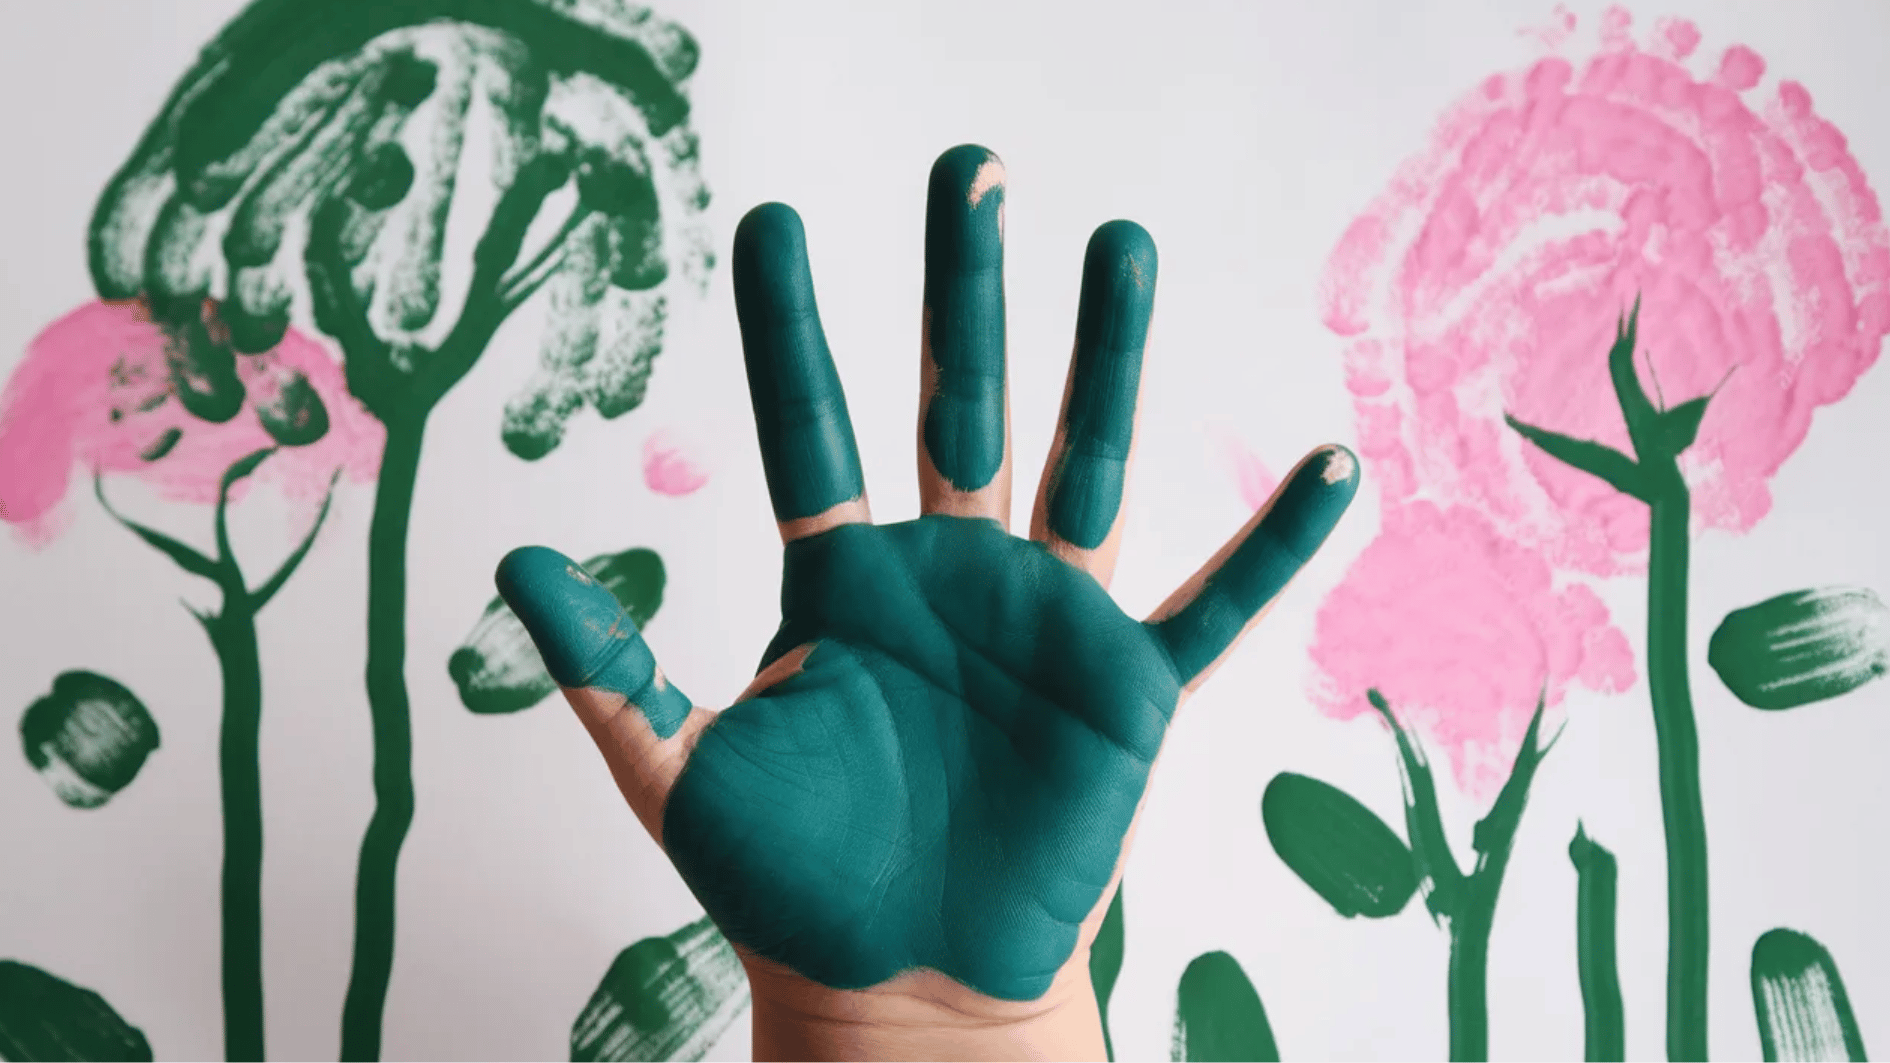
Handprint art turns a simple paint print into animals, trees, or fun shapes. It’s a great keepsake craft for kids and families.
Materials required: Paint, paper.
How to make:
- Dip your hand in paint and press it onto paper to create handprint art.
- You can turn your handprint into animals, trees, or flowers with added details.
16. Pom-Pom Art
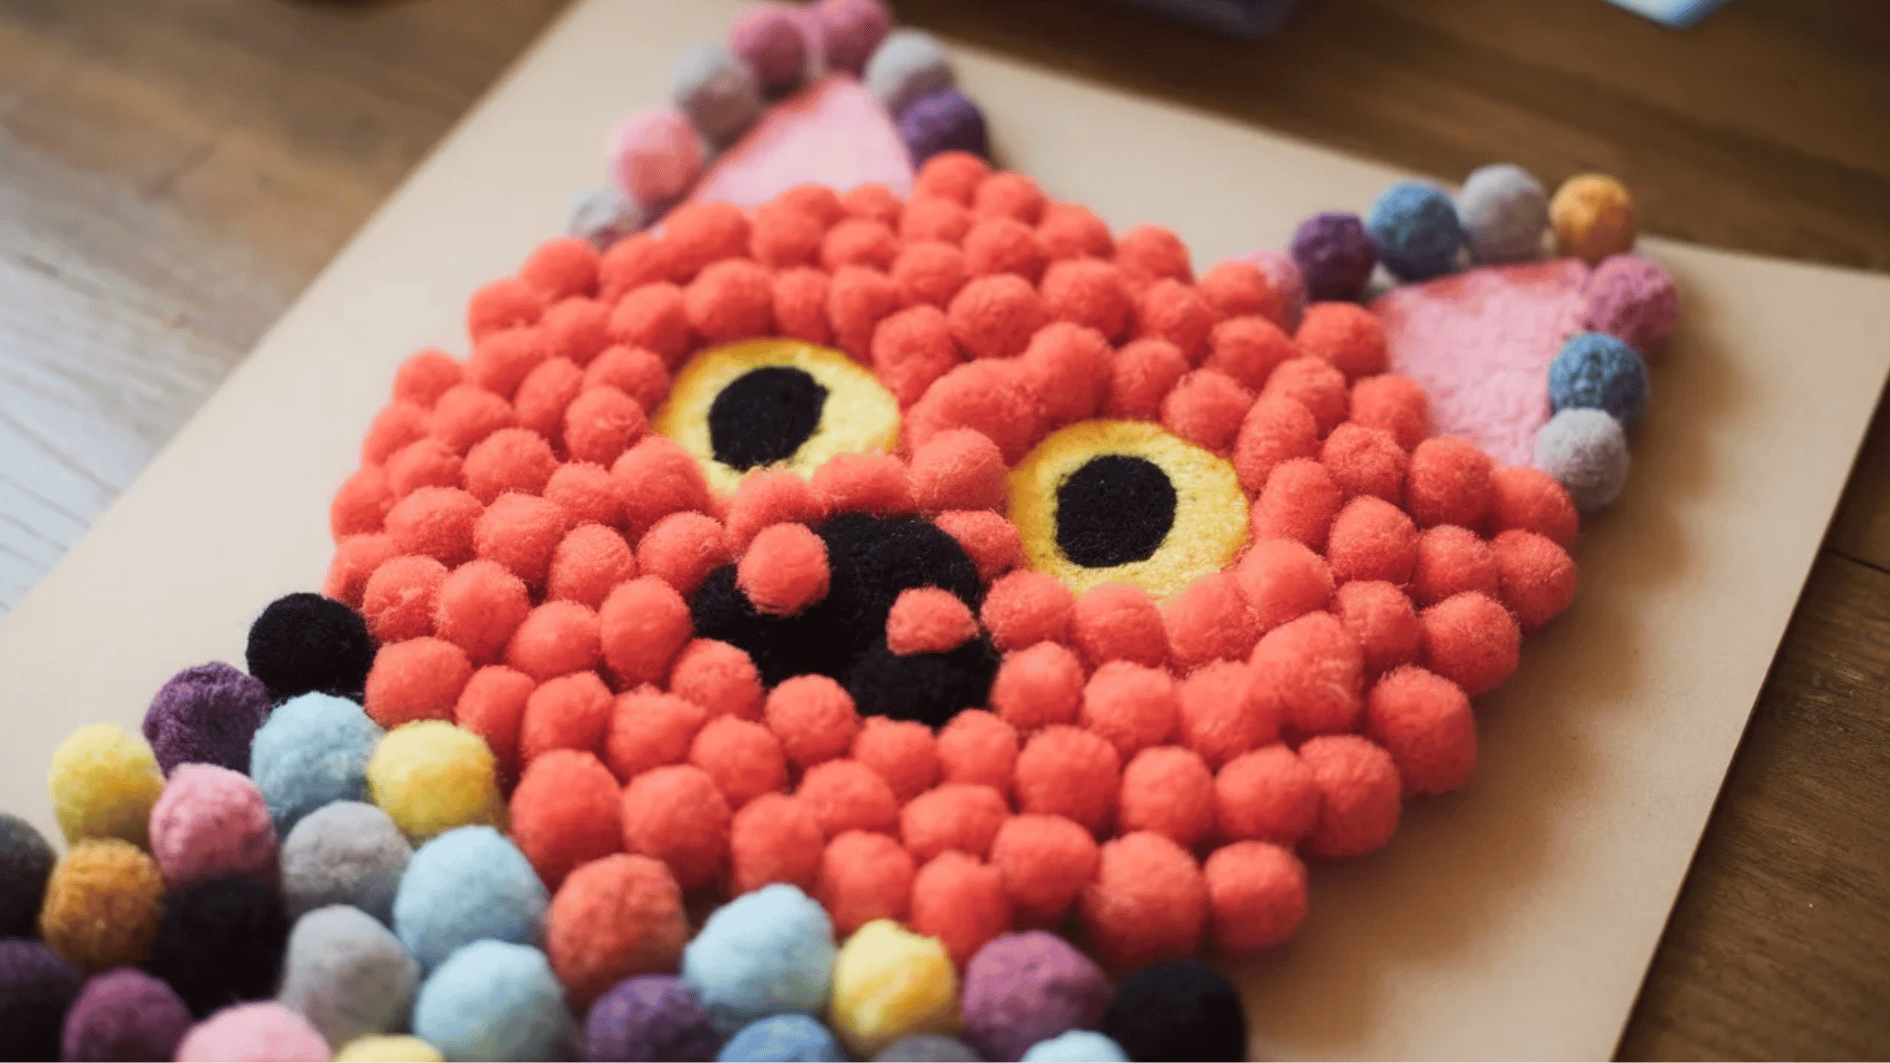
Colorful pom-poms can be glued onto paper to create fun designs or characters. The soft texture adds a playful element to the artwork.
Materials required: Pom-poms, glue, and paper.
How to make:
- Glue different colored pom-poms onto paper
- Create fun shapes, animals, or abstract patterns.
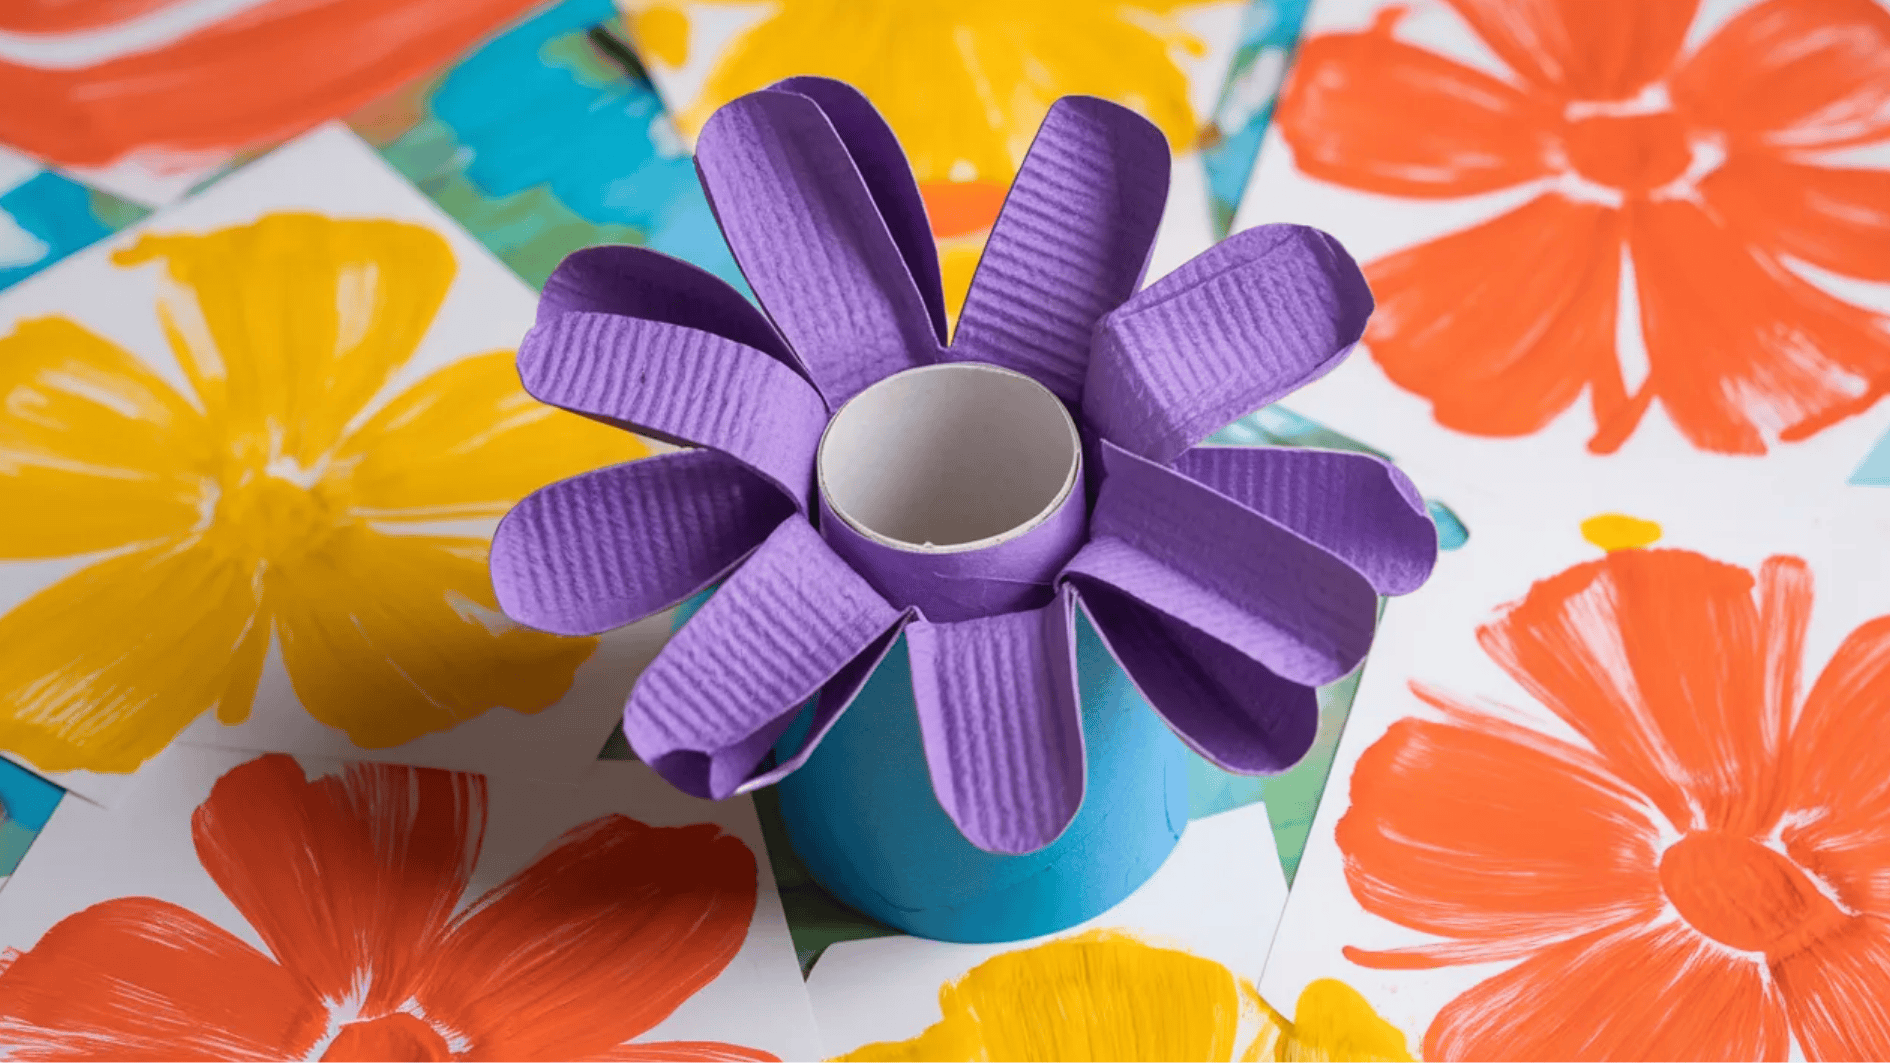
17. Paper Cup Flower Craft
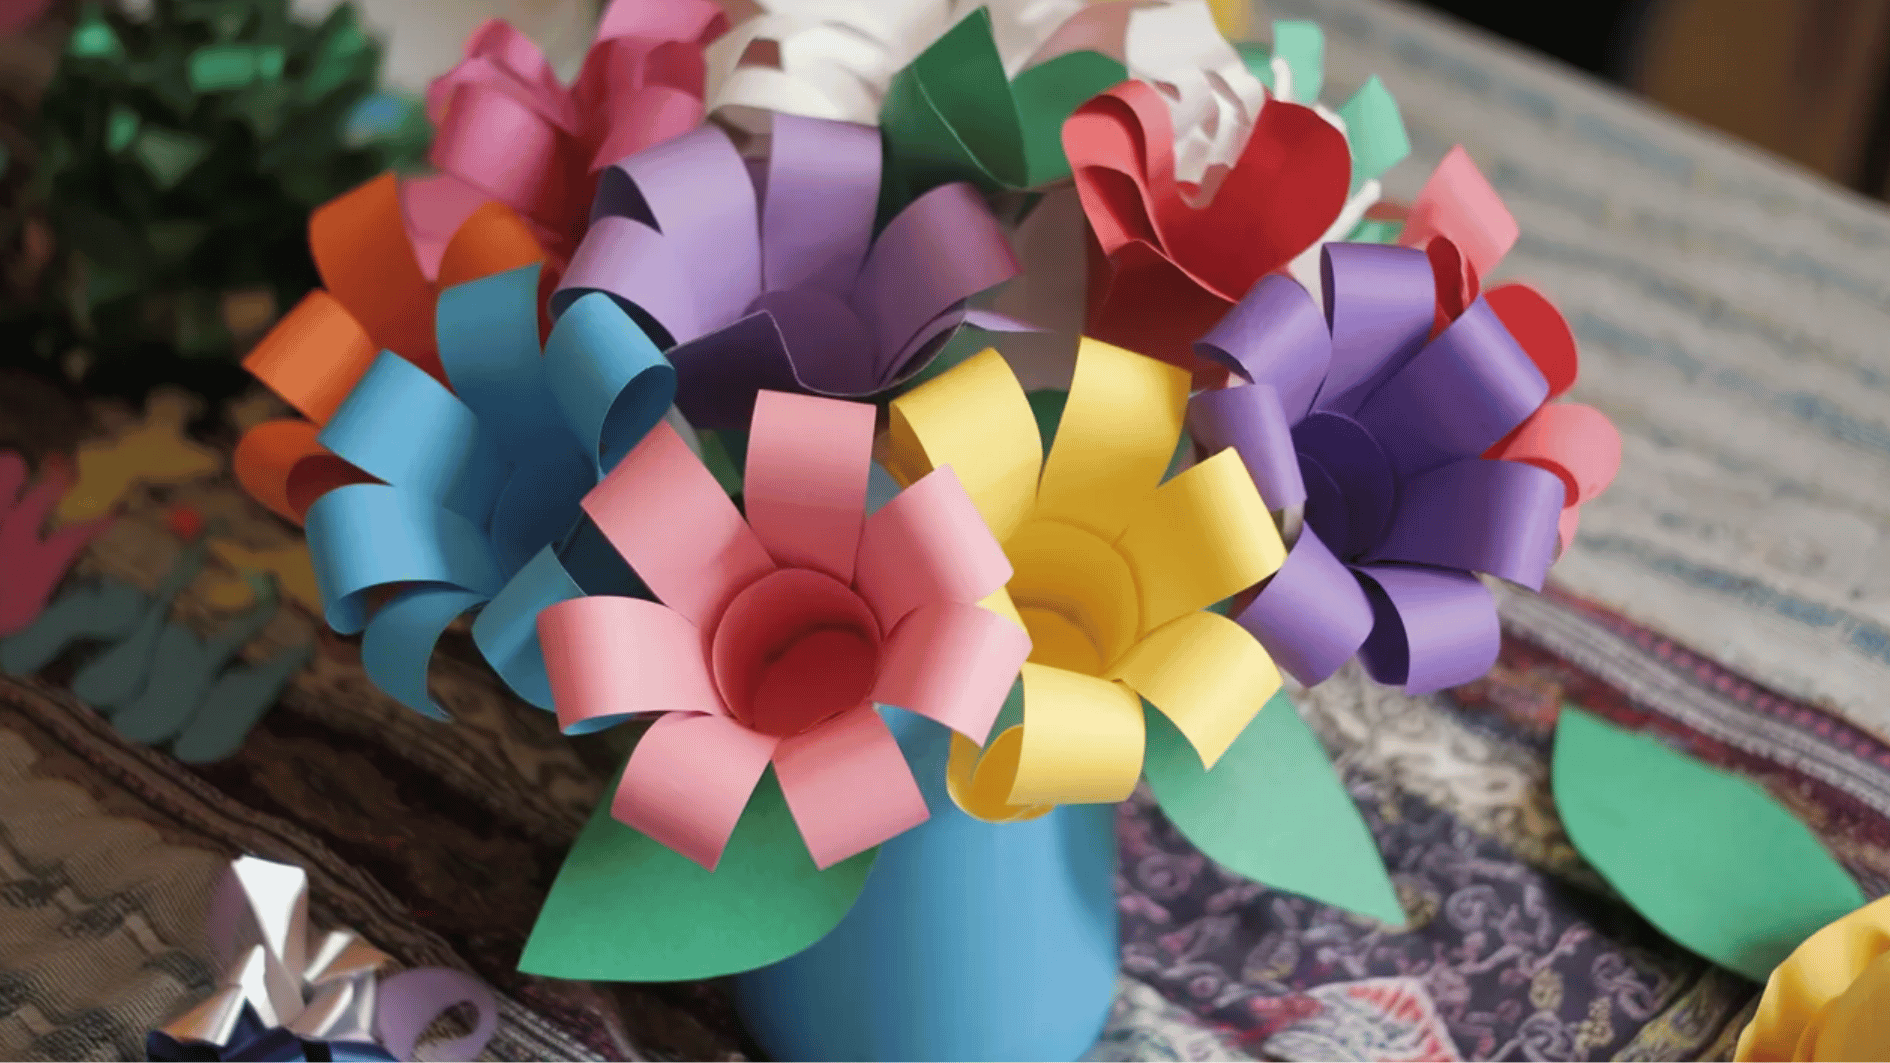
Paper cups can be cut and shaped into bright, decorative flowers. This craft is quick, colorful, and perfect for creative displays.
Materials required: Paper cups, markers, scissors, and glue.
How to make:
- Cut paper cups into petal shapes
- Color the shapes with markers
- Glue them together to form flowers.
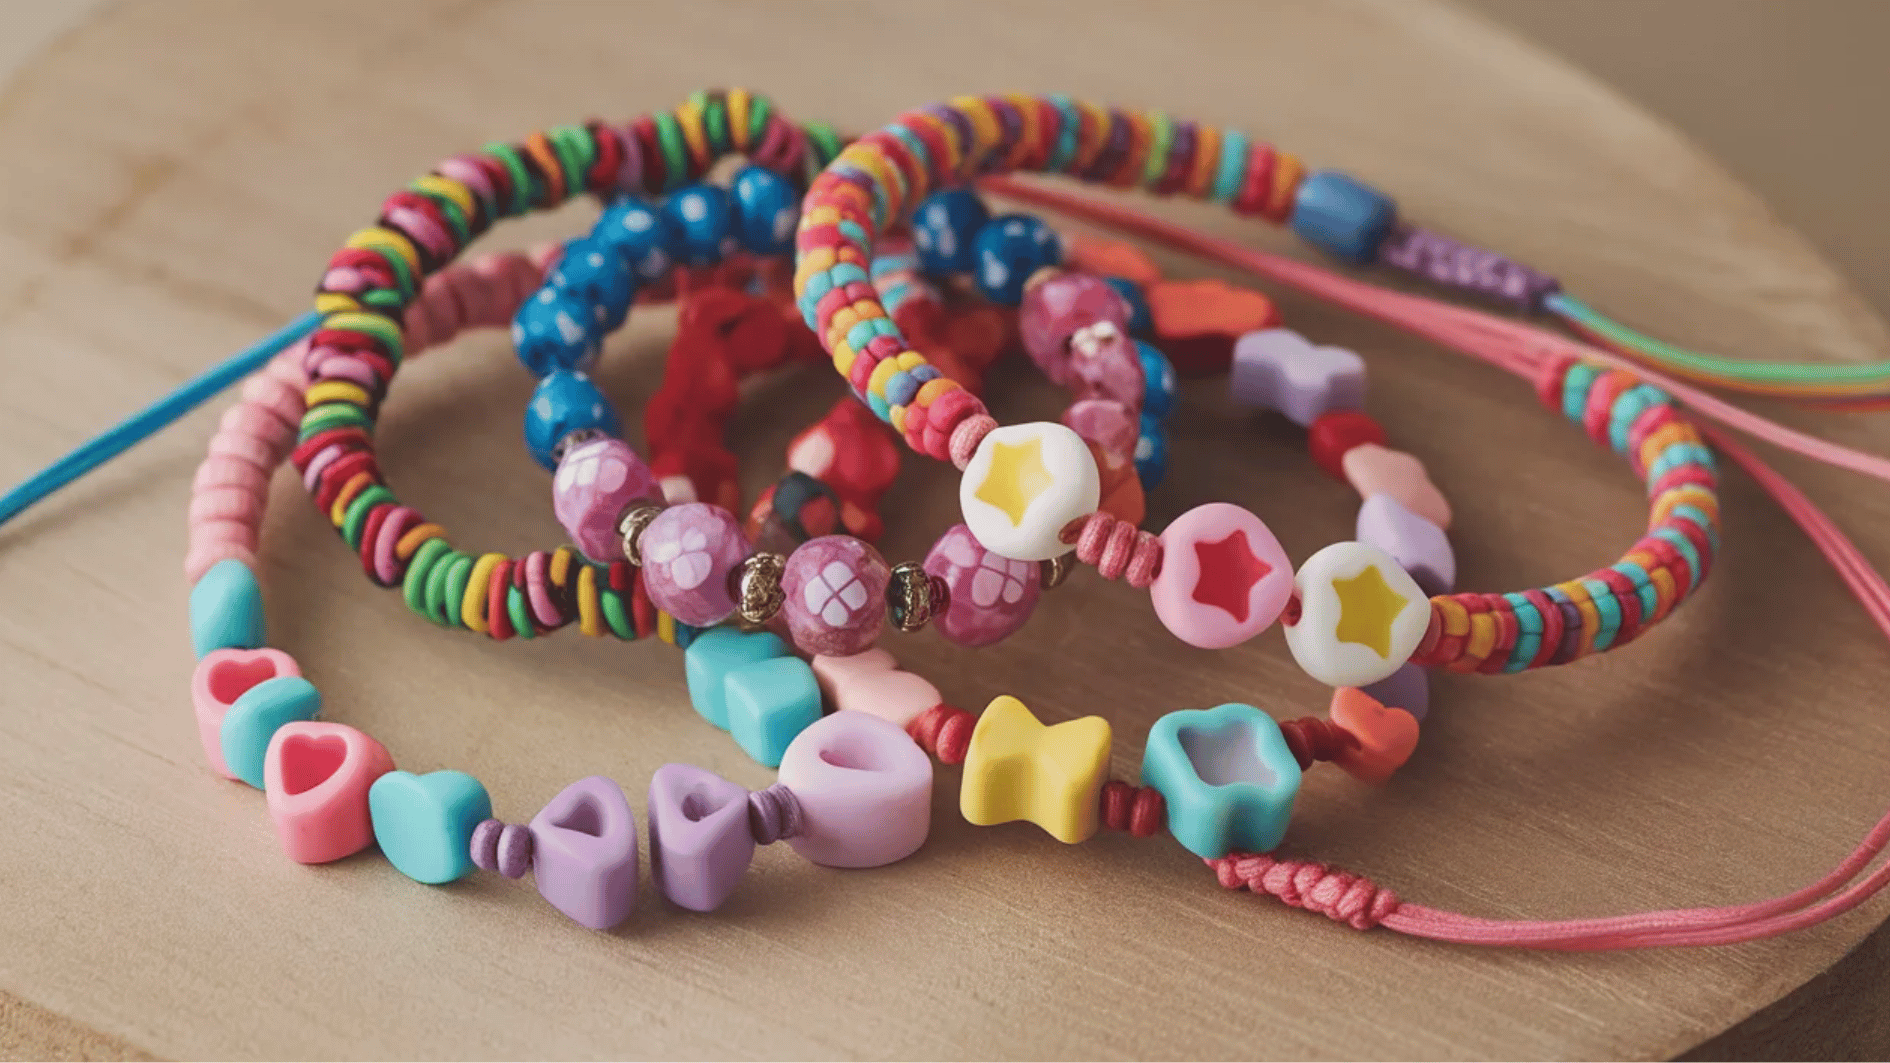
18. Bead Bracelets
Paper cups can be cut and shaped into bright, decorative flowers. This craft is quick, colorful, and perfect for creative displays.
Materials required: Beads, elastic string.
How to make:
- String beads onto an elastic cord to create colorful bracelets.
- Customize the design with different patterns.
19. Origami Paper Animals
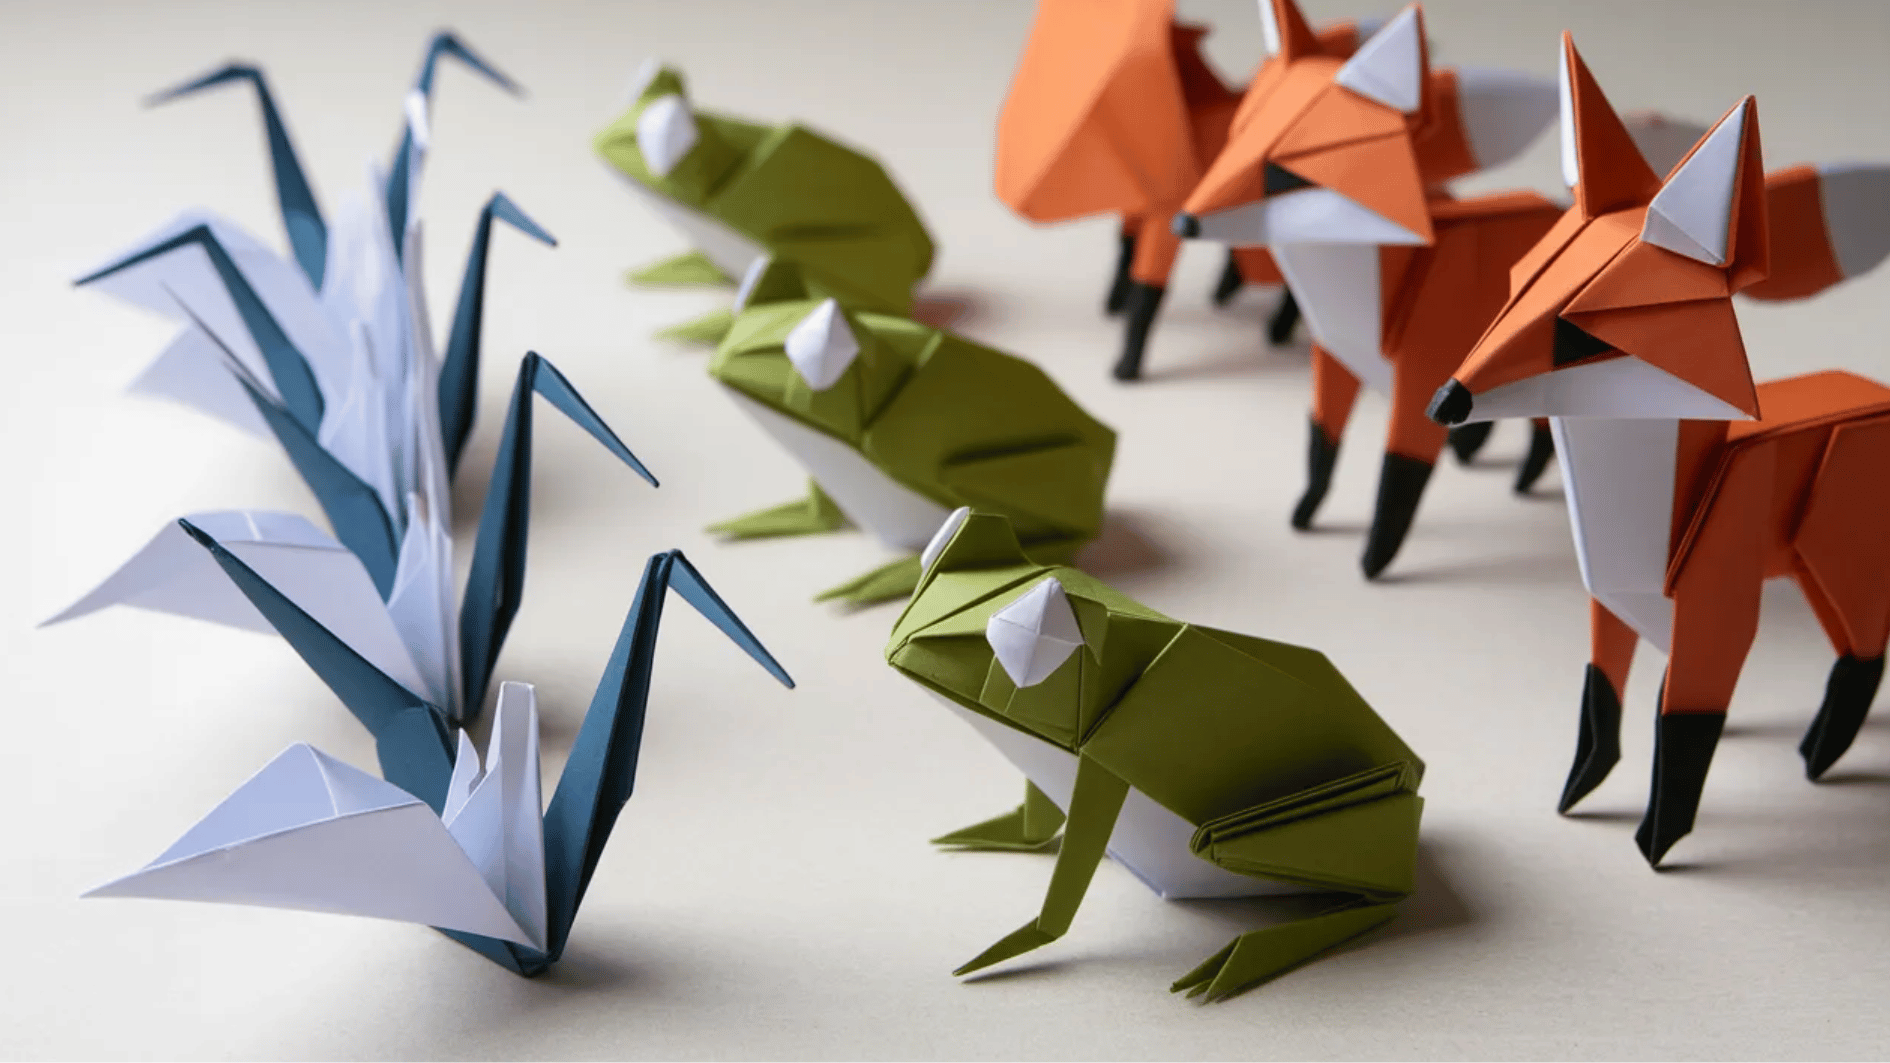
Origami turns simple paper into beautiful folded animals. This craft combines creativity with basic folding techniques.
Materials required: Origami paper or square paper.
How to make:
- Start with a Square Sheet: Begin with a square piece of paper. If you don’t have origami paper, a regular square sheet will work just fine.
- Follow Step-by-Step Instructions: Choose the animal you want to make (crane, fox, frog, etc.). Look up simple origami instructions for that specific animal or use a diagram to guide you.
- Fold Carefully: Follow each fold slowly and precisely, ensuring the edges match for clean lines.
20. Leaf Prints
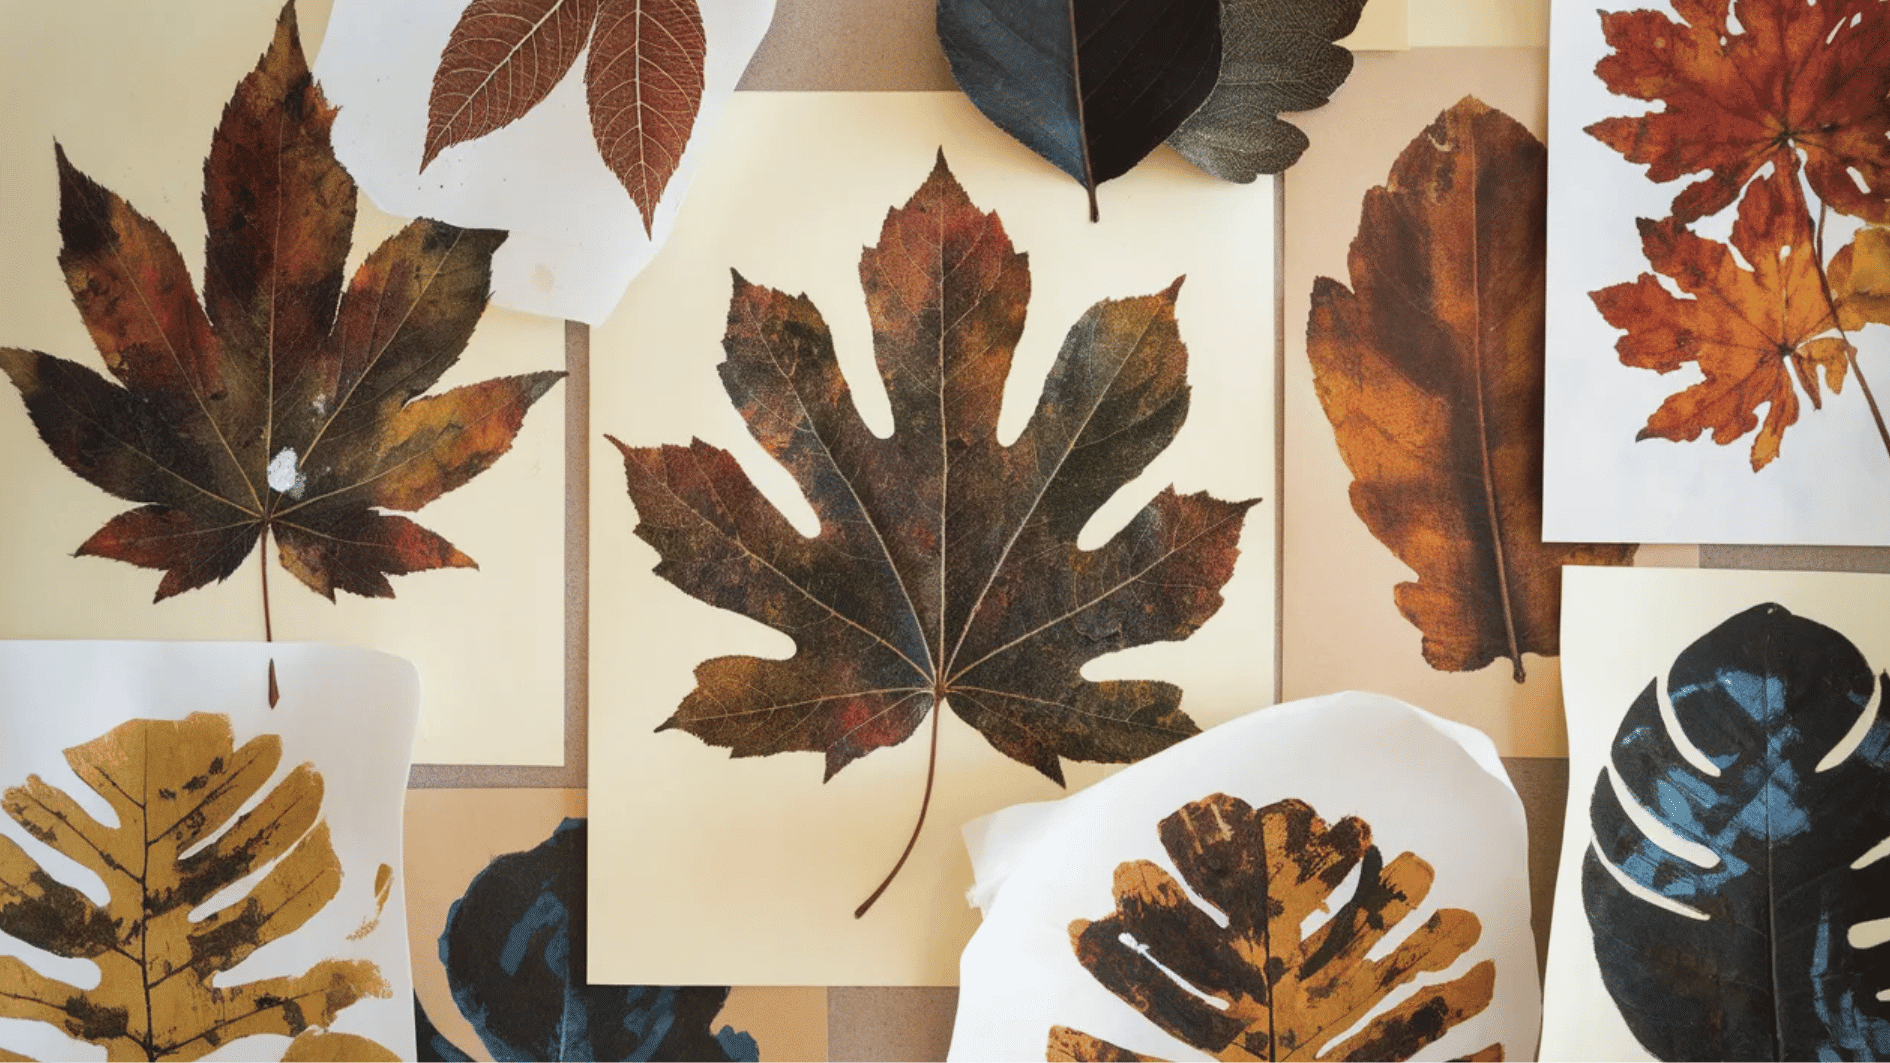
Leaves from nature can be used to create beautiful painted prints. Each leaf produces a unique texture and natural design.
Materials required: Leaves, paint, and paper.
How to make:
- Paint a leaf and press it onto paper to make a print.
- You can use multiple leaves to create a full design.
21. Egg Carton Caterpillars
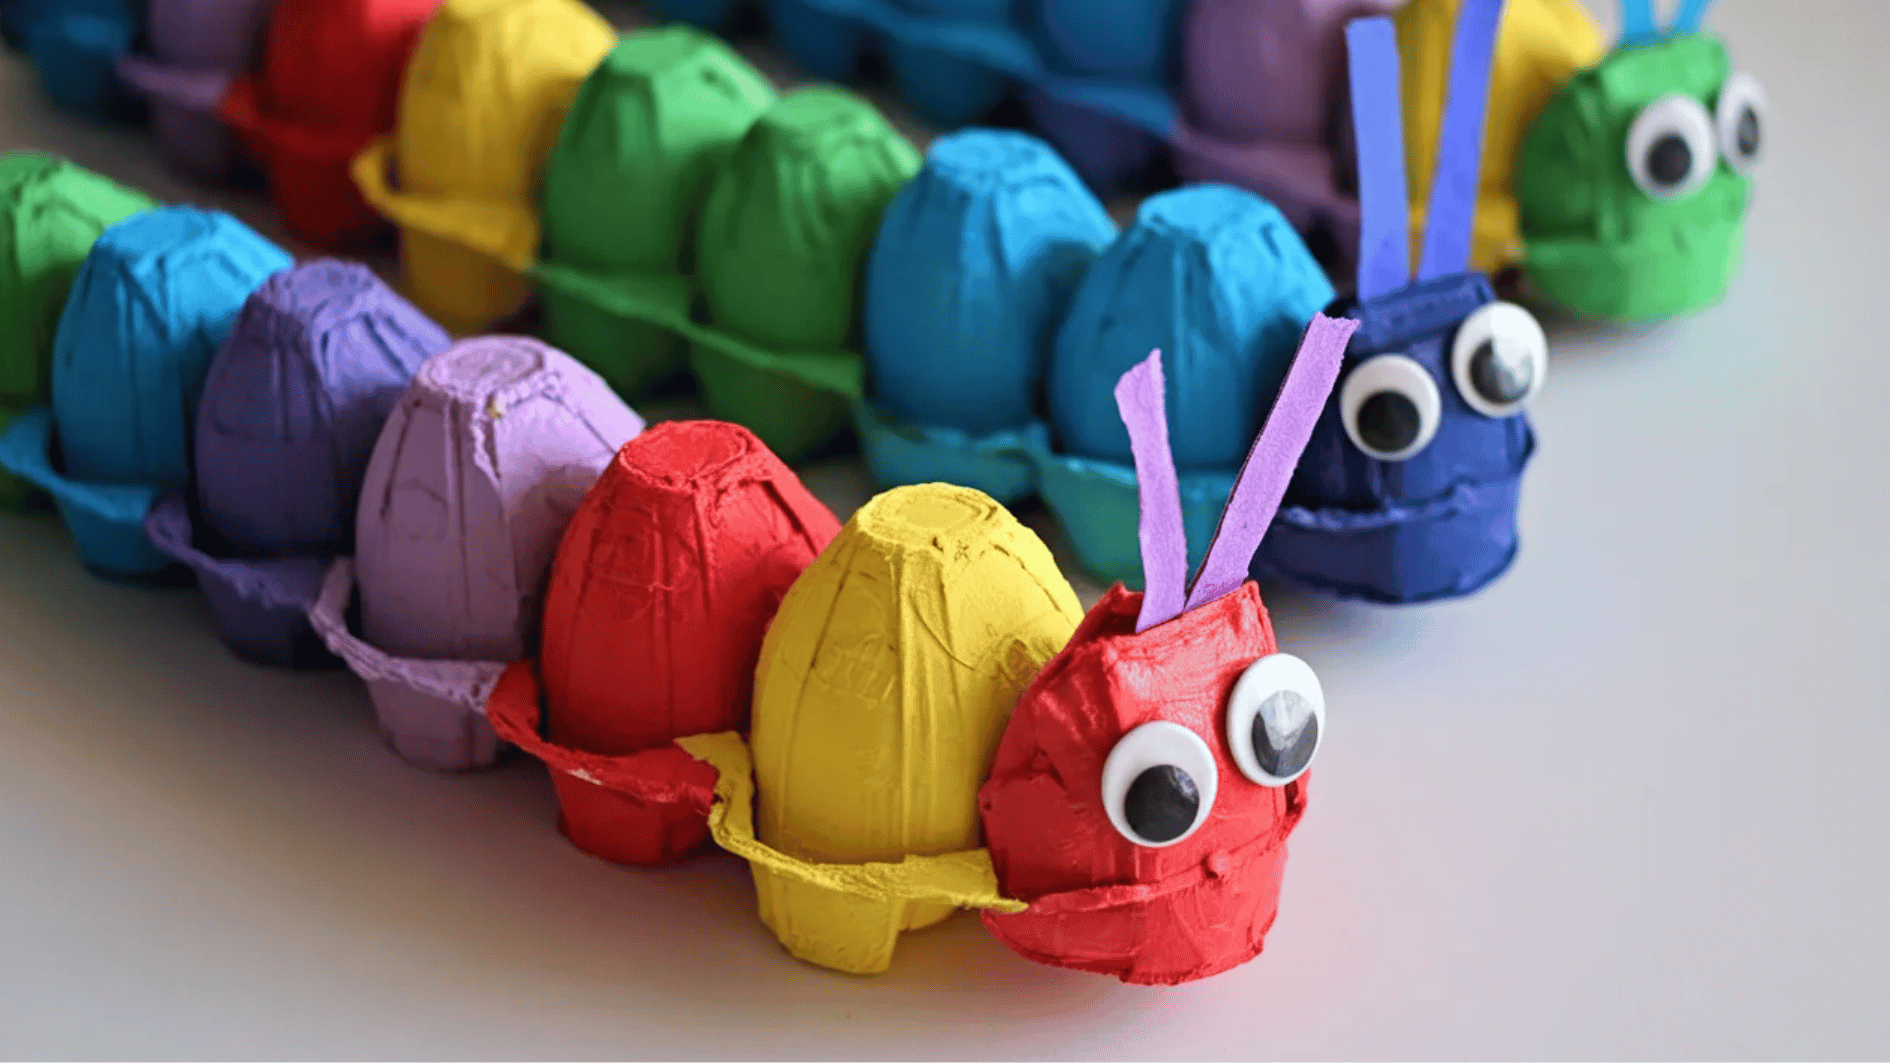
Egg cartons can easily be turned into cute caterpillar crafts. Bright paint and googly eyes bring these recycled creations to life.
Materials required: Egg carton, paint, googly eyes, scissors.
How to make:
- Cut an egg carton into segments
- Paint them in different colors
- Glue googly eyes to create a caterpillar.
22. Watercolor Resist Art
Draw with a white crayon first, then paint over it with watercolors. The hidden design appears as the paint resists the wax.
Materials required: Watercolor paints, watercolor paper, and white crayon.
How to make:
- Use a white crayon to draw a design on watercolor paper
- Paint over it with watercolors.
- The crayon will resist the paint, revealing your design.
23. Toilet Paper Roll Bird Feeder
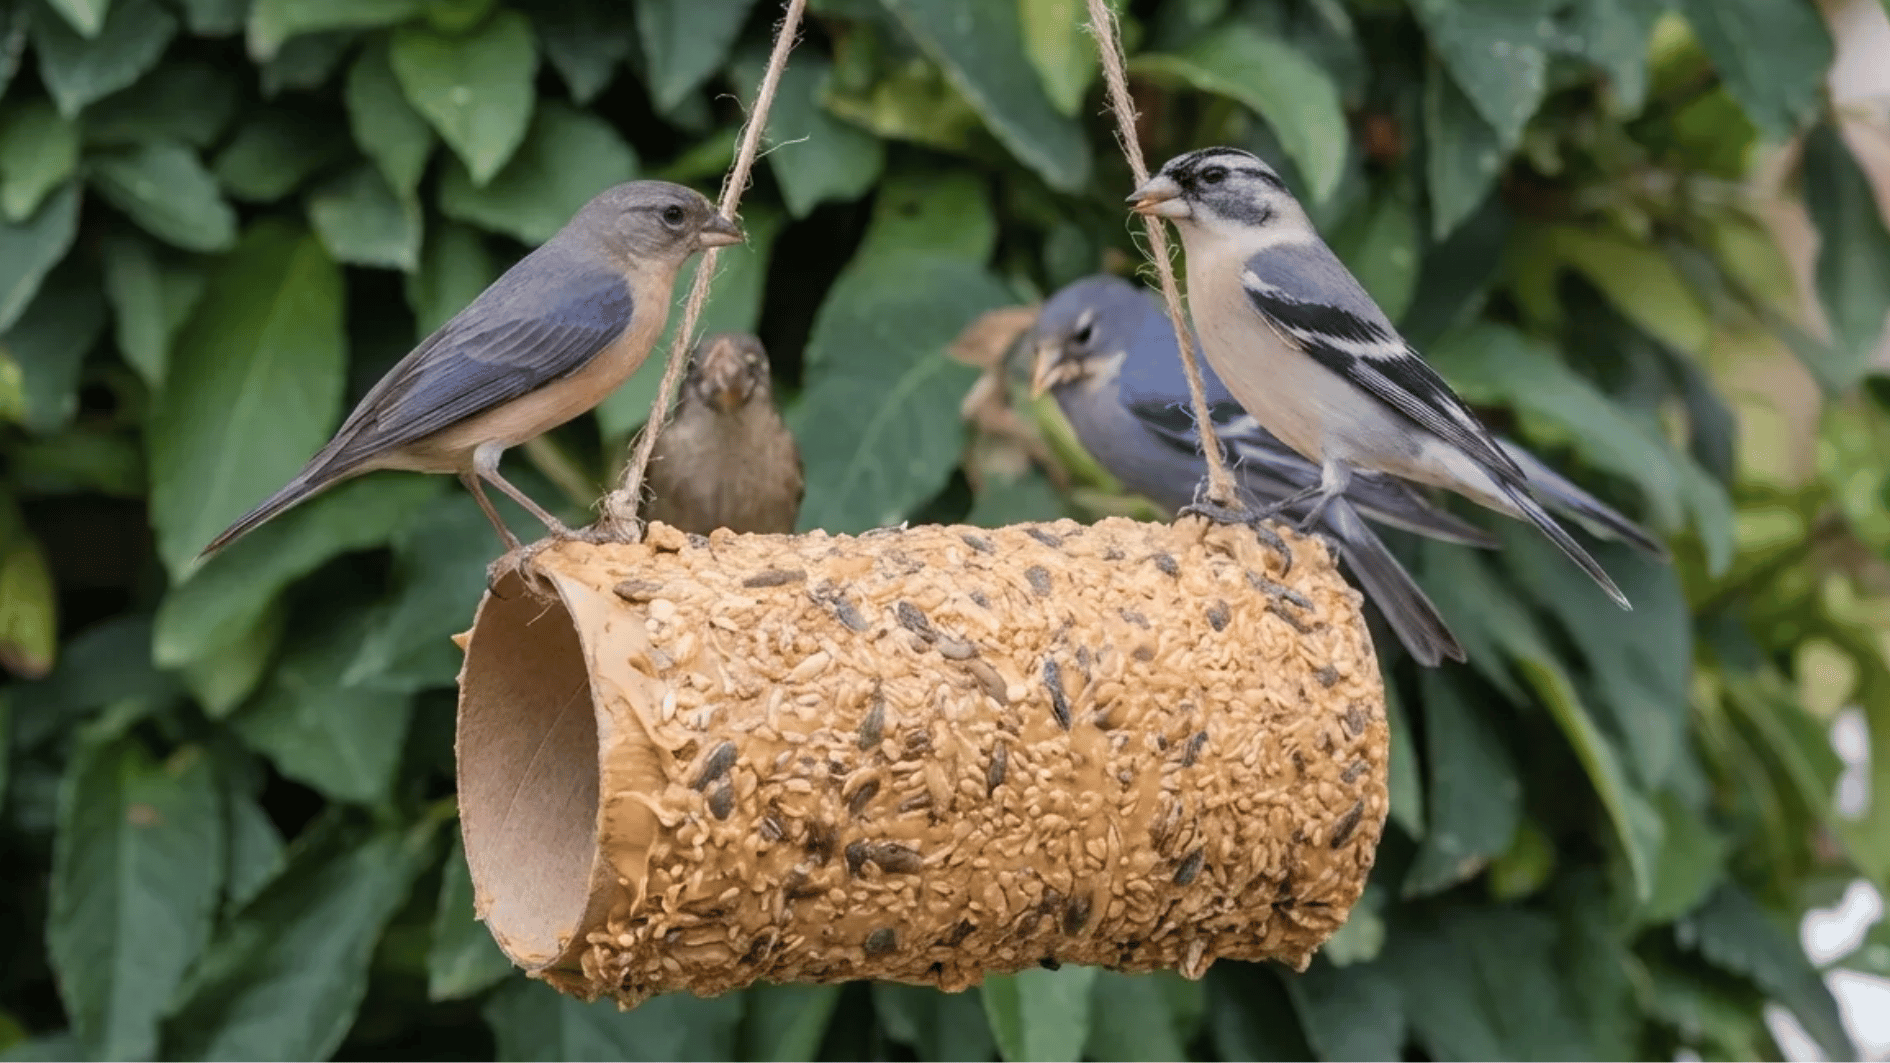
Create a simple bird feeder using a toilet paper roll and birdseed. Hang it outside and enjoy watching birds visit your yard.
Materials required: Toilet paper roll, peanut butter, bird seed.
How to make:
- Spread peanut butter on a toilet paper roll, then roll it in bird seed.
- Hang it outside to attract birds.
24. Tissue Paper Collage
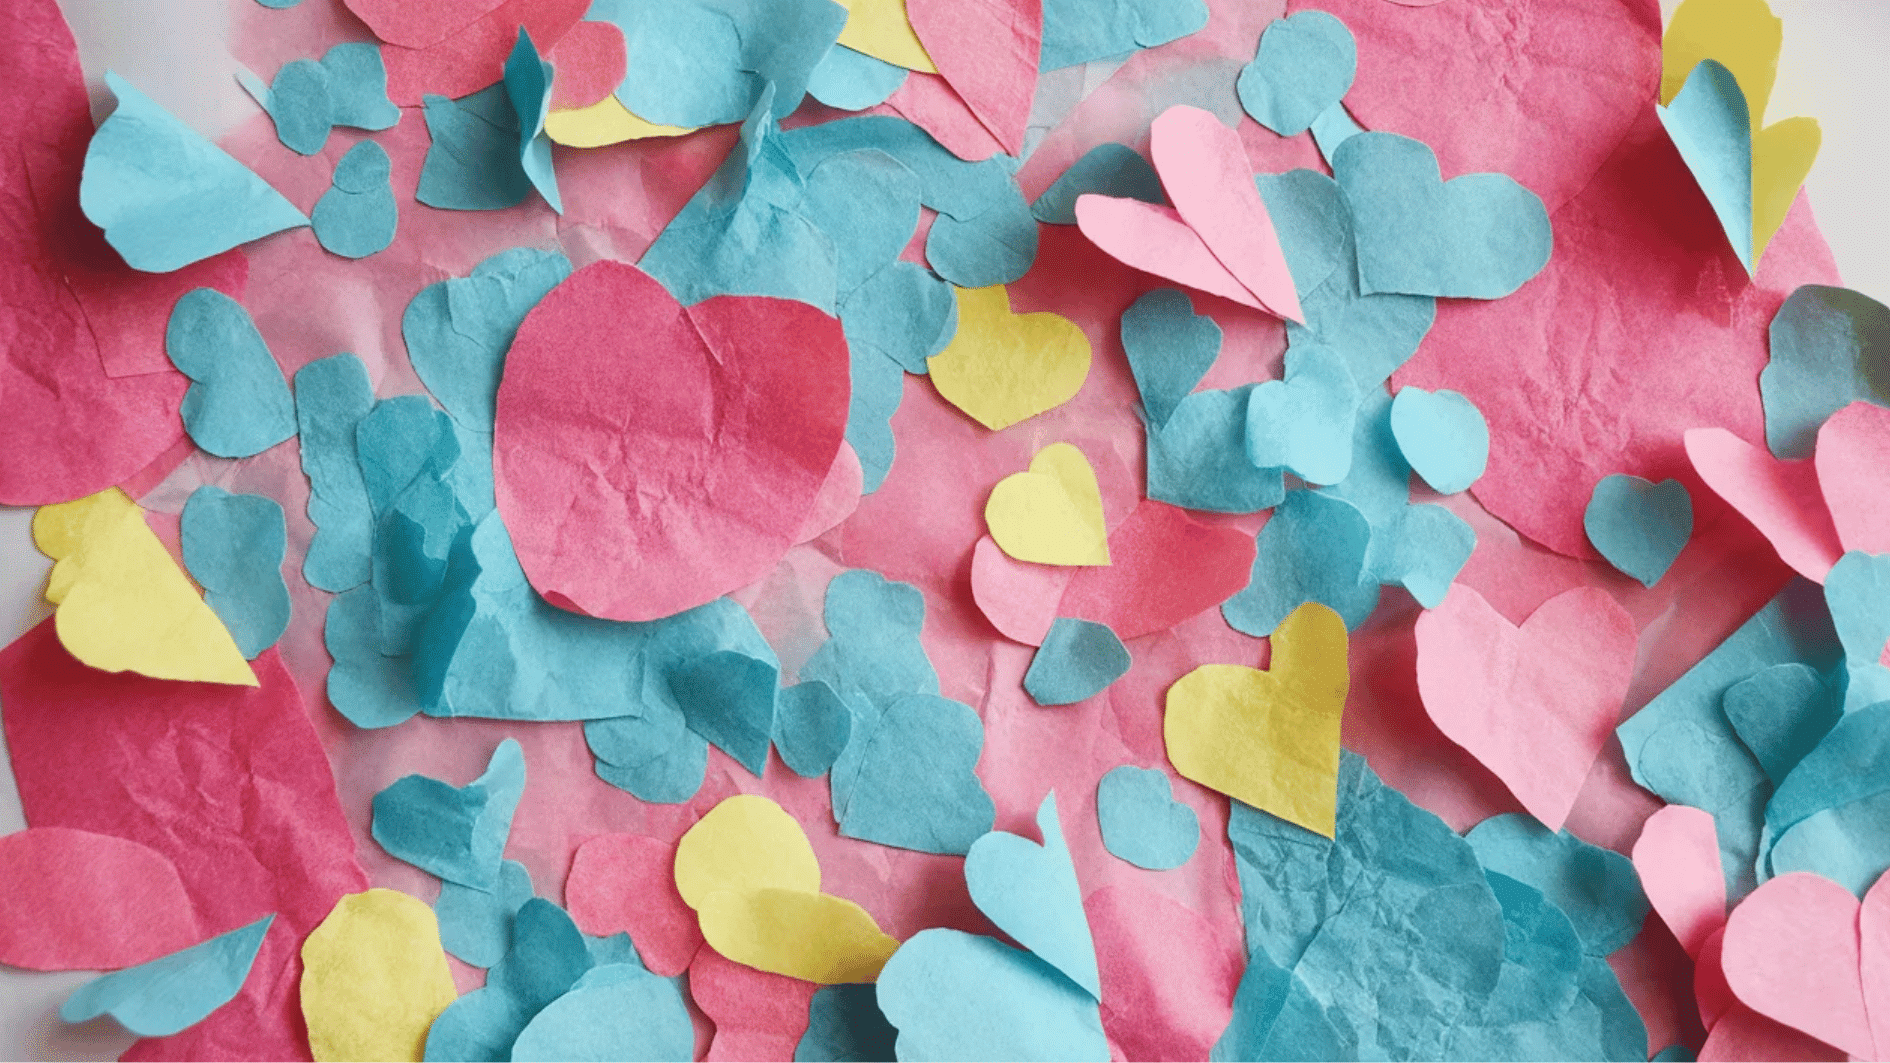
Tissue paper pieces can be layered to form colorful collages. The soft paper creates beautiful textures and vibrant designs.
Materials required: Tissue paper, glue, scissors, and paper.
How to make:
- Cut or tear tissue paper into small pieces.
- Glue them onto paper to create a collage or abstract design.
25. Bubble Wrap Printing
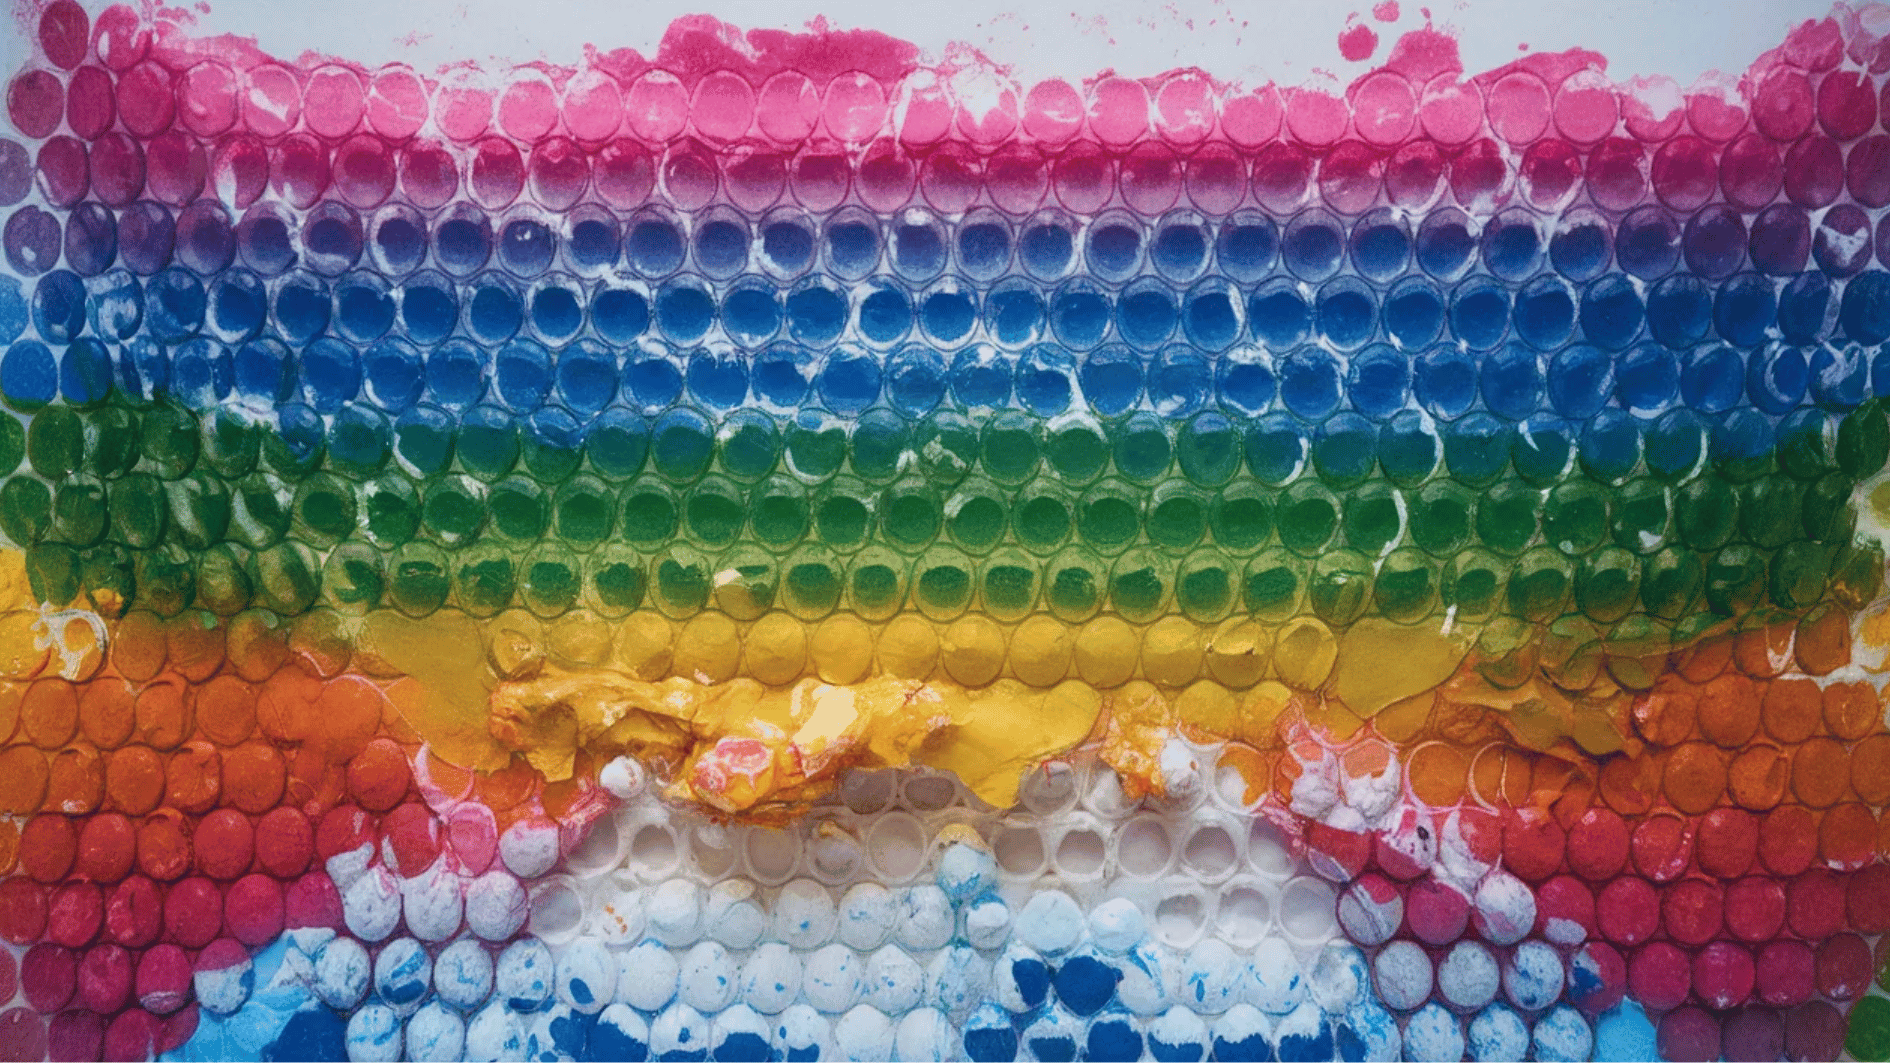
Bubble wrap creates fun textures when used as a paint printing tool. The bubble patterns make unique and playful artwork.
Materials required: Bubble wrap, paint, and paper.
How to make:
- Paint a piece of bubble wrap.
- Press paper onto bubble wrap.
- peel it off to reveal a textured print.
26. Paper Plate Masks

Paper plates can be turned into fun masks with a little cutting and decorating. Kids can design animal or character masks for playtime.
Materials required: Paper plates, markers, scissors, glue, and string.
How to make:
- Cut eye holes into a paper plate.
- Decorate it as a mask.
- Attach a string to wear it.
27. Rock Animals
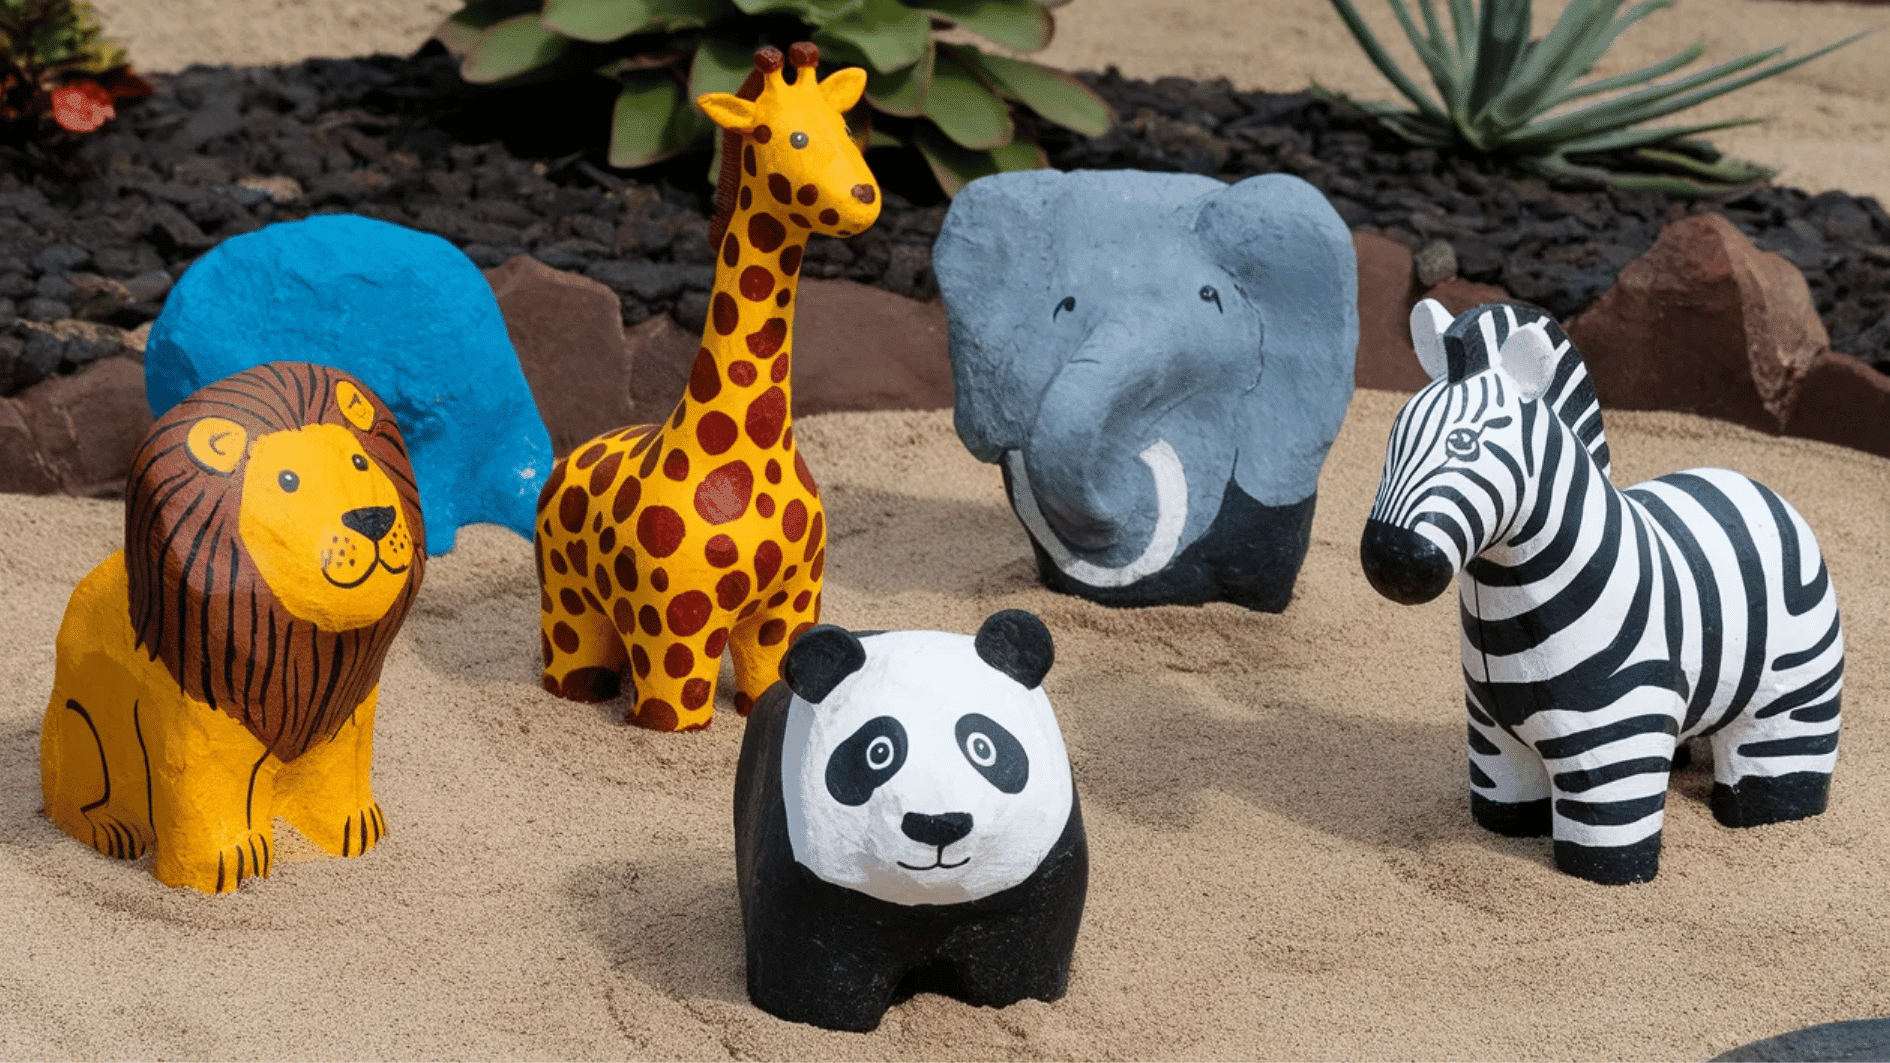
Paint rocks to resemble animals with simple details and bright colors. These tiny sculptures make fun decorations or toys.
Materials required: Rocks, paint, brushes.
How to make:
- Pick Your Rocks: Choose smooth, clean rocks that will be easy to paint on. Look for flat or round rocks, depending on the animal shape you want to create.
- Paint the Base: Start by painting the rock with a solid color as the base for your animal. Use a light color for the body, like white or brown, depending on the animal.
- Add Animal Features: Once the base coat is dry, use darker colors to paint features like eyes, fur, and noses. Add any fun details like ears or spots to make it unique.
- Let It Dry: Allow the paint to dry completely before adding any extra layers or details.
29. Popsicle Stick Picture Frame
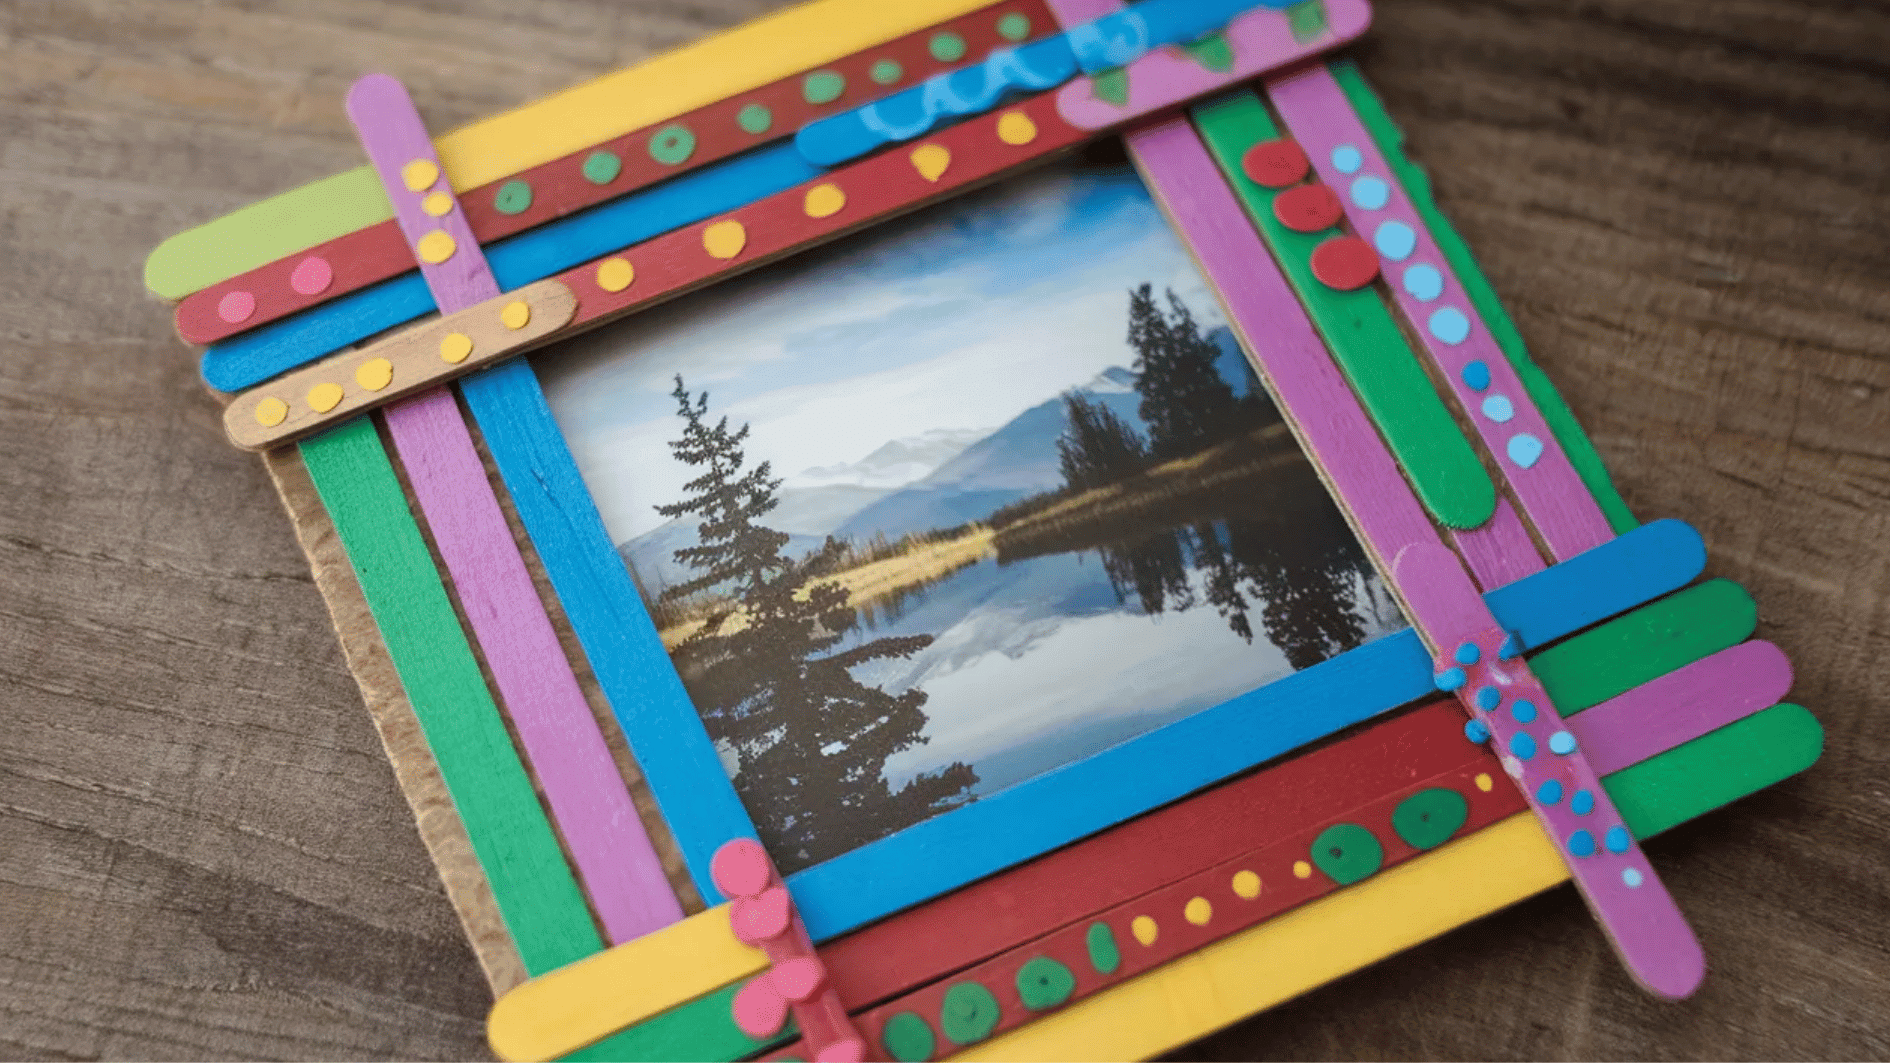
Popsicle sticks can be glued together to form a simple photo frame. Decorate it with paint to create a personalized display.
Materials required: Popsicle sticks, glue, paint, picture.
How to make:
- Glue popsicle sticks together to form a square or rectangular frame.
- Paint and decorate it, then add a photo.
30. Salt Dough Handprints
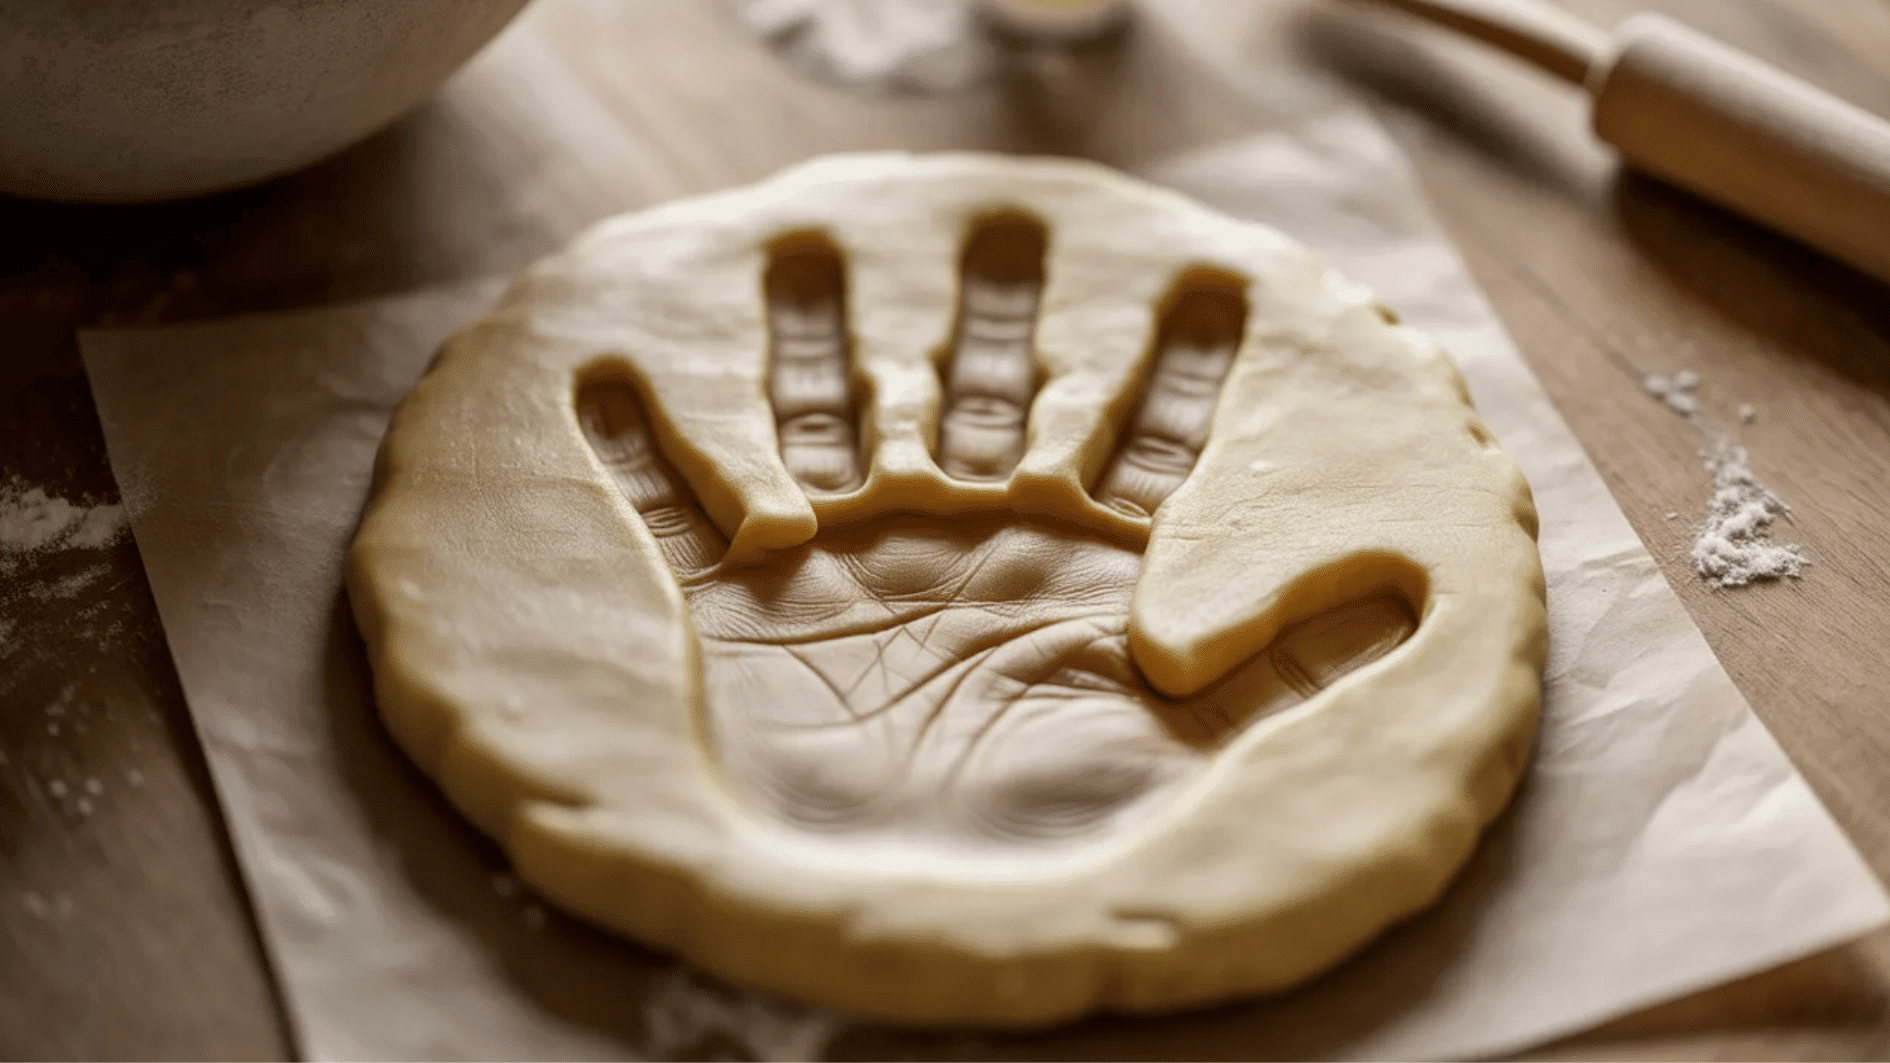
Salt dough crafts preserve handprints as lasting keepsakes. Once baked and painted, they become meaningful handmade decorations.
Materials required: Flour, salt, water, rolling pin, cookie cutter (optional), paint.
How to make:
- Mix flour, salt, and water to form dough.
- Roll it out, press your handprint into it, and bake.
- Once cooled, paint the handprint.
31. Chalk Art
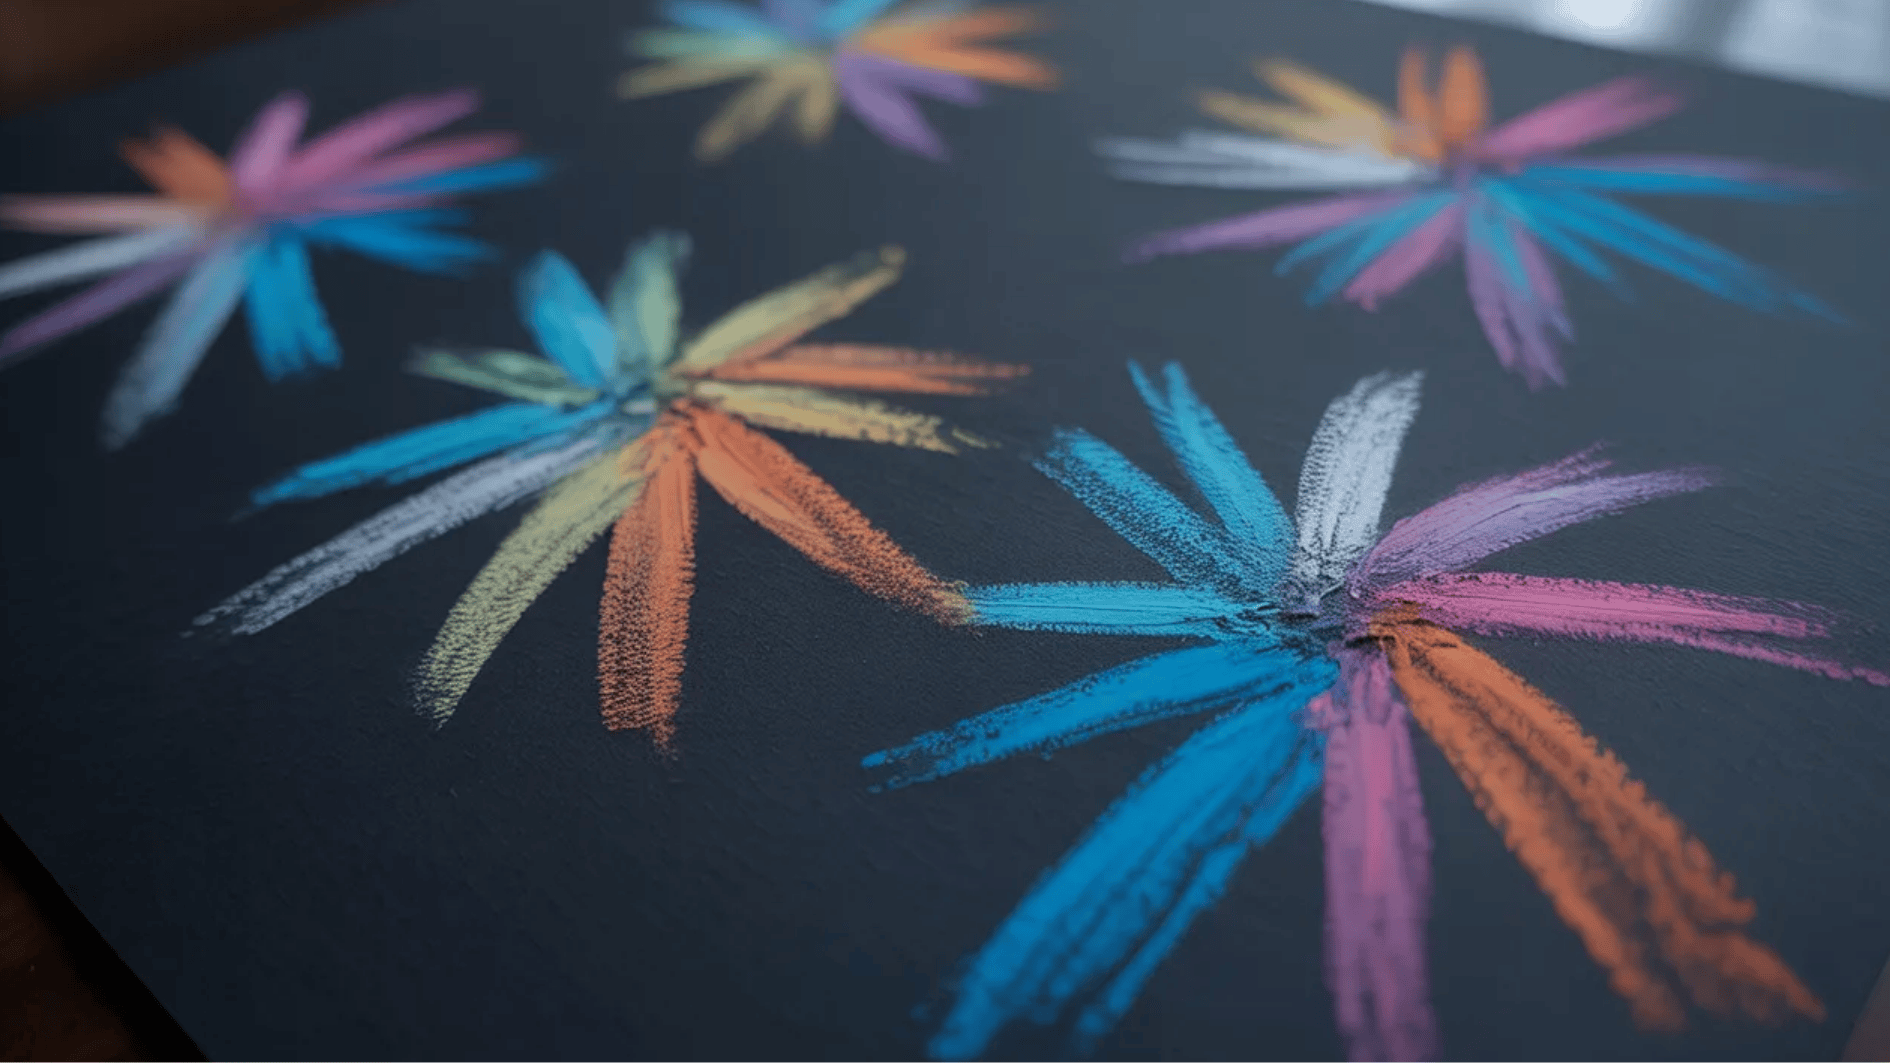
Chalk art on dark paper creates bright and bold drawings. Blending and shading with chalk produces beautiful color effects.
Materials required: Chalk, black construction paper.
How to make:
- Use chalk on black paper to create vibrant drawings.
- Use smudge for shading, or mix colors for fun effects.
32. Plastic Spoon Flowers
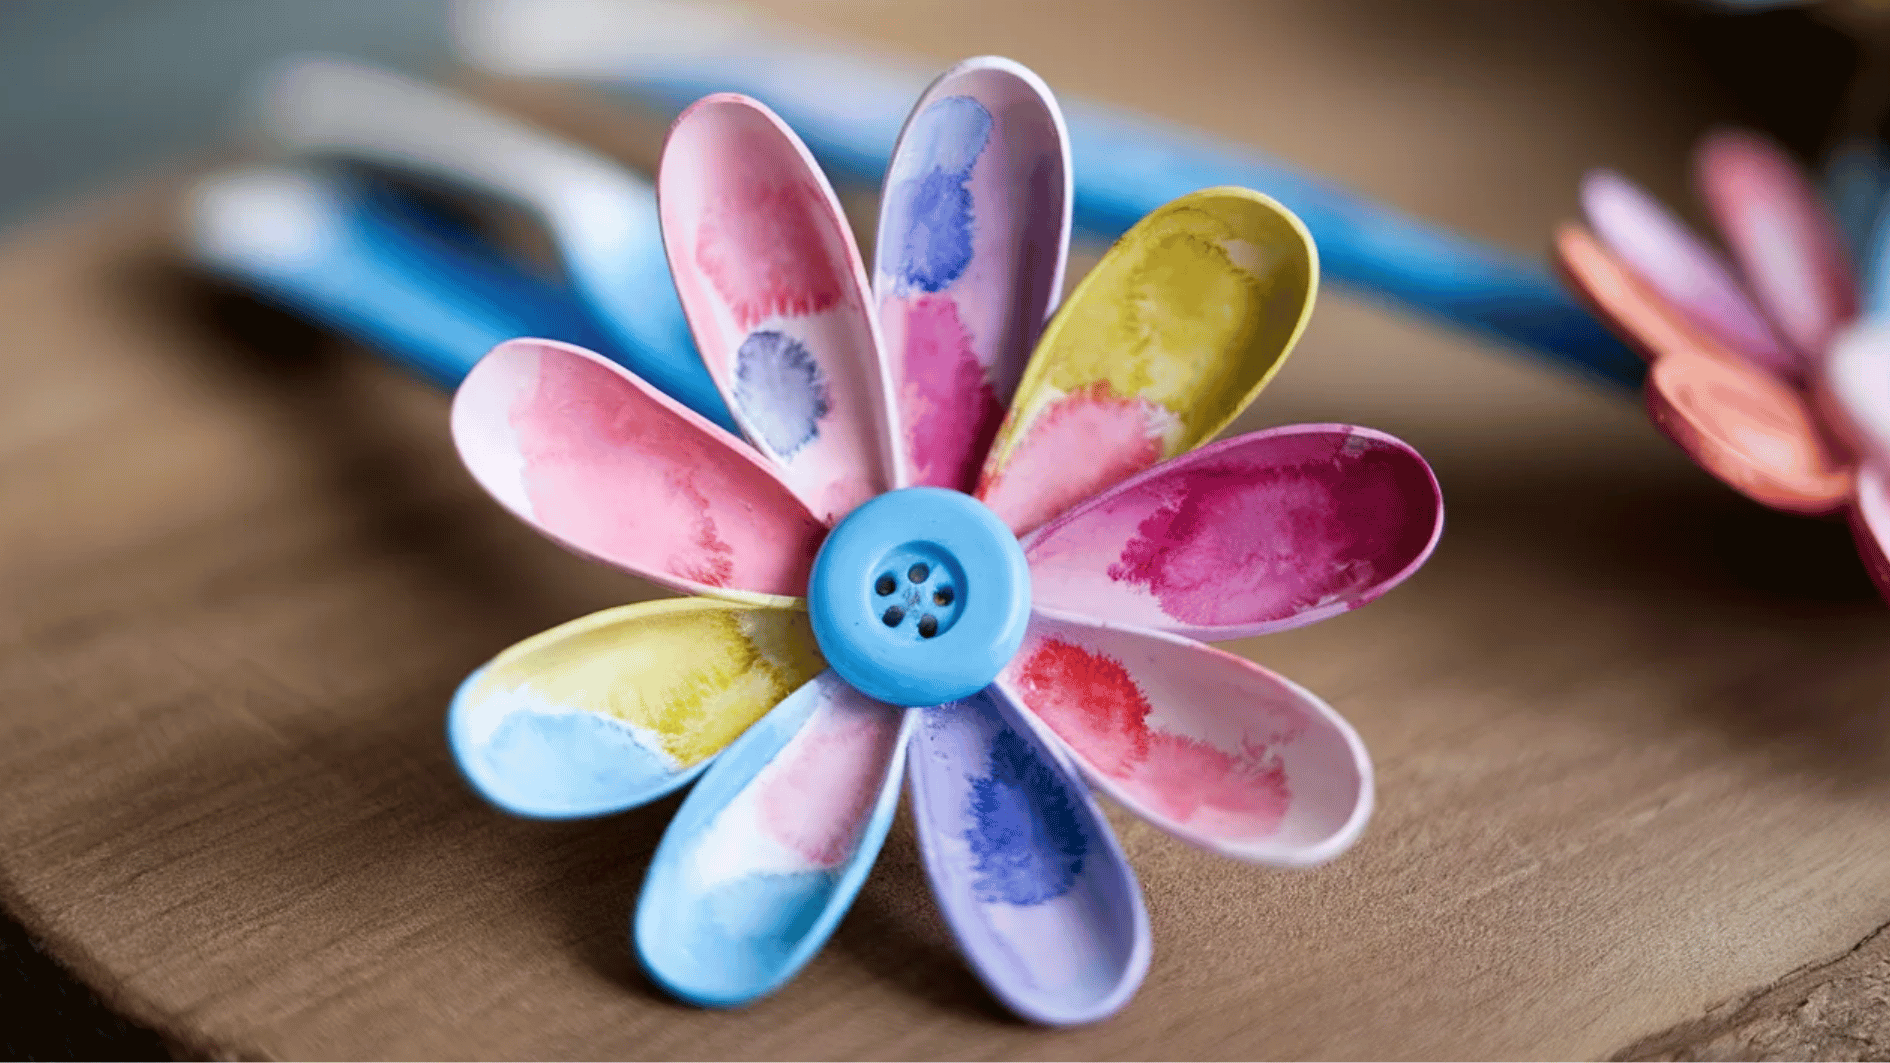
Plastic spoons can be arranged into flower shapes for a creative craft. Painted petals and button centers make the flowers look vibrant.
Materials required: Plastic spoons, glue, paint, and buttons.
How to make:
- Cut the handles off plastic spoons, glue them together to form petals, and paint them to create flowers.
- Add buttons for the centers.
33. CD Spinner Art
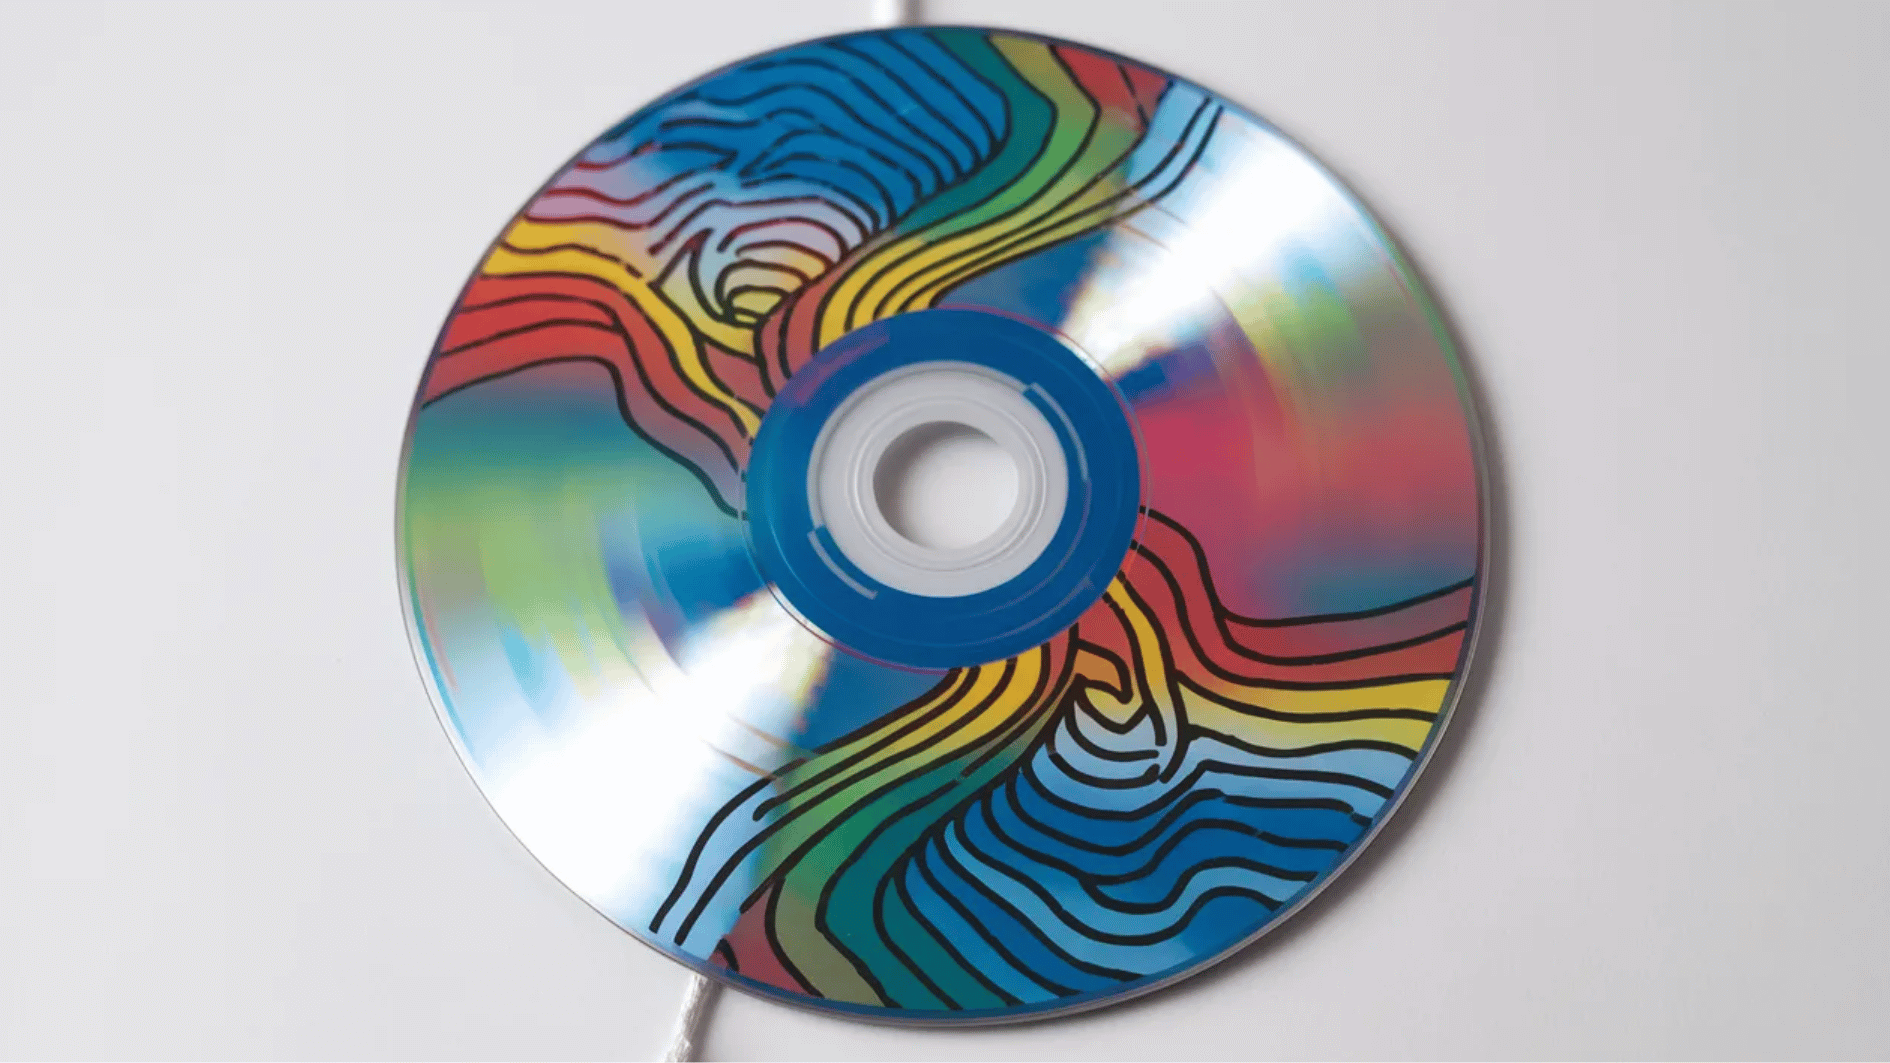
Old CDs become spinning art toys when decorated with colorful designs. When spun, they create mesmerizing patterns.
Materials required: Old CDs, markers, and string.
How to make:
- Decorate an old CD with markers, then thread a piece of string through the center.
- Spin it to create fun patterns.
34. Toothpick Sculpture
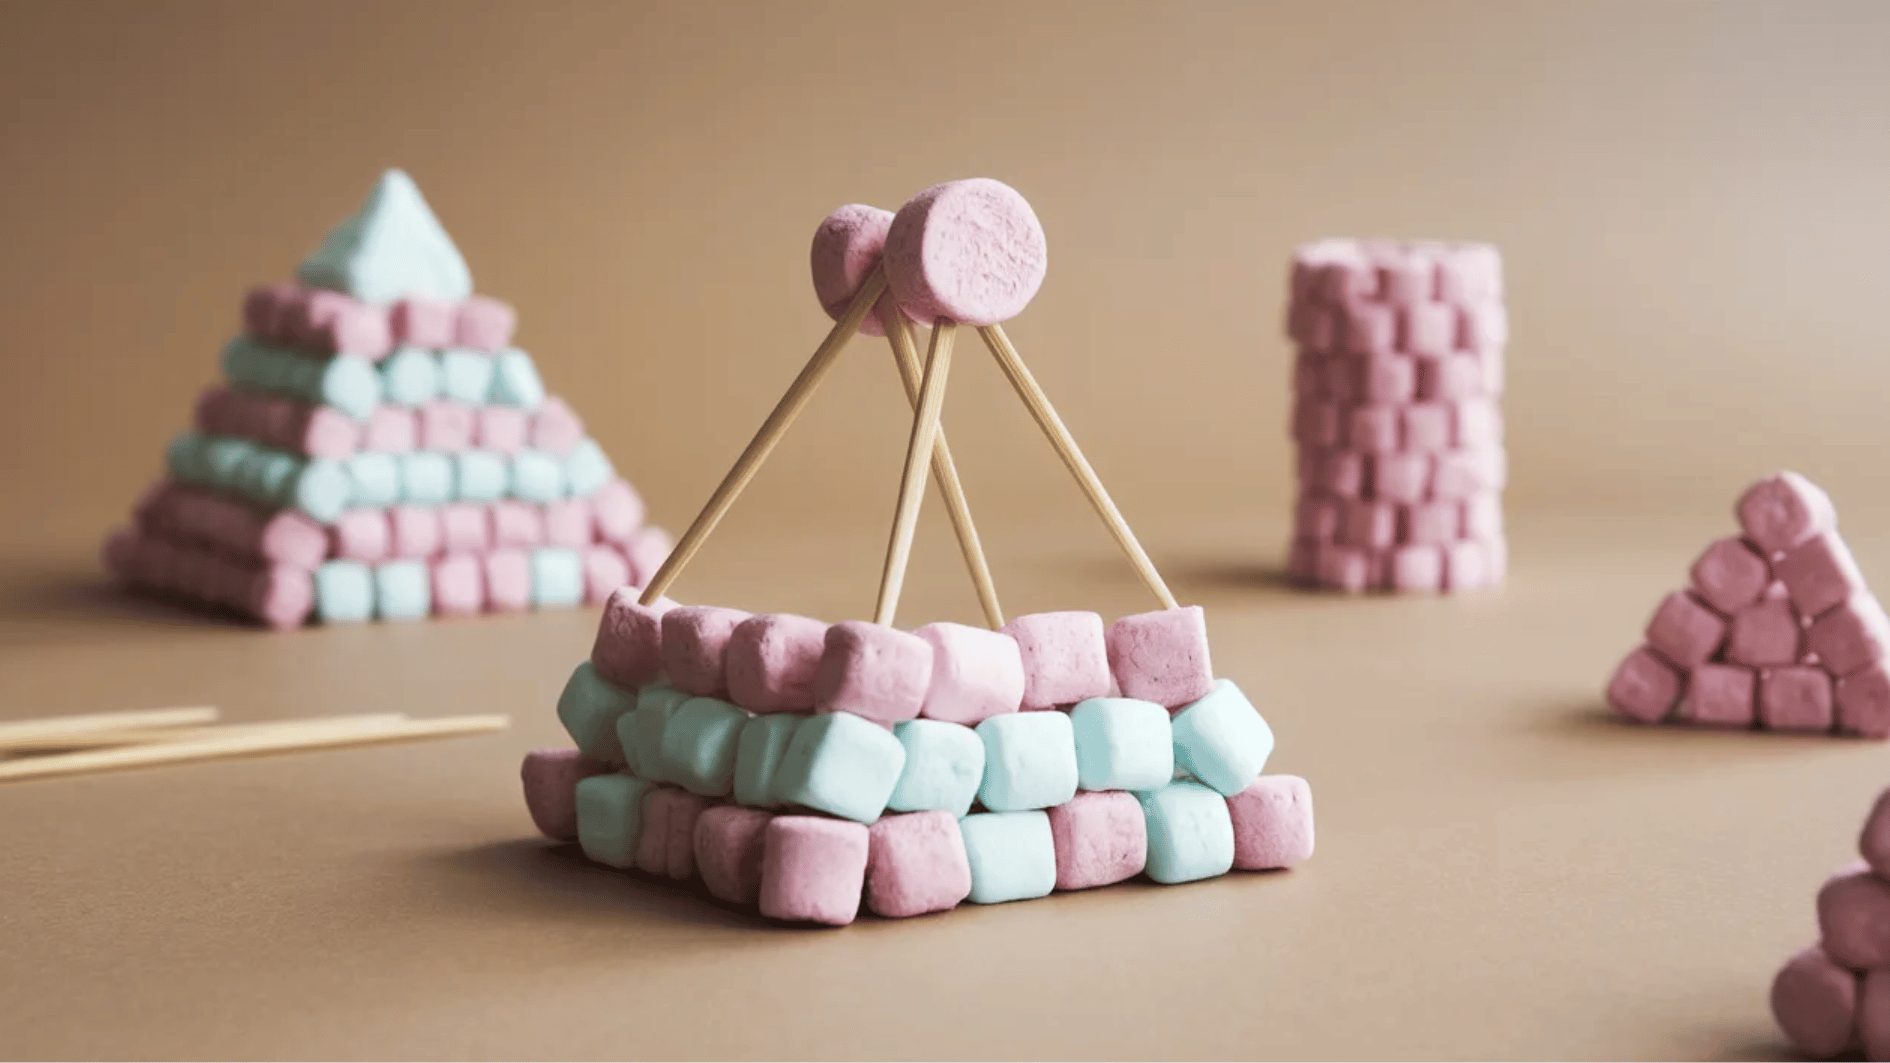
Toothpicks and marshmallows can build fun 3D structures. This craft combines creativity with basic building skills.
Materials required: Toothpicks, marshmallows, or gumdrops.
How to make:
- Start with Toothpicks and Marshmallows: Take a few toothpicks and marshmallows to begin your project.
- Build Geometric Shapes: Stick the ends of the toothpicks into the marshmallows to form basic shapes like squares, triangles, or cubes. These shapes can then be connected to create more complex structures.
- Create Fun Sculptures: Once you’re comfortable with geometric shapes, you can start building fun sculptures, like animals or abstract designs.
35. Water Bottle Wind Chimes
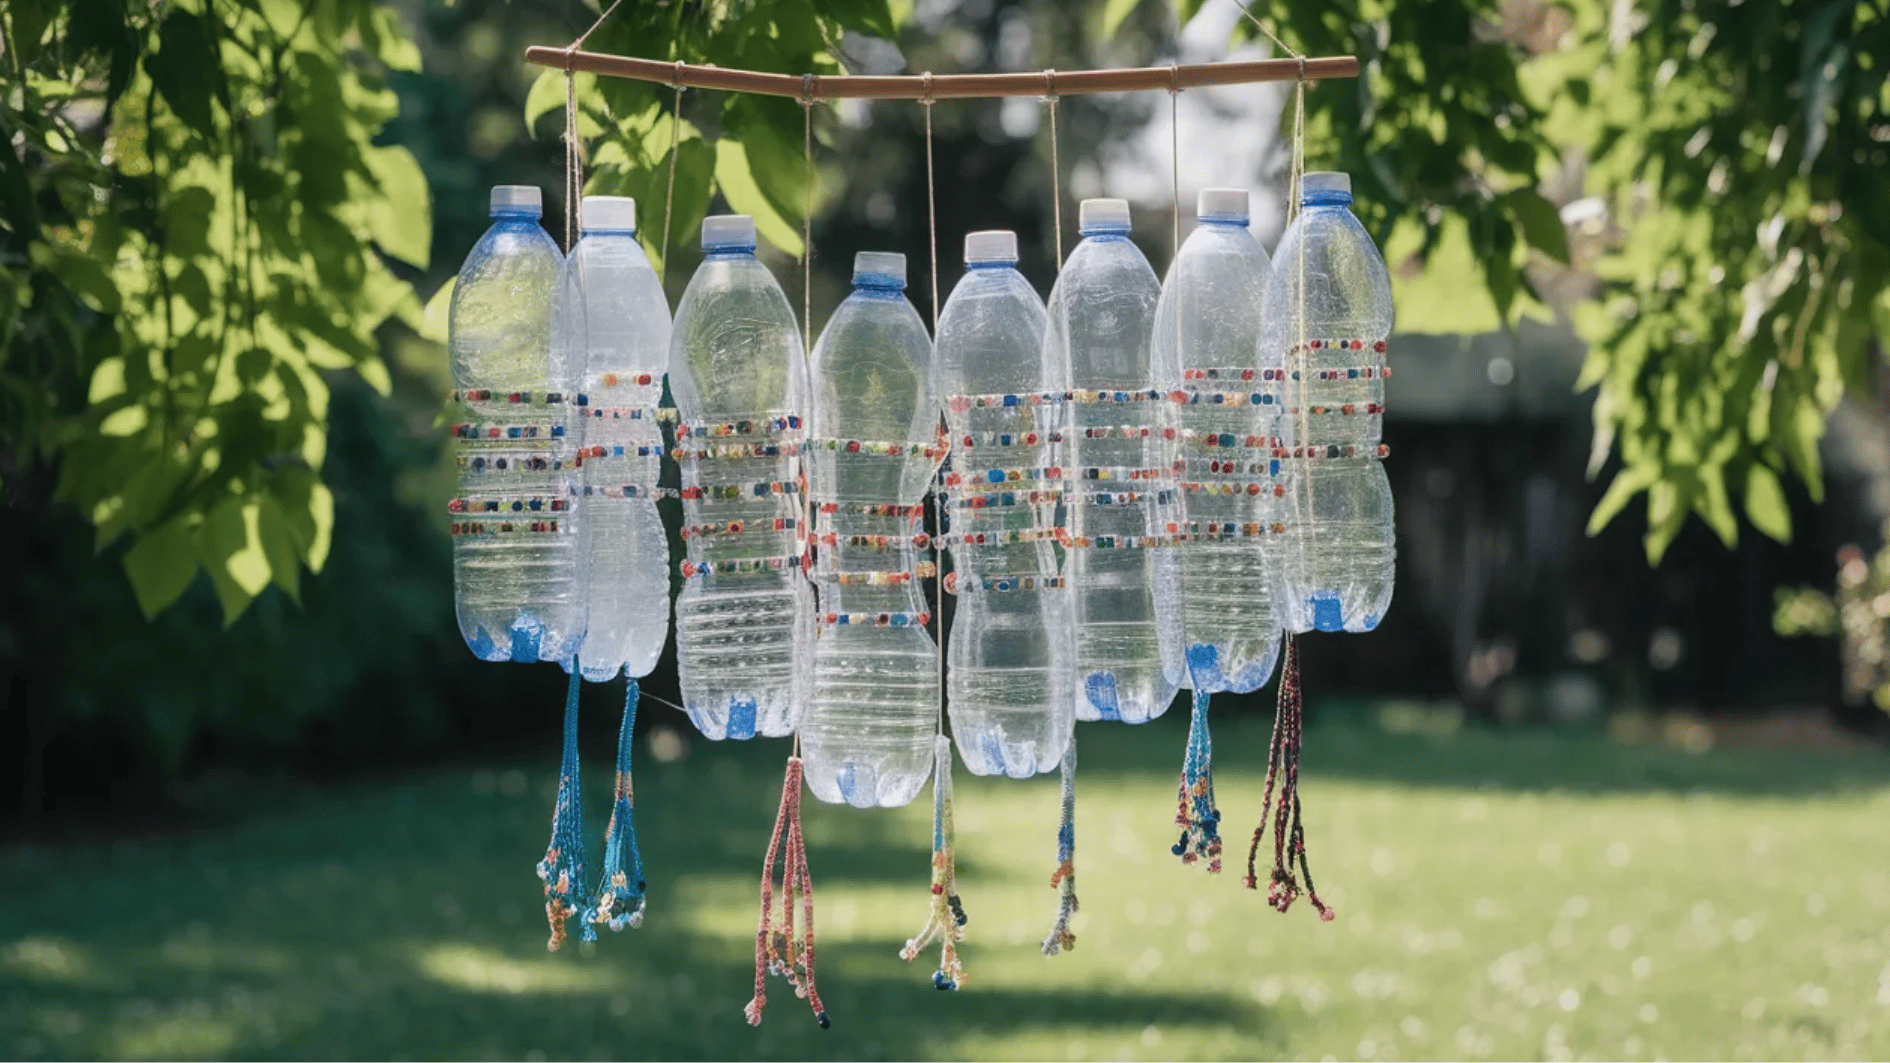
Recycled water bottles can be turned into decorative wind chimes. Beads and strings add color and gentle sound when they move.
Materials required: Plastic water bottles, string, beads, and scissors.
How to make:
- Cut water bottles into decorative shapes
- Thread beads onto a string
- Hang the bottles to create a wind chime.
36. Jellyfish Craft
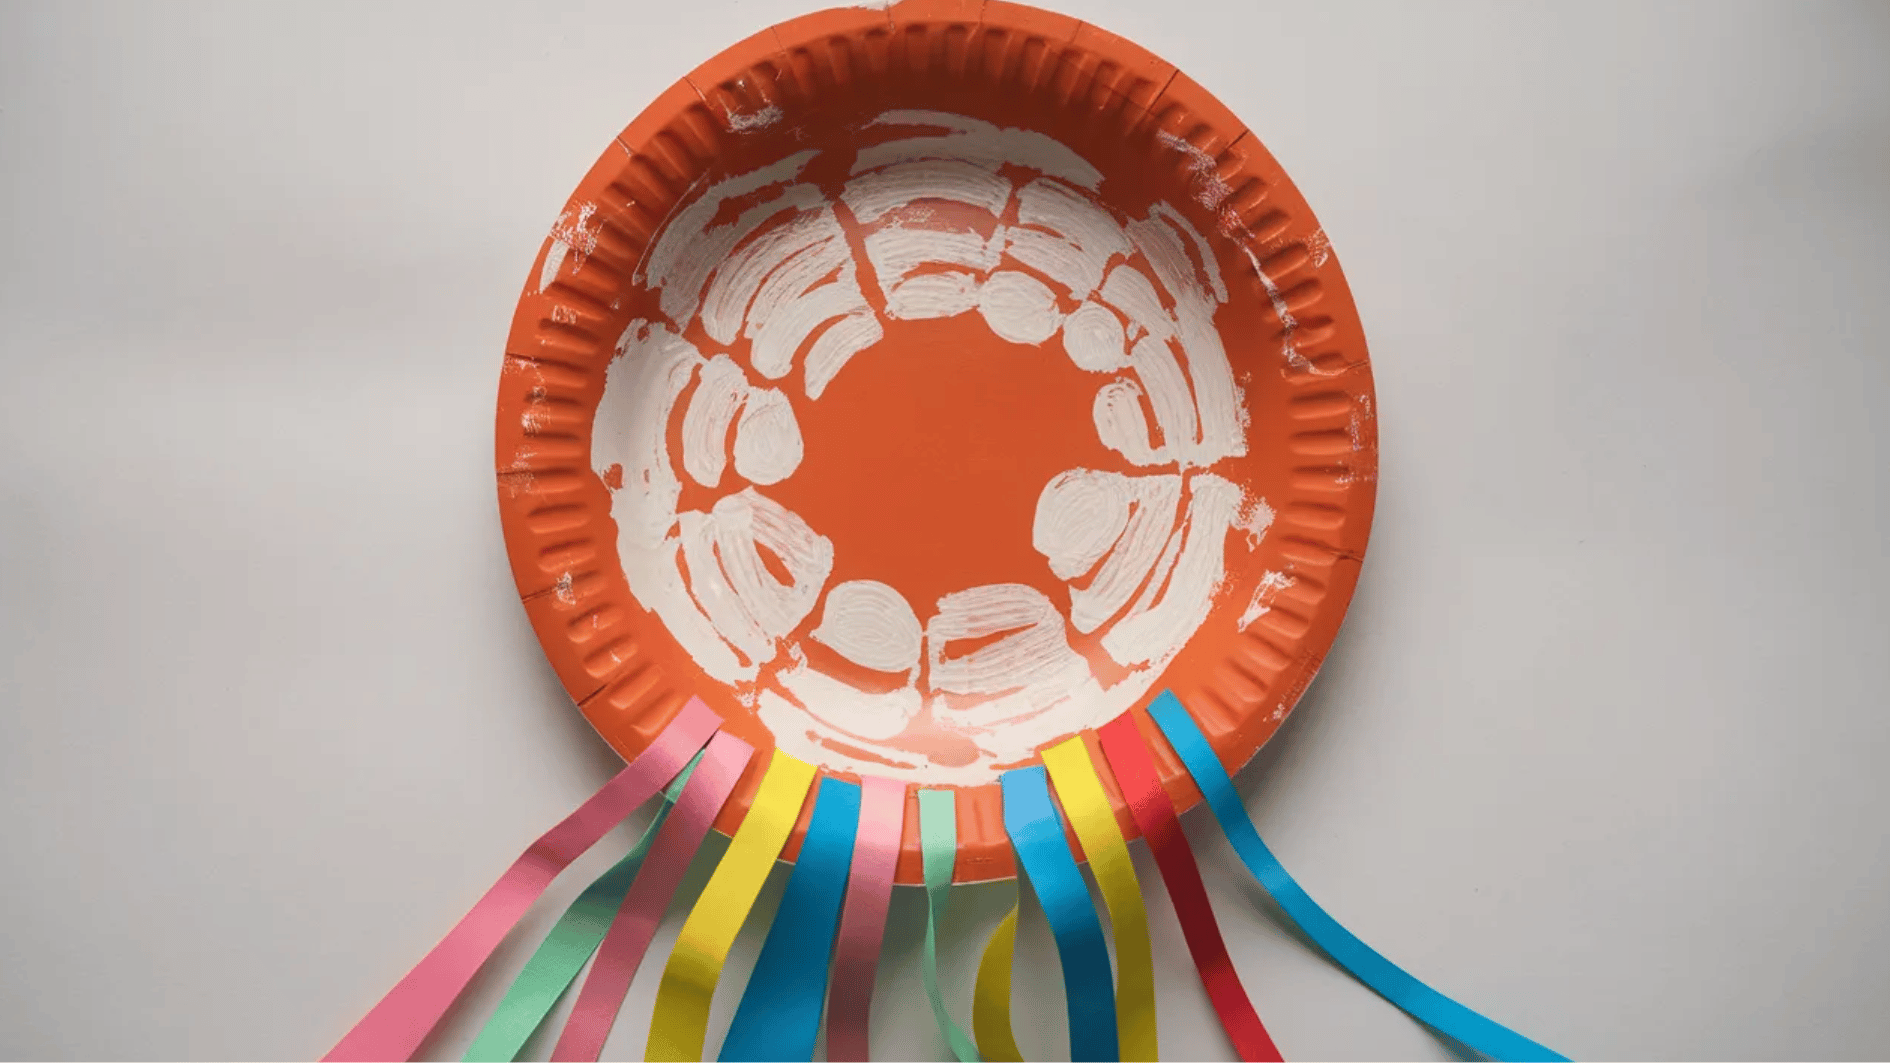
A paper plate and ribbons can easily become a floating jellyfish craft. The colorful tentacles add movement and fun.
Materials required: Paper plate, ribbon, markers, and glue.
How to make:
- Decorate a paper plate as a jellyfish,
- Glue ribbons to the bottom to create the tentacles.
37. Feather Art
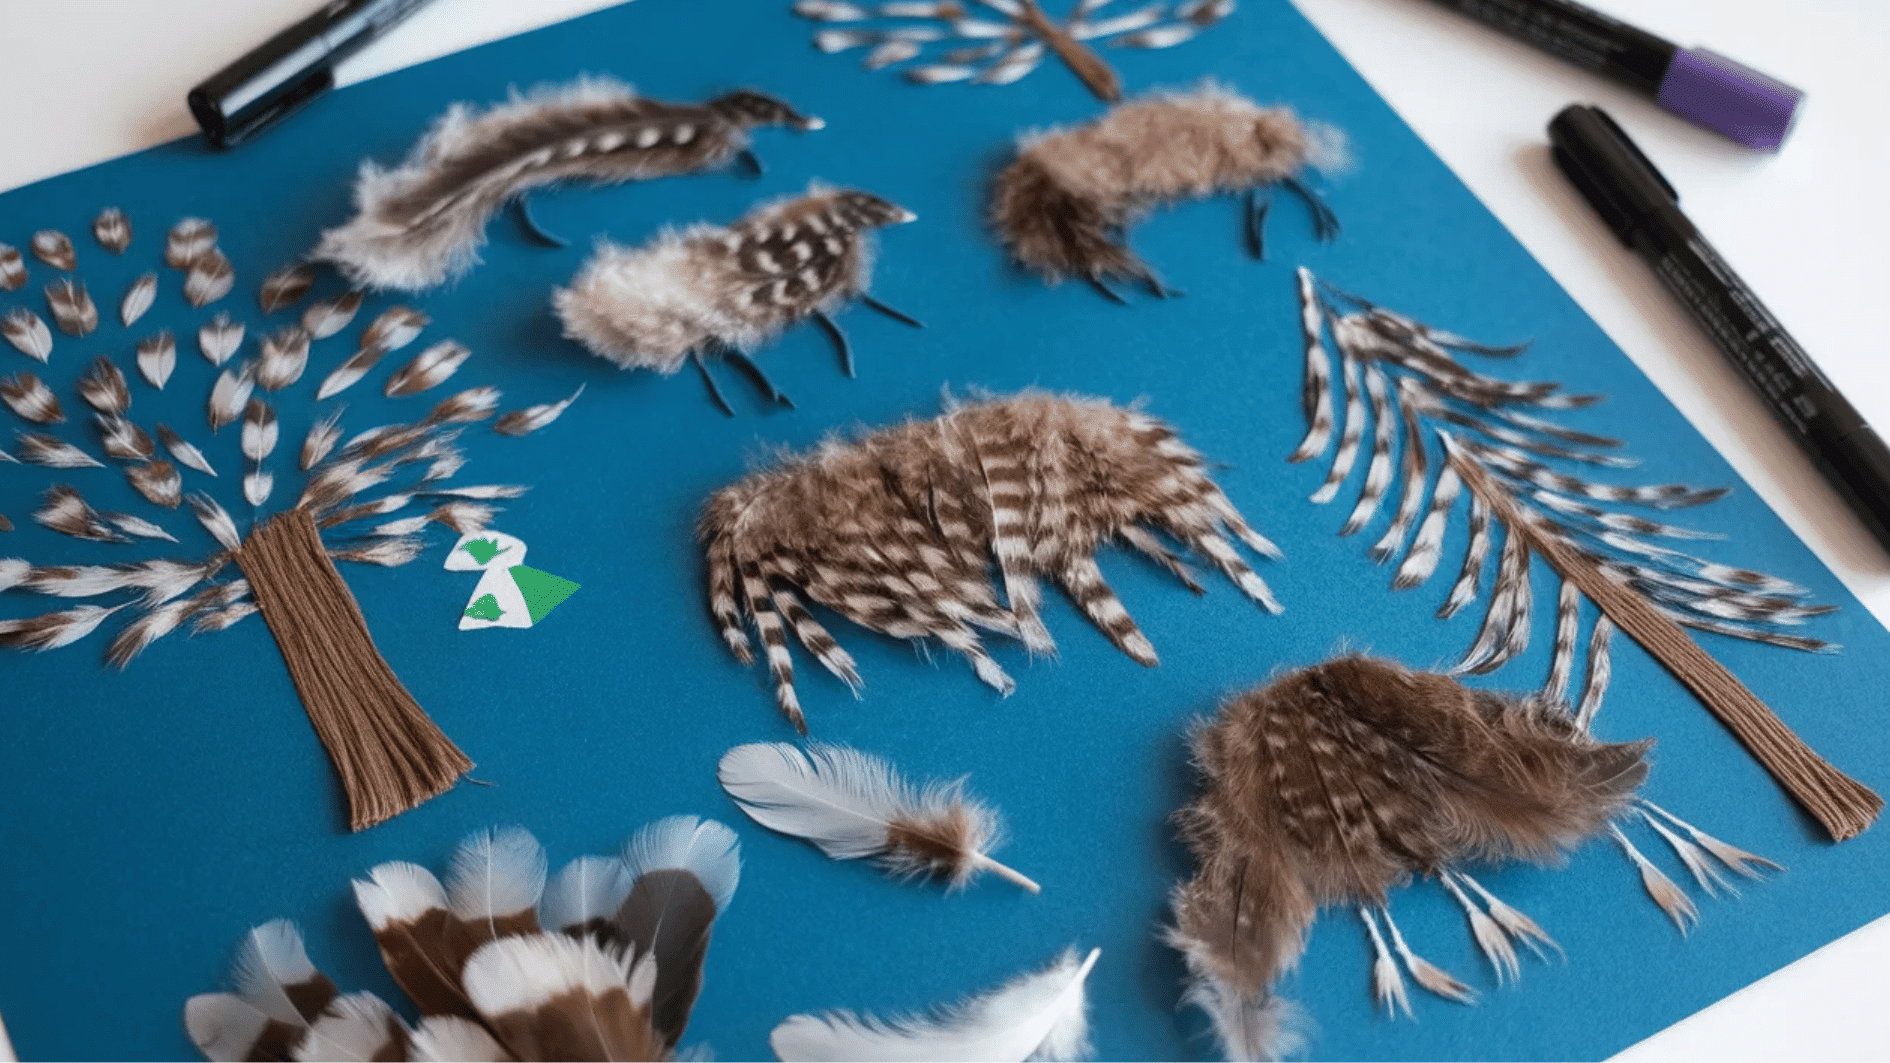
Feathers add soft textures to creative drawings and collages. They can be arranged into animals, birds, or abstract designs.
Materials required: Feathers, paper, glue, and markers.
How to make:
- Glue feathers onto paper to create animals, trees, or abstract designs.
- Add details with markers.
38. Spaghetti Art

Create textured artwork by arranging uncooked spaghetti into patterns or shapes. Once painted, the raised lines add depth and a fun 3D look to the design.
Materials required: Uncooked spaghetti, glue, paper, and paint.
How to make:
- Glue uncooked spaghetti onto paper in fun patterns.
- Paint it with vibrant colors.
39. Yarn Wrapped Letters
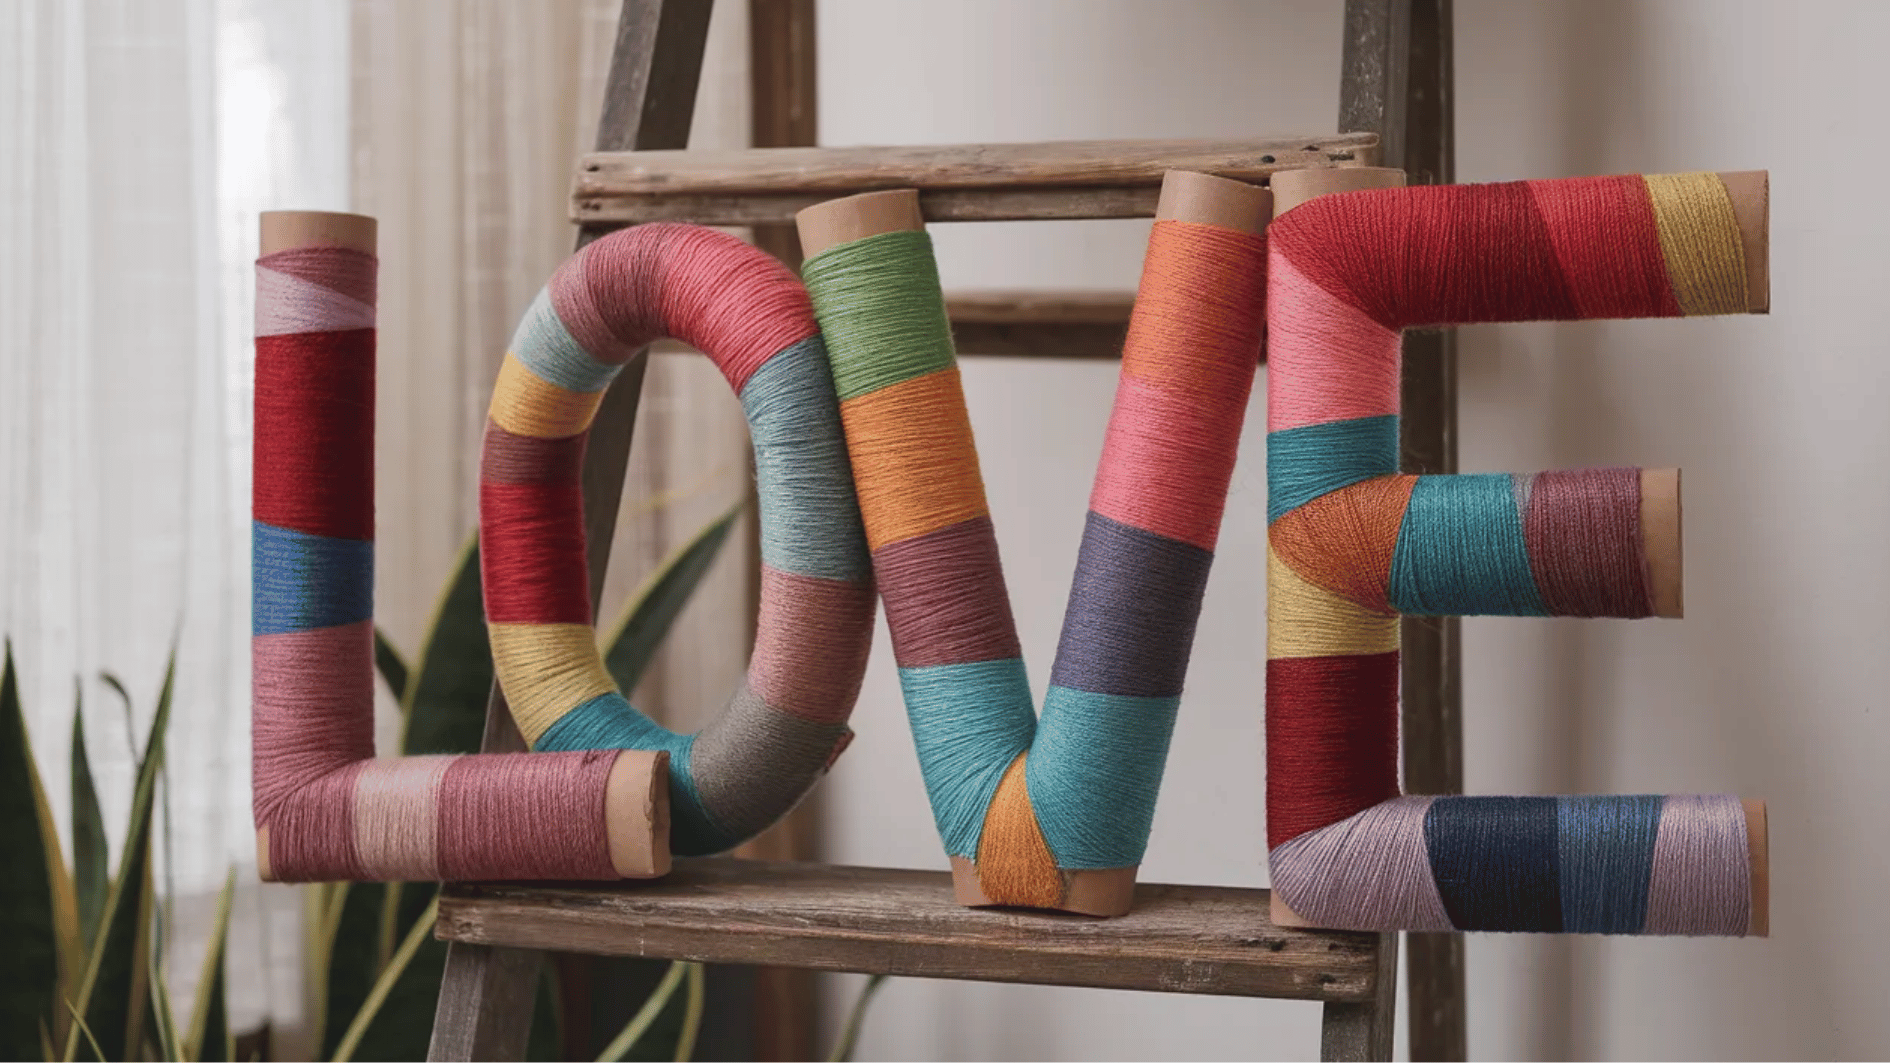
Cardboard letters wrapped in colorful yarn become eye-catching decorative pieces. These handmade letters are perfect for room decor or personalized wall displays.
Materials required: Cardboard letters, yarn, and glue.
How to make:
- Wrap yarn around cardboard letters to create colorful, textured designs.
- Hang them up as home decor.
40. Tin Foil Art
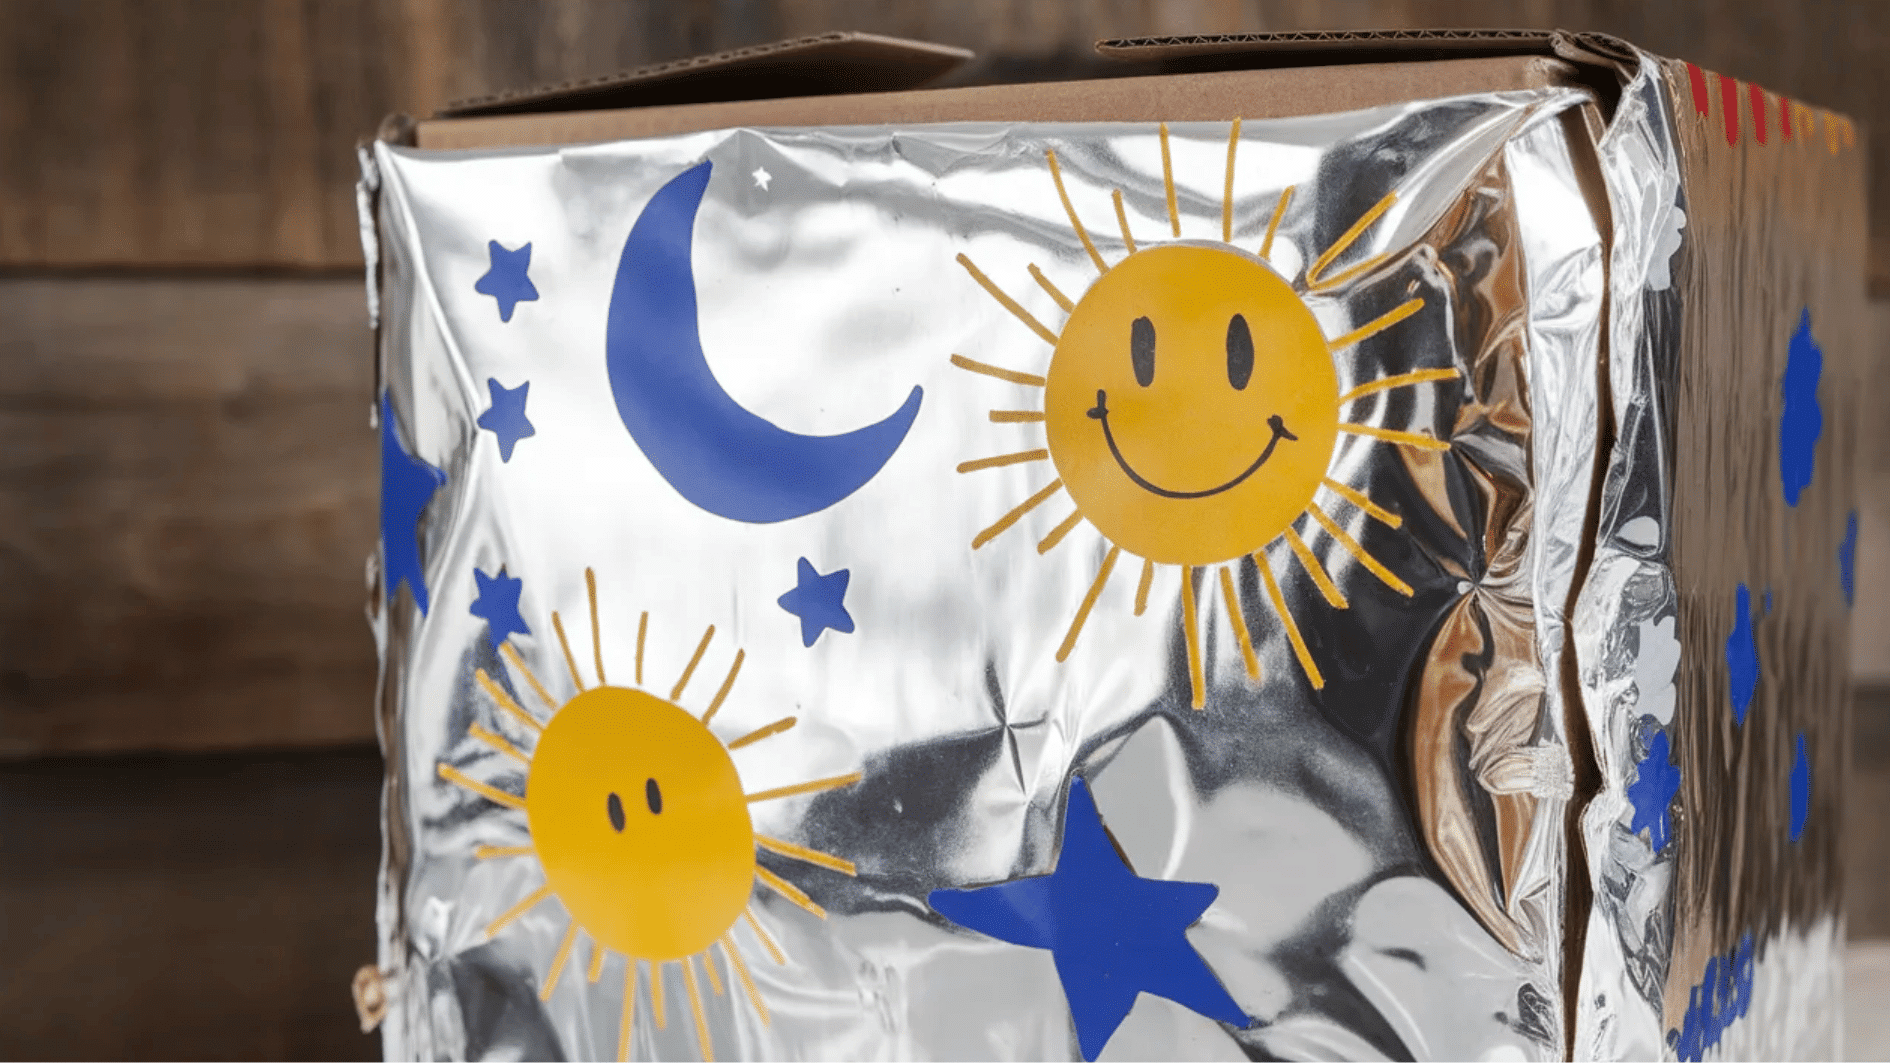
Tin foil creates a shiny base that makes marker drawings stand out beautifully. This craft produces bright, reflective artwork with simple materials.
Materials required: Tin foil, markers, cardboard, and glue.
How to make
- Cover the cardboard with tin foil.
- Use markers to create designs on the shiny surface.
41. Cereal Box Collage
Recycled cereal boxes can be cut into shapes and arranged into abstract designs. The cardboard pieces add structure and texture to creative collages.
Materials required: Cereal boxes, scissors, glue, and markers.
How to make:
- Cut cereal boxes into shapes.
- Arrange and glue them on paper to make a collage.
42. Toothbrush Spray Art
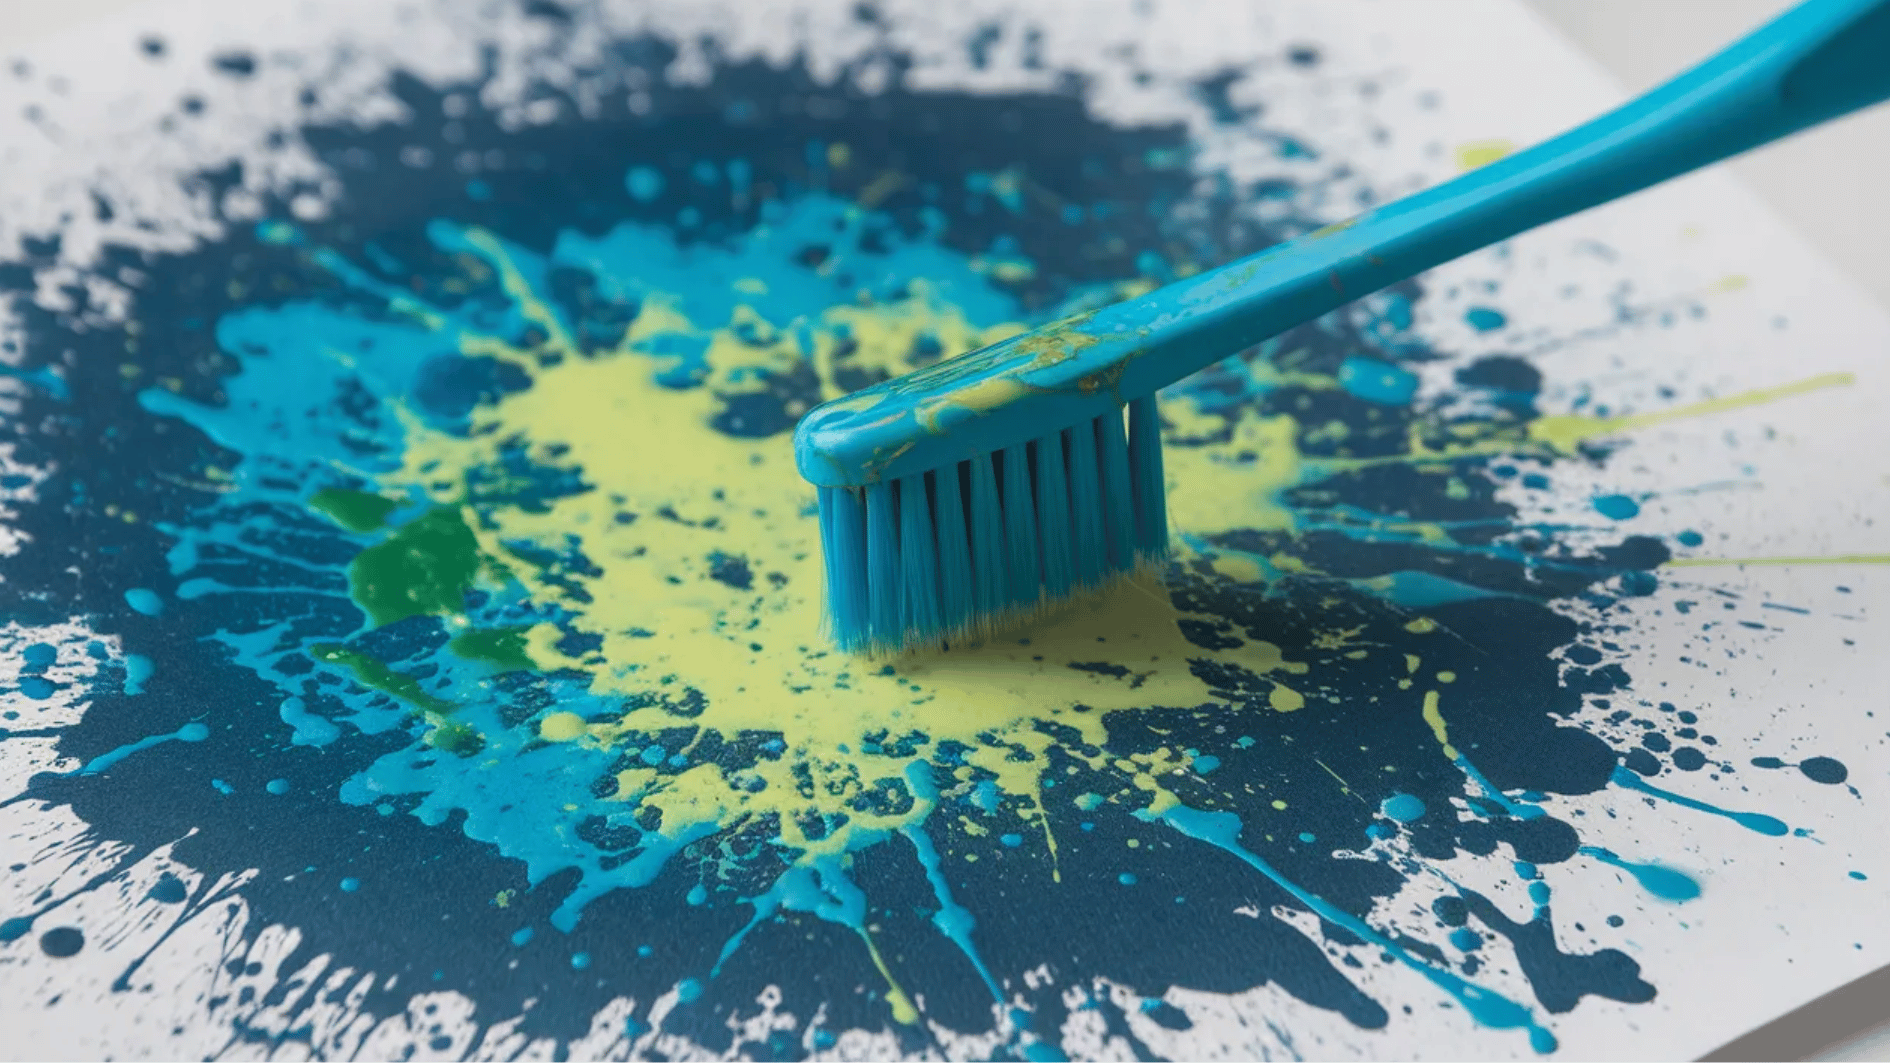
A toothbrush can be used to flick paint onto paper for a splatter effect. The result is energetic artwork filled with playful textures and bursts of color.
Materials required: Toothbrush, paint, paper, water.
How to make:
- Dip a toothbrush in paint.
- Use your thumb to spray the paint onto paper for a splattered, textured effect.
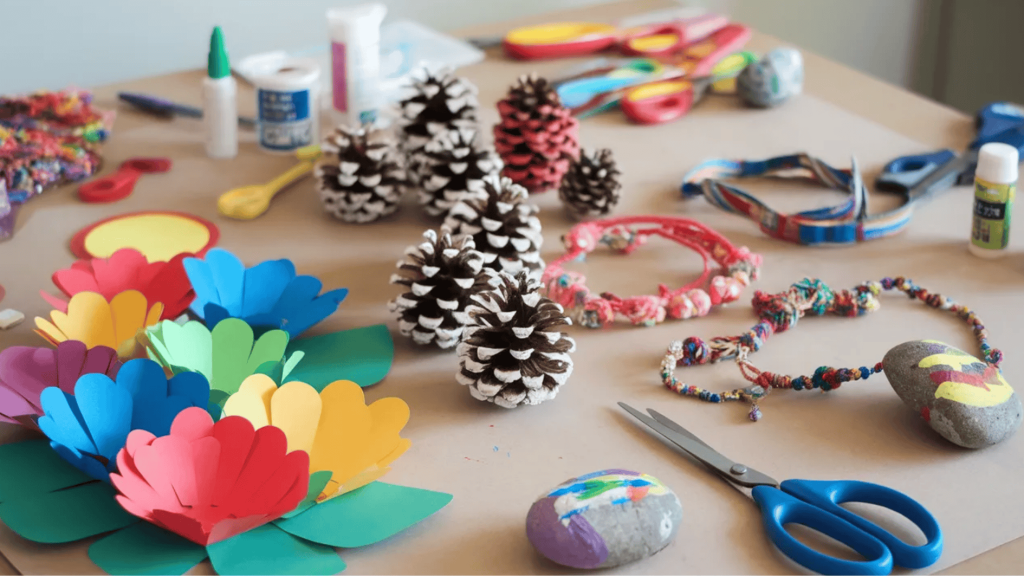
43. Pine Cone Painting
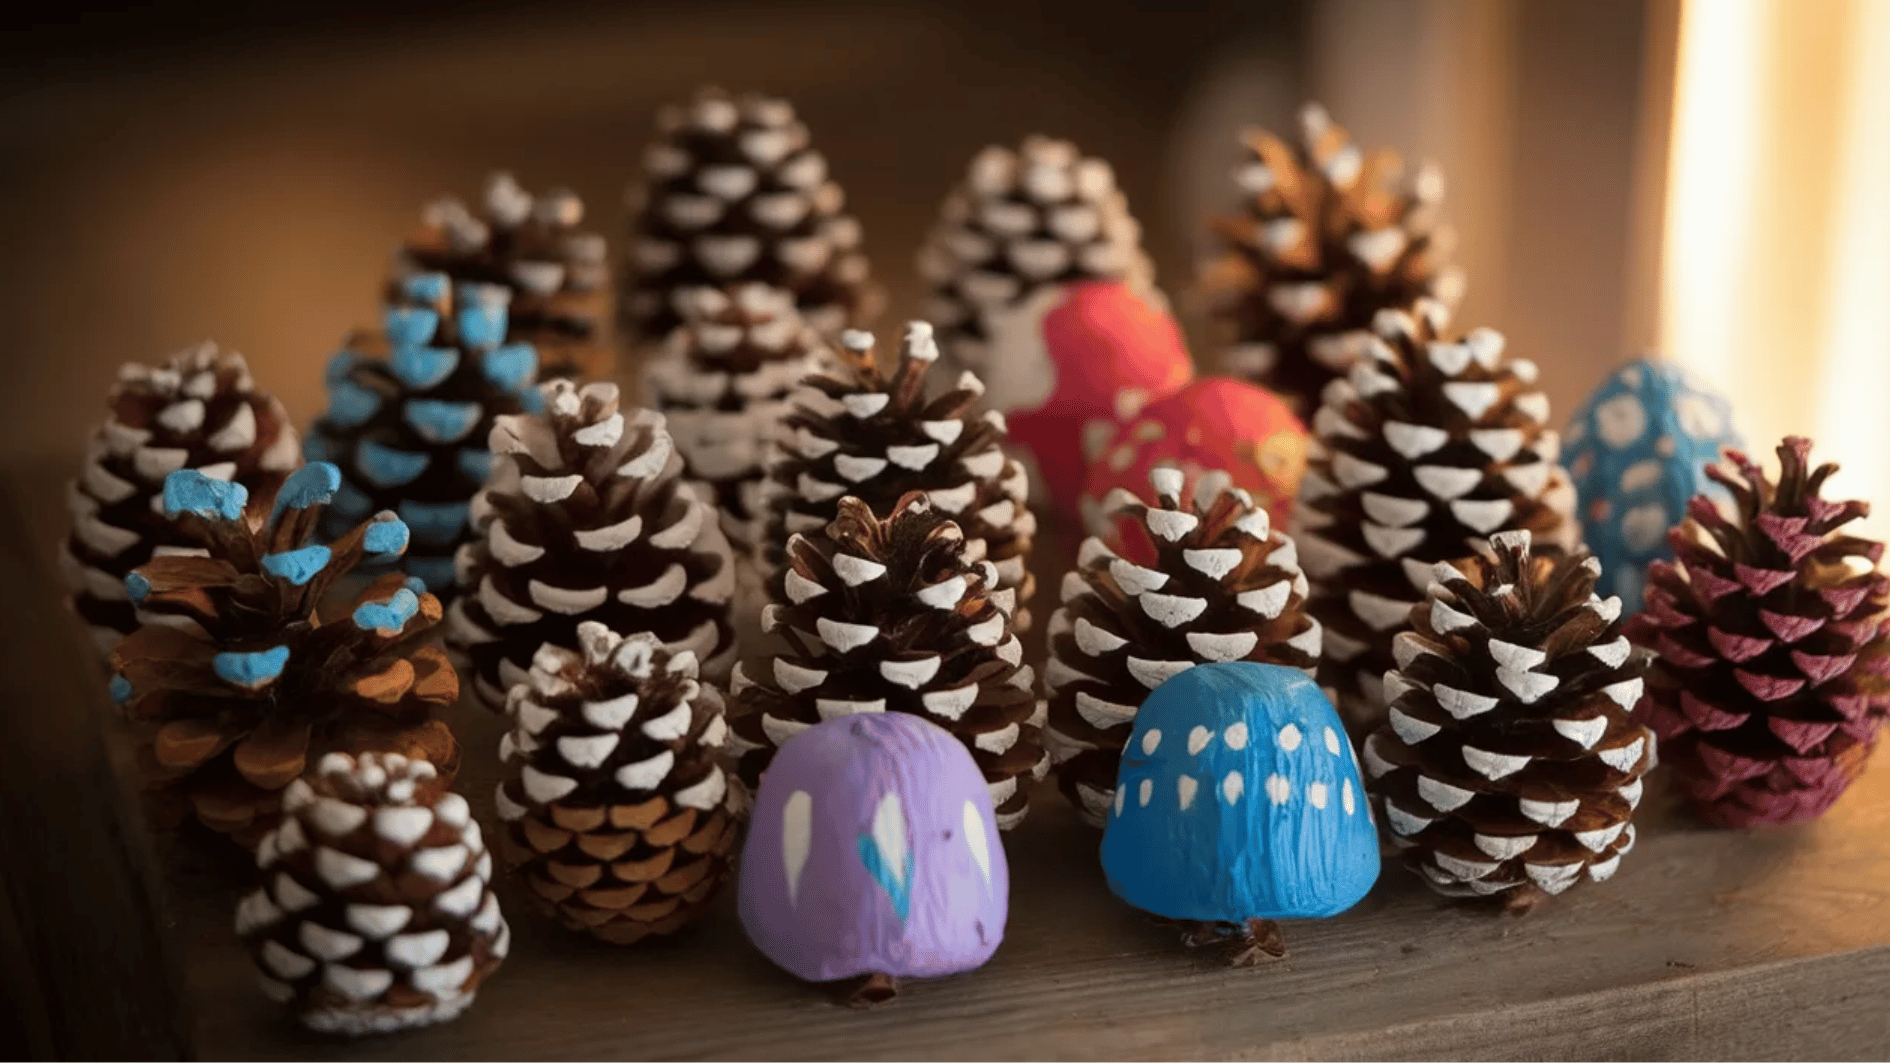
Pine cones become charming decorative pieces when painted with bright colors and patterns. This nature-inspired craft is simple and visually appealing.
Materials required: Pine cones, paint, brushes.
How to make:
- Paint pine cones with fun designs and display them as natural decor.
44. Fruit and Veggie Stamps
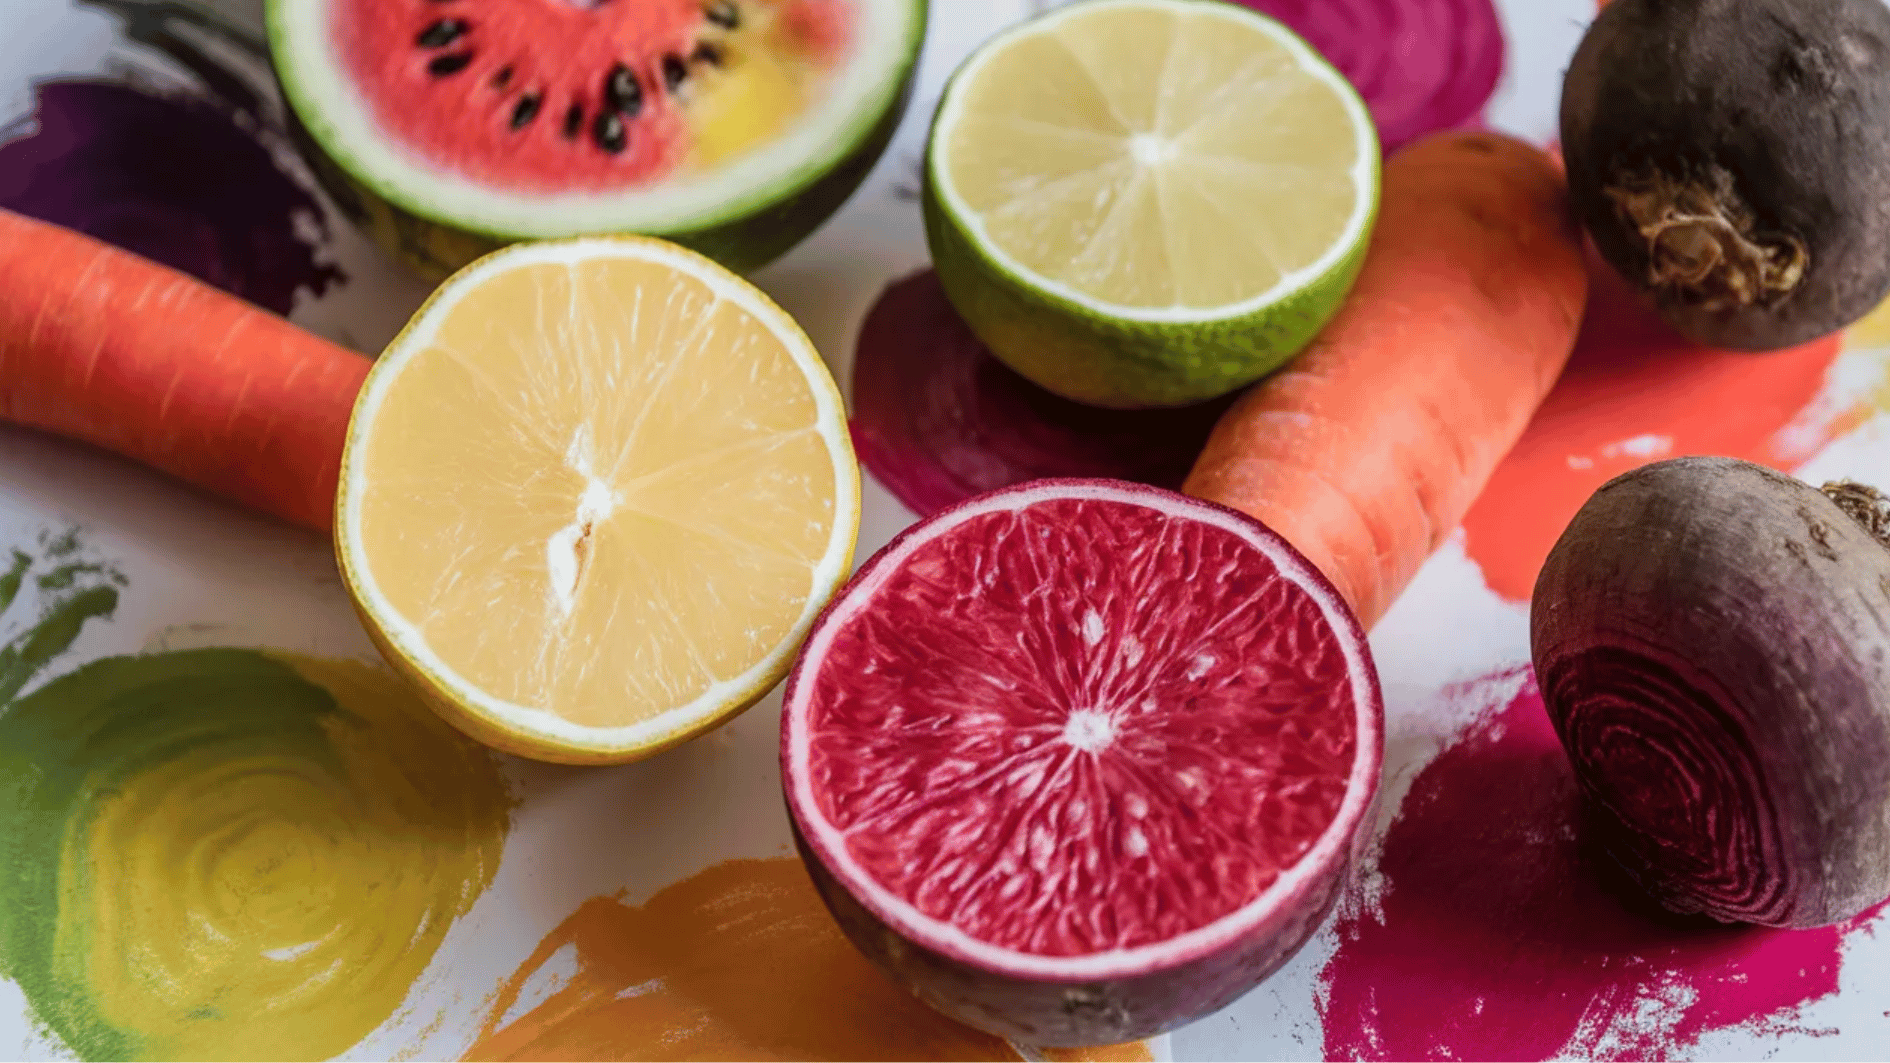
Fruits and vegetables can be used as natural stamps for painting. Their unique shapes create interesting patterns and textures on paper.
Materials required: Fruit or vegetables, paint, and paper.
How to make:
- Cut fruits or veggies in half.
- Dip in paint, and stamp onto paper to create textured prints.
45. DIY Paper Beads
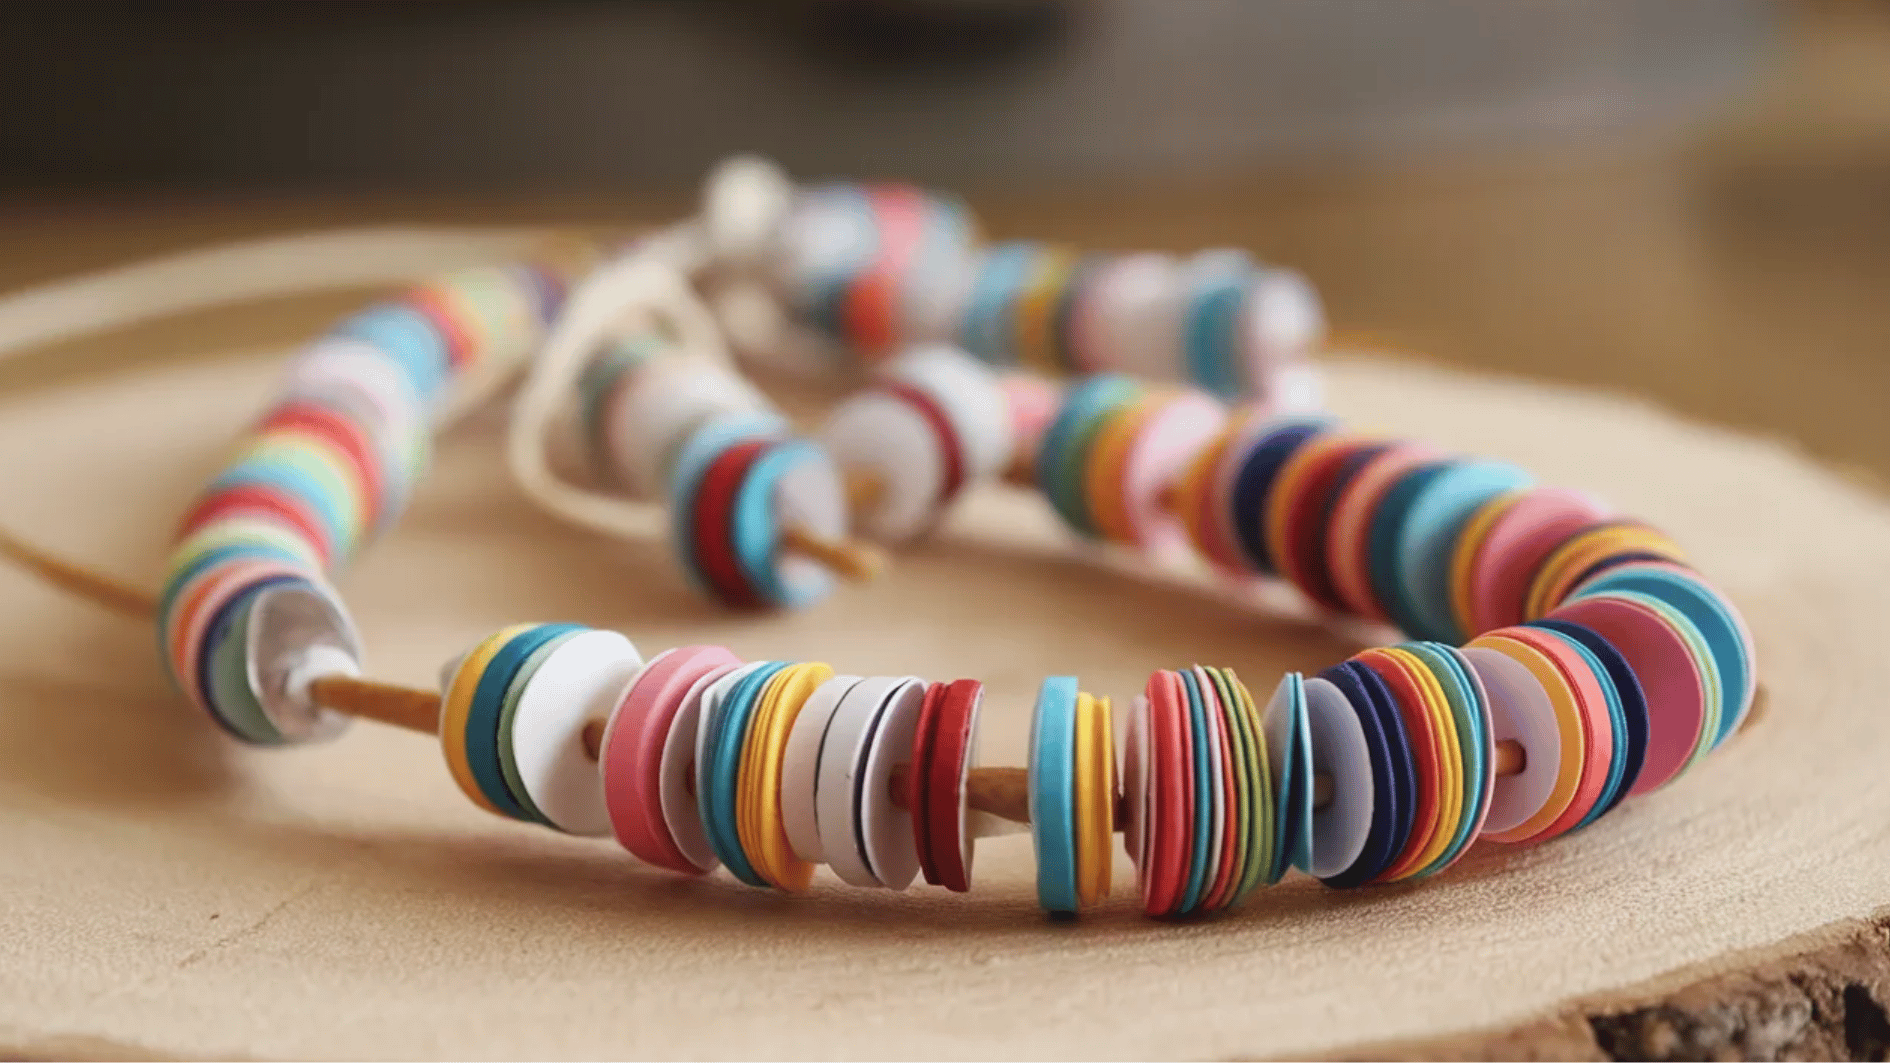
Paper strips can be rolled into beads and turned into handmade jewelry. This craft transforms simple paper into colorful accessories.
Materials required: Paper, glue, scissors, and toothpicks.
How to make:
- Cut paper into strips.
- Roll them around a toothpick.
- Glue the edges.
- Let them dry.
- String together to make a necklace.
46. Paper Bag Puppets
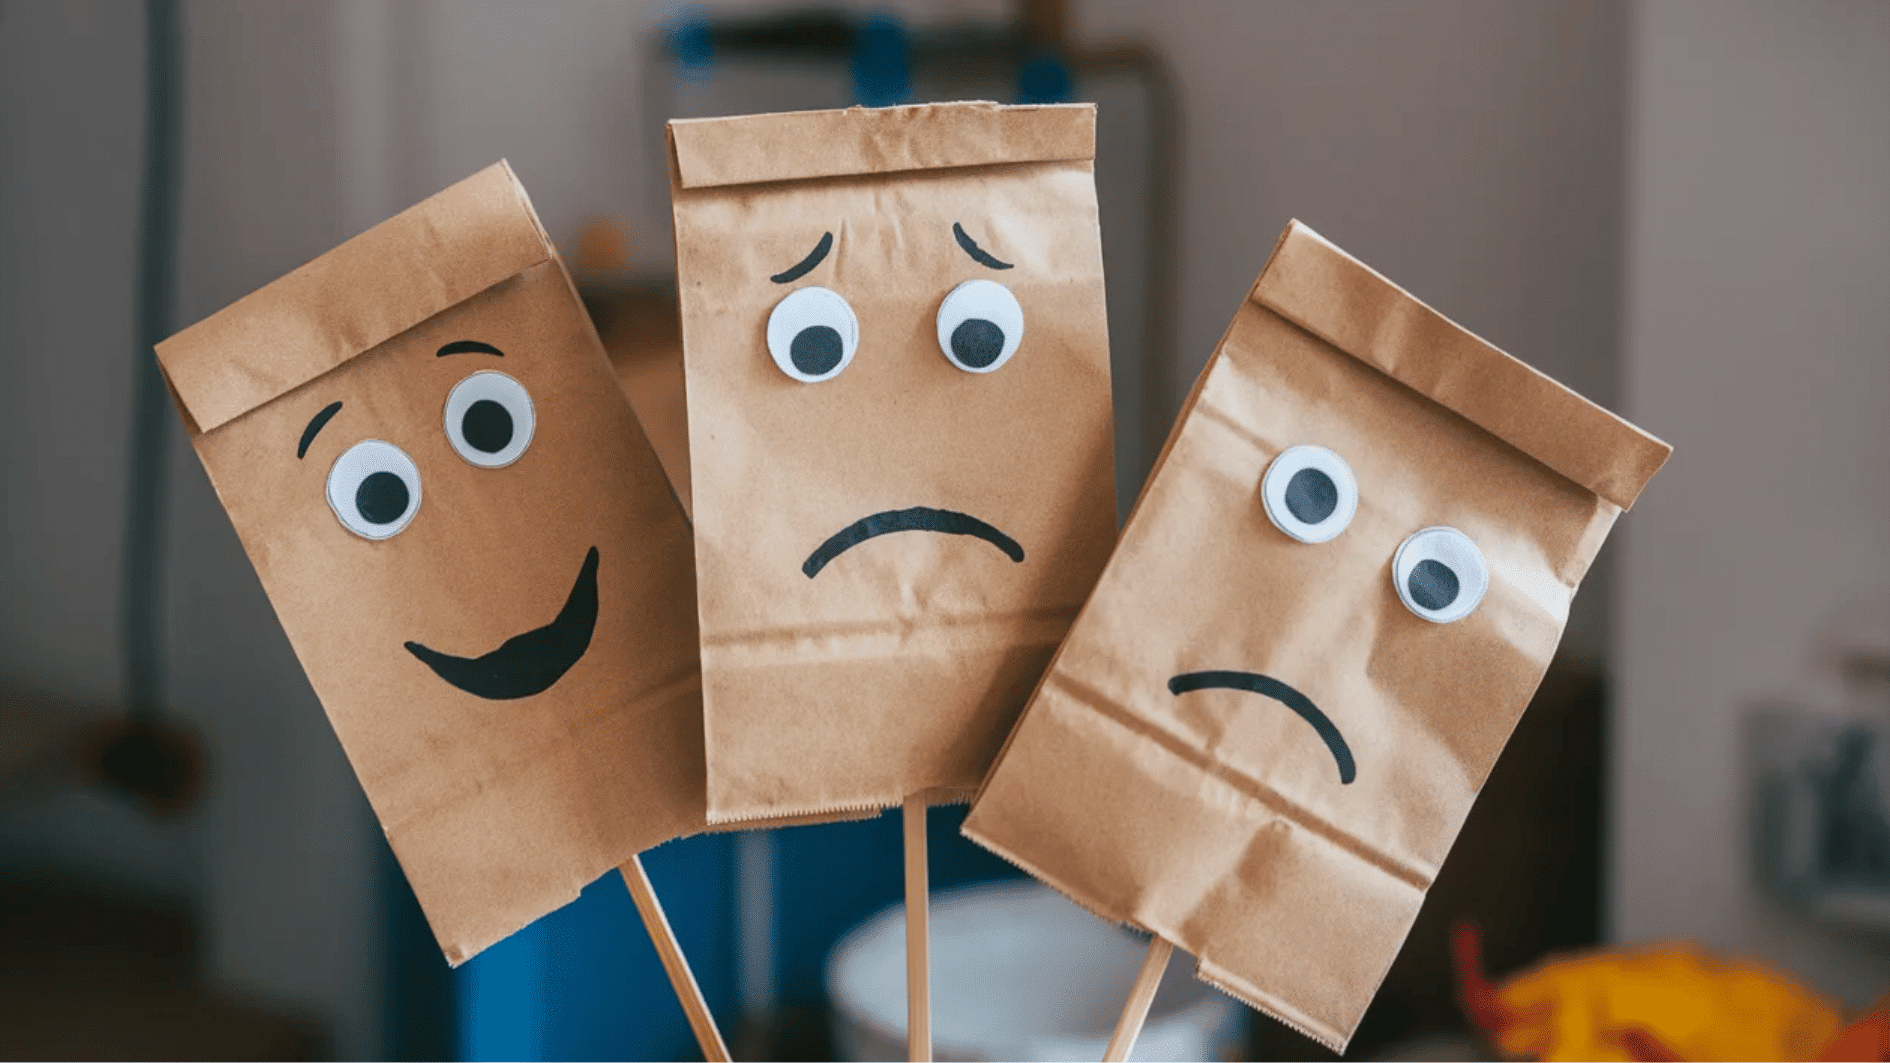
Paper bags decorated with faces and accessories become fun puppets. They are perfect for imaginative storytelling and creative play.
Materials required: Paper bags, markers, googly eyes, and glue.
How to make:
- Turn a paper bag into a puppet by drawing a face on it.
- Add googly eyes and other decorations.
47. Cork Stamps
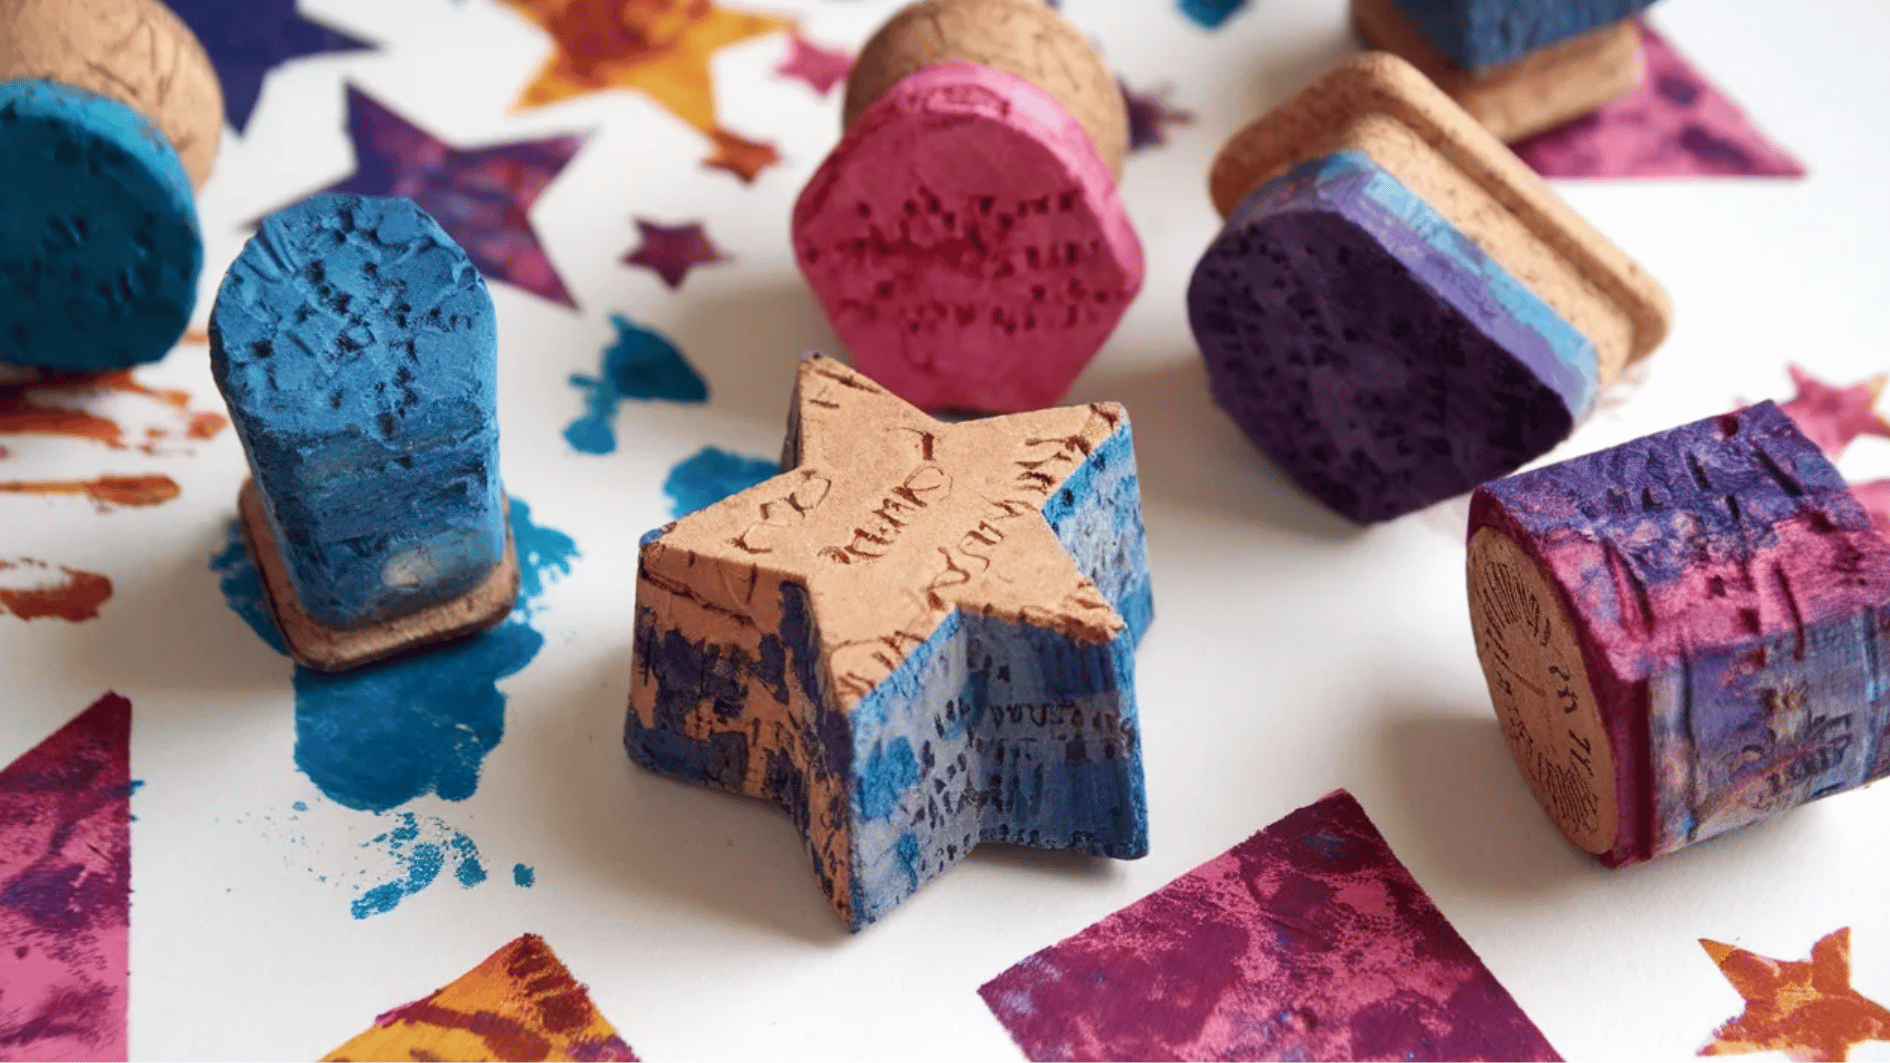
Wine corks carved into shapes can be dipped in paint and used as stamps. They create repeated patterns and textured prints on paper.
Materials required: Wine corks, paint, and paper.
How to make:
- Cut shapes into wine corks.
- Dip them in paint.
- Press them onto paper to create textured prints.
48. Sponge Painting
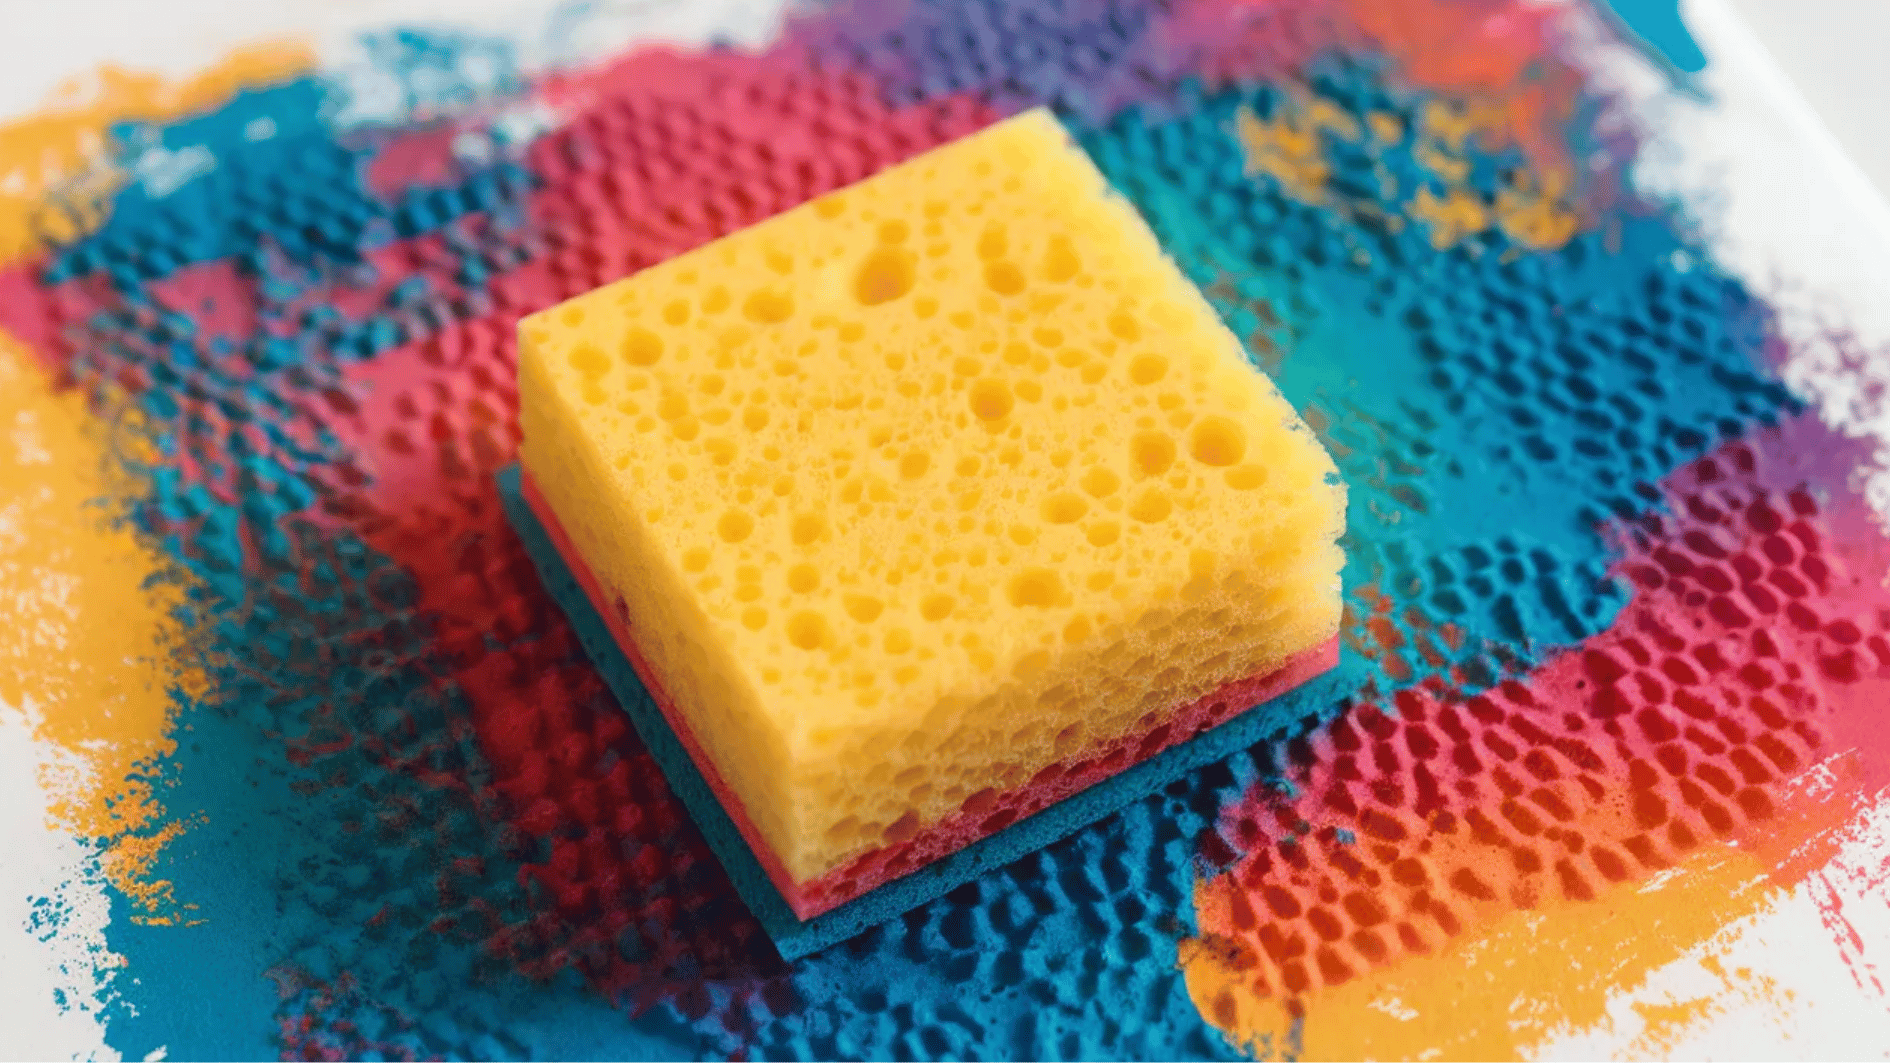
Sponges cut into shapes make great stamping tools for painting. They produce soft textures and colorful patterns on paper.
Materials required: Sponges, paint, and paper.
How to make:
- Cut sponges into different shapes.
- Dip them in paint.
- Stamp them onto paper to make textured art.
49. Clothespin Butterflies
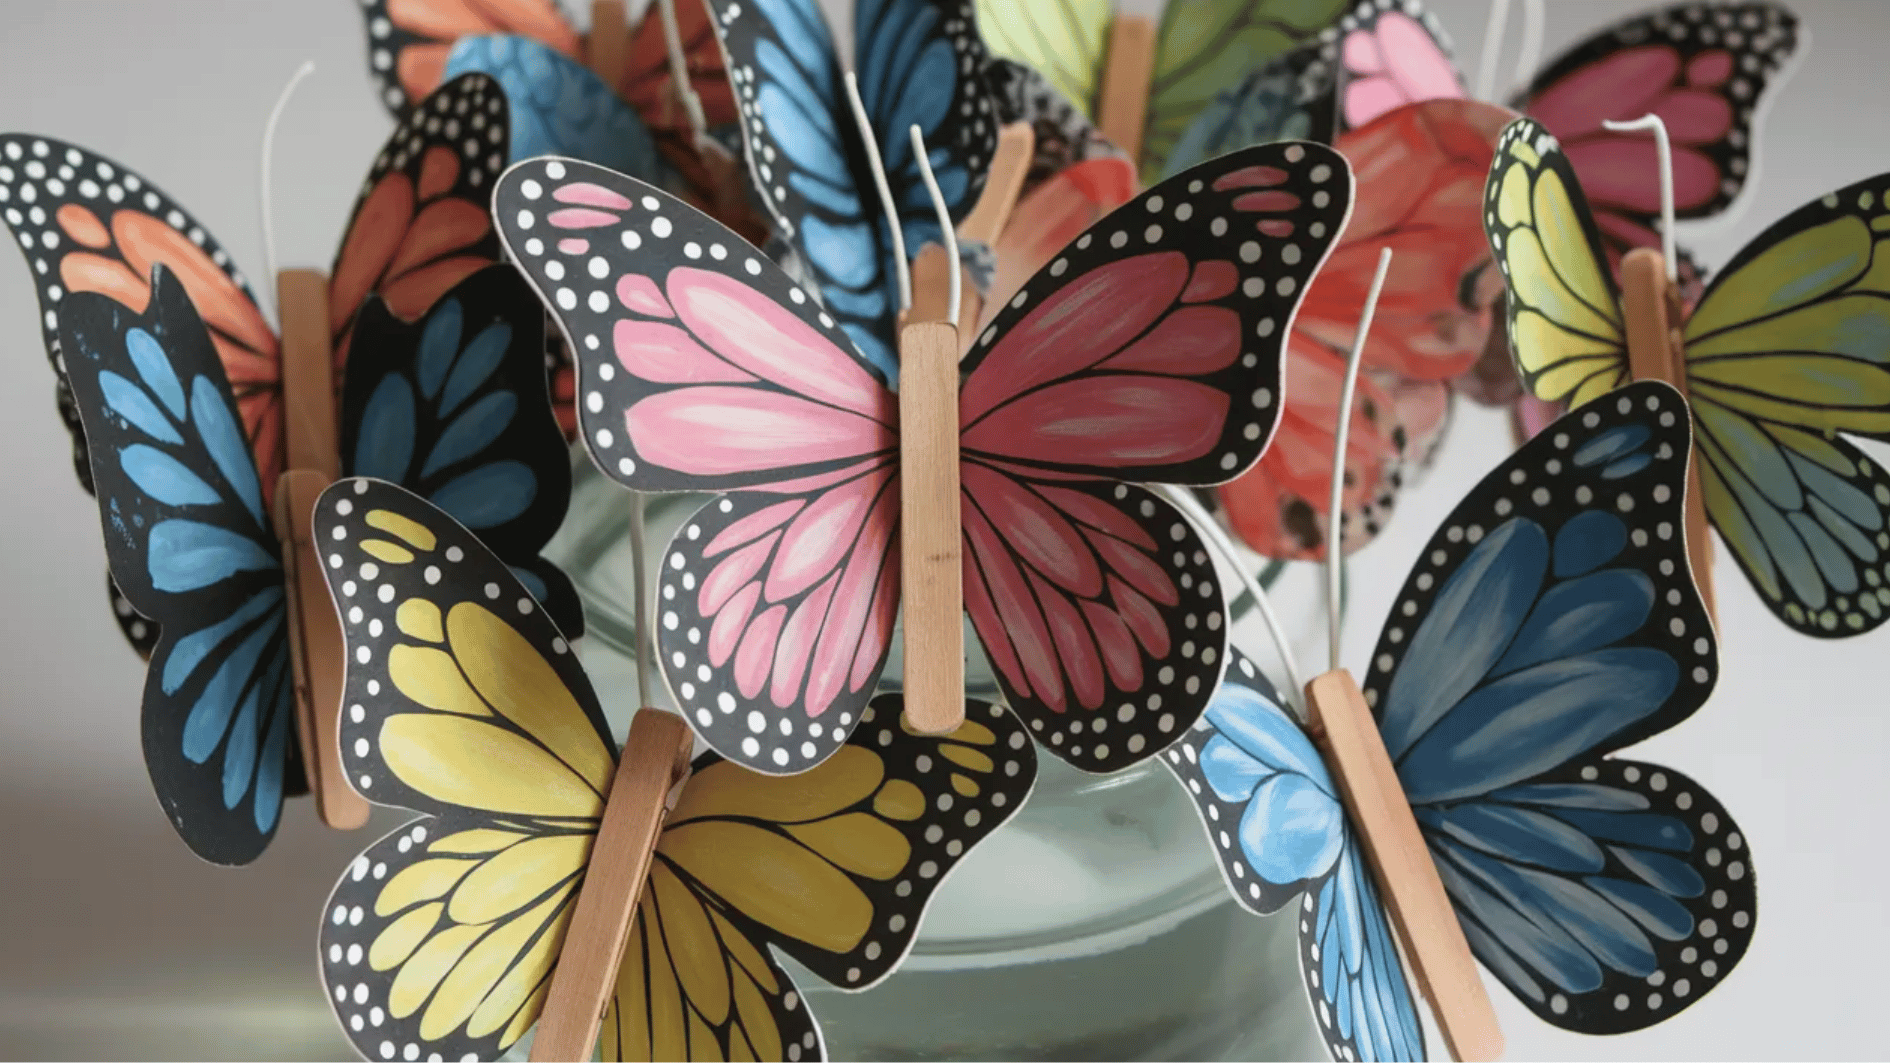
Clothespins painted and decorated with wings create cute butterfly crafts. These colorful creations make lovely decorations for art projects.
Materials required: Clothespins, paint, markers, paper, and glue.
How to make:
- Paint clothespins and glue them to paper the make butterflies.
- Add colorful details to the wings.
50. Magnetic Bookmark Clips
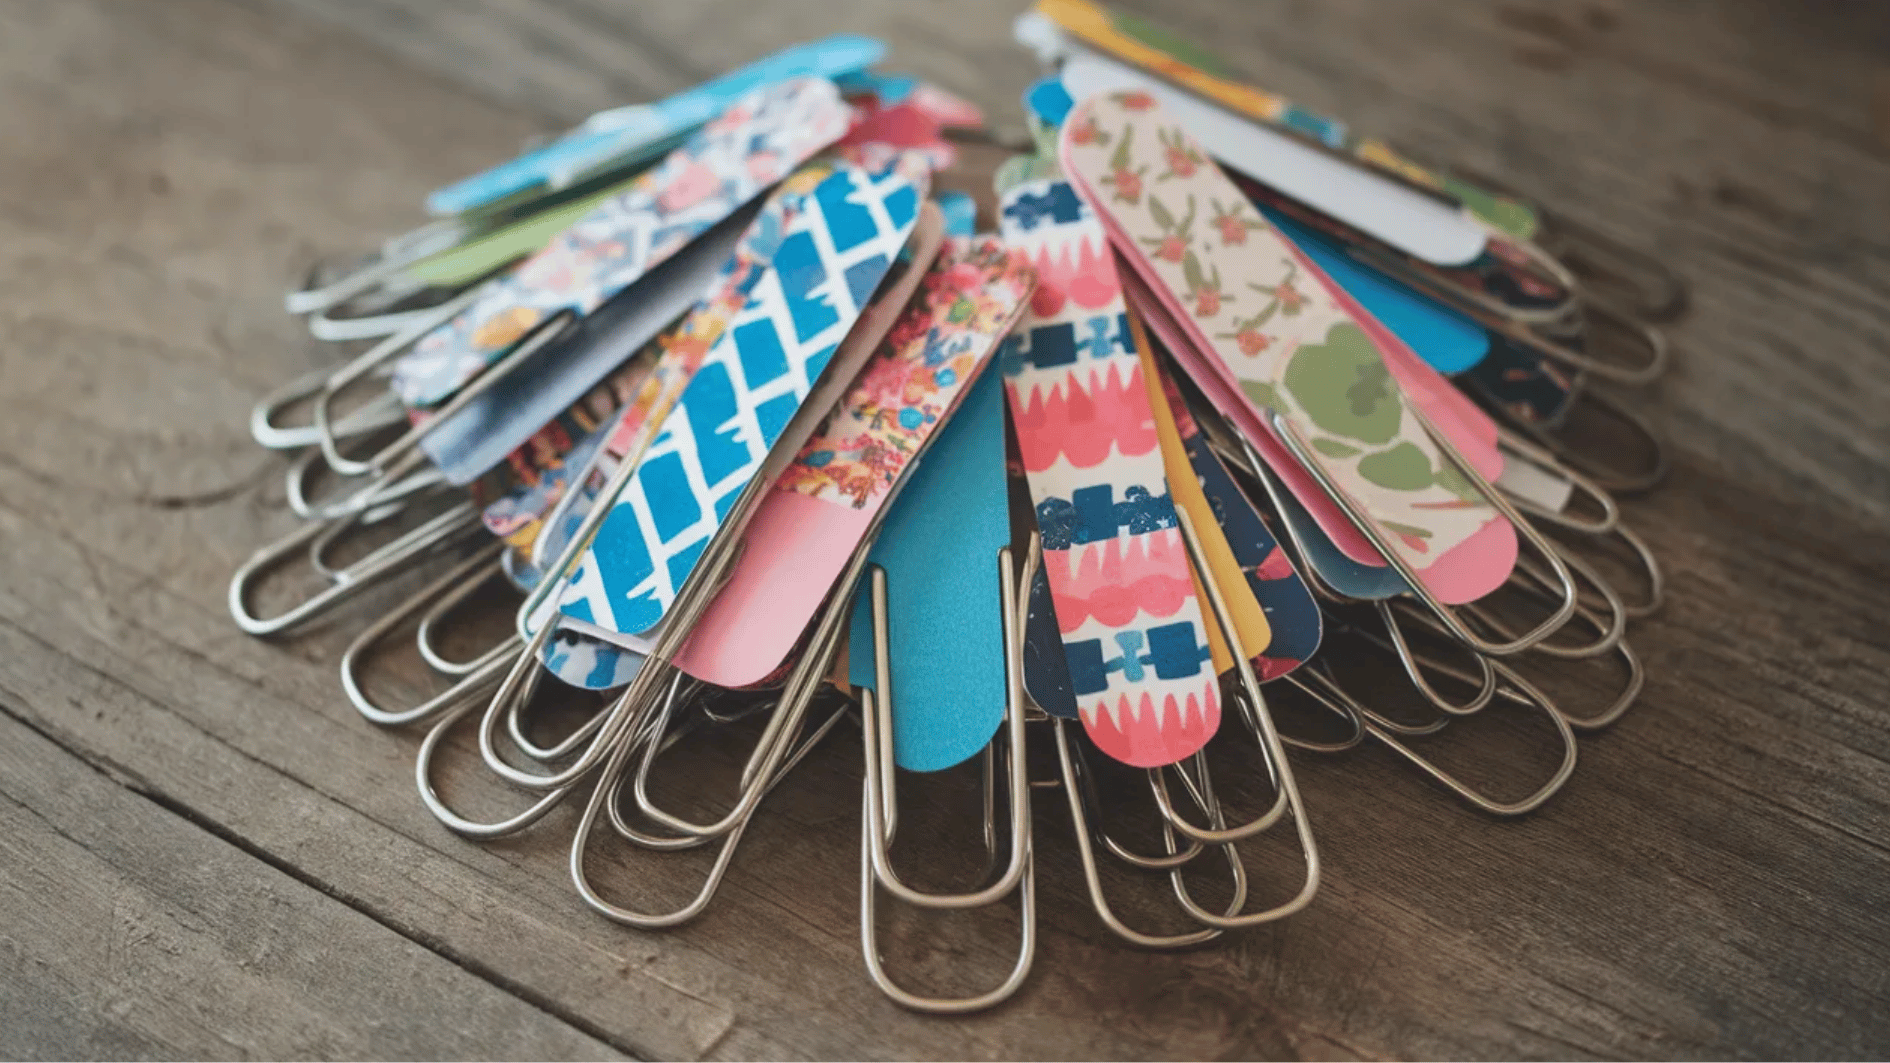
Decorated paperclips with small magnets become practical bookmarks. They hold pages neatly while adding a handmade, creative touch.
Materials required: Paperclips, magnets, decorative paper, and glue.
How to make:
- Glue a magnet to the back of a paperclip.
- Decorate the paperclip with colorful decorative paper to create a unique bookmark.
- Use it to mark your place in a book.
Conclusion
Art doesn’t have to be complicated or time-consuming.
With just a few basic supplies, you can create beautiful and fun projects in no time. If you’re looking to relax, express your creativity, or bond with family and friends, these easy art projects offer something for everyone.
So grab a few materials, set aside a few minutes, and let the fun begin!