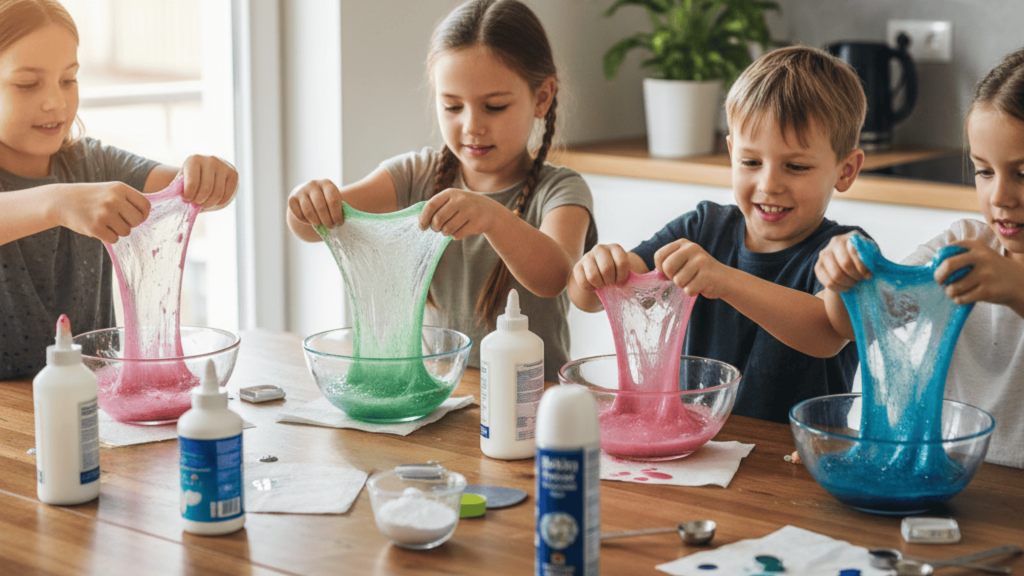
If you’ve ever wondered how to make slime for kids without turning your kitchen into a disaster zone, you’re in the right place.
Slime-making is more than just a craft; it’s a hands-on activity that sparks curiosity, creativity, and a little science learning, too.
I’ve seen kids enjoy the process just as much as the final stretchy slime, and it’s one of those projects that brings everyone together.
The best part is, you don’t need fancy supplies to make it work. With a few simple ingredients and a little preparation, you’ll be ready for a mess-free, fun session. Let’s start with the basics.
Getting Ready to Make Slime
Making slime is one of those activities that feels more fun when you’re prepared. A little setup makes the whole process go smoother, especially when kids are eager to start.
If you have everything laid out, you won’t need to pause mid-way to search for a spoon or wipe down a sticky spill.
Think of this step as setting the stage. You’ll want a clear space to work, a bowl that’s just for mixing, and a few paper towels on hand for quick cleanups. I also like to keep all the ingredients within arm’s reach so I don’t lose momentum once we start stirring.
This part may not seem as exciting as the slime itself, but trust me, it saves time and keeps everyone happy. Once you’re ready, you and your kids can focus on the fun part: actually making the slime.
What You’ll Need Before You Start
Before we get into the recipes, let’s make sure you’ve got the basics covered. When everything is ready to go, kids stay excited, and the process feels stress-free for you.
- Bowls, spoons, airtight containers: keep mixing tools simple and storage ready.
- Basic ingredients: glue, baking soda, and contact solution are the core for most recipes.
- Optional add-ins: glitter, beads, food coloring, or even scents can make it more fun.
- Safety tips: set up on a table or mat, and keep an eye on younger kids.
Having these things handy makes the whole activity smoother and less messy. Once you’re set up, you’ll be ready to start mixing.
How to Make Slime for Kids: Easy Recipes
Now comes the part everyone waits for: the recipes. I’ve kept these simple so you can follow along without stress. Each one uses everyday ingredients and works well with kids of different ages.
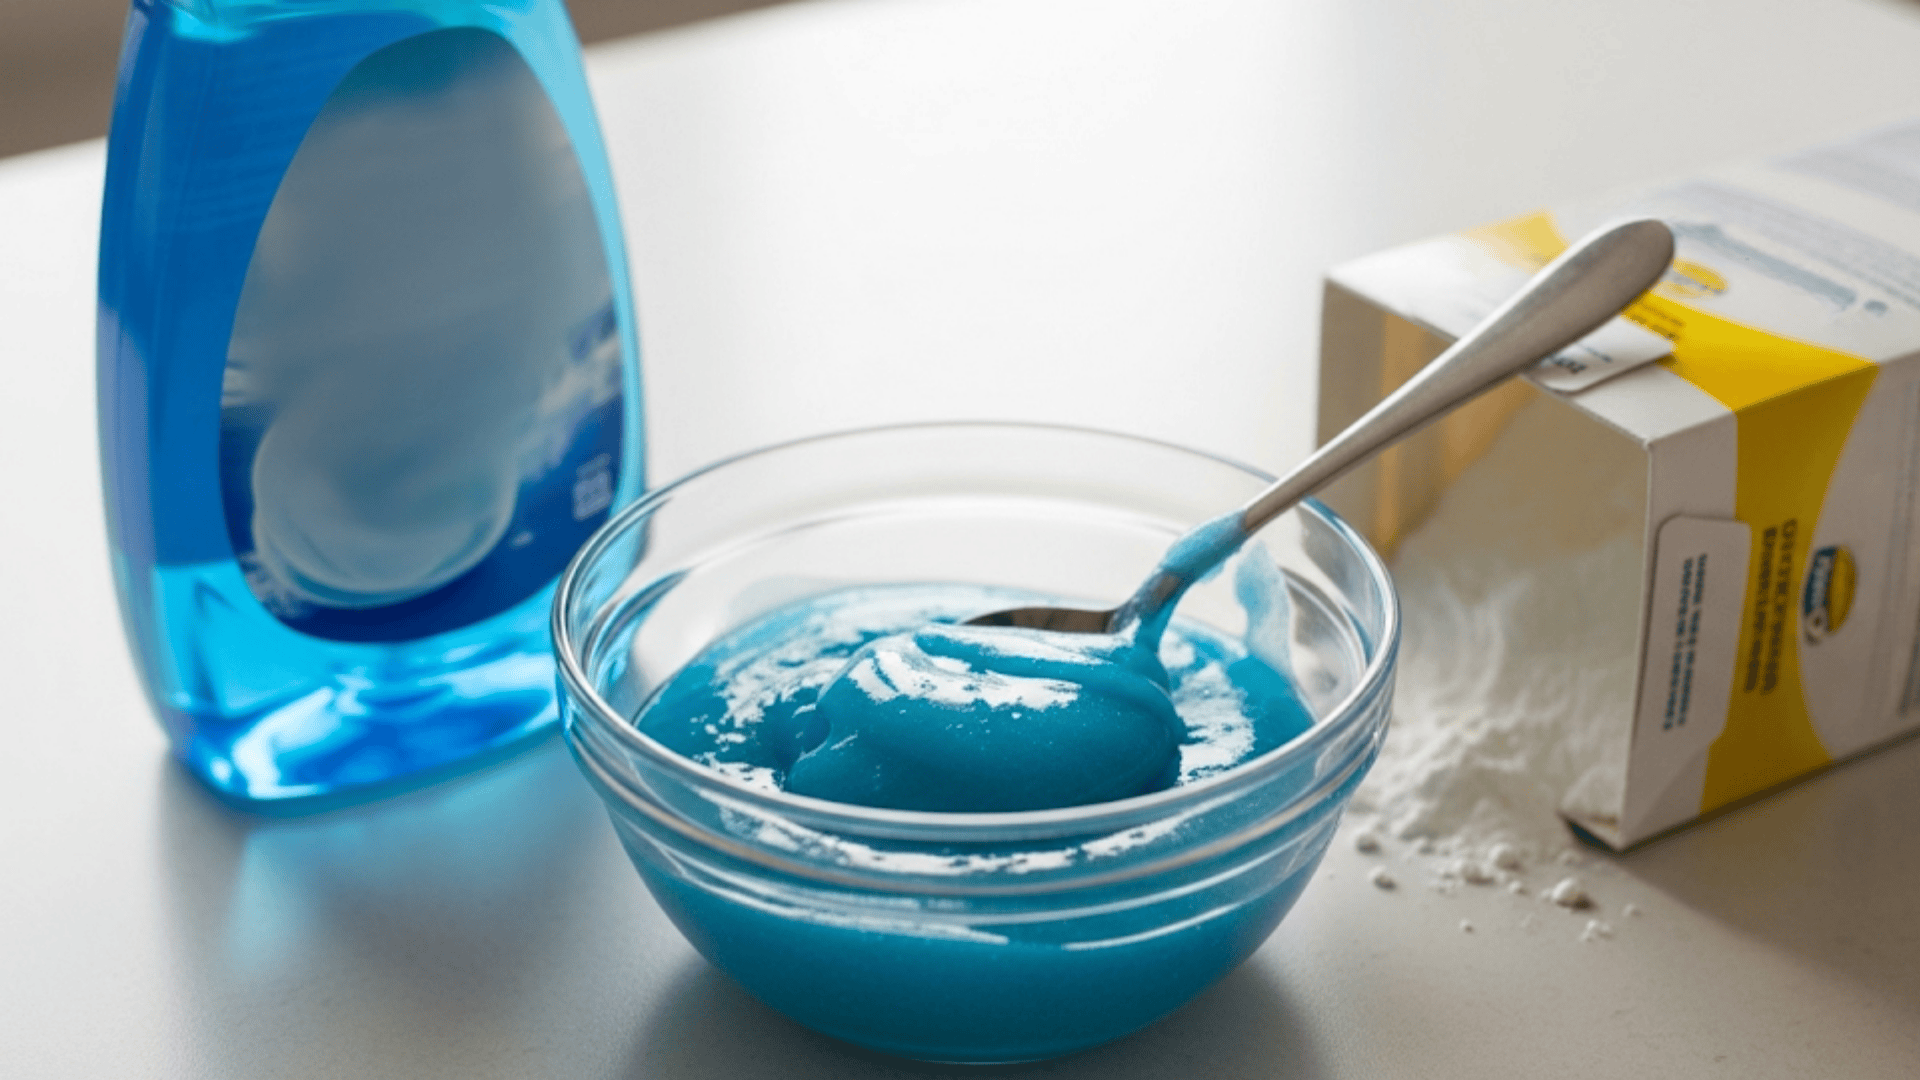
Recipe 1: Classic 3-Ingredient Slime (Glue + Baking Soda + Saline)
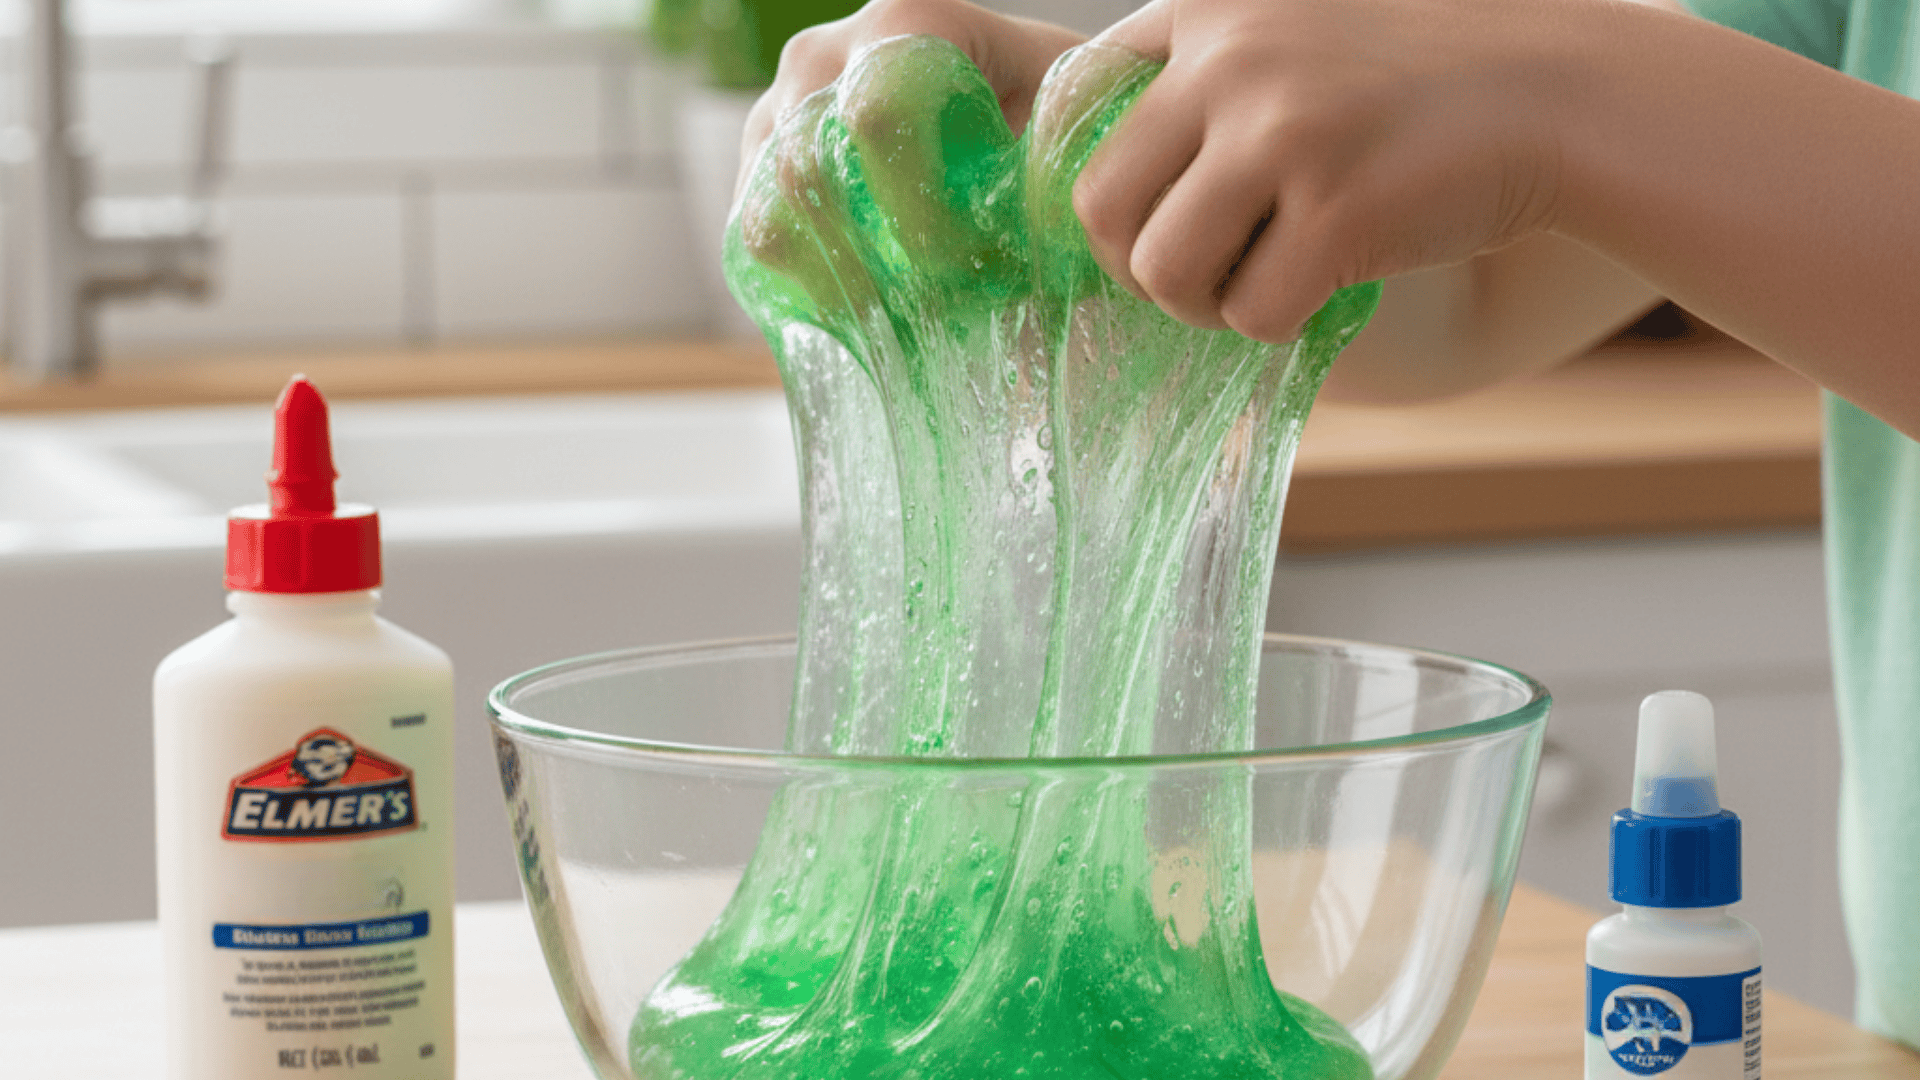
This is the recipe I go back to again and again. It’s quick, reliable, and makes stretchy slime kids love.
Steps:
- Pour a bottle of school glue into a bowl.
- Add 1 tablespoon of baking soda and stir until smooth.
- Mix in food coloring if you want a fun color.
- Add 1–2 tablespoons of saline solution and stir until the slime starts to form.
- Knead with your hands until it’s stretchy and ready to play.
This version is great because it’s simple and works almost every time.
Recipe 2: Fluffy Slime (Shaving Cream Version)
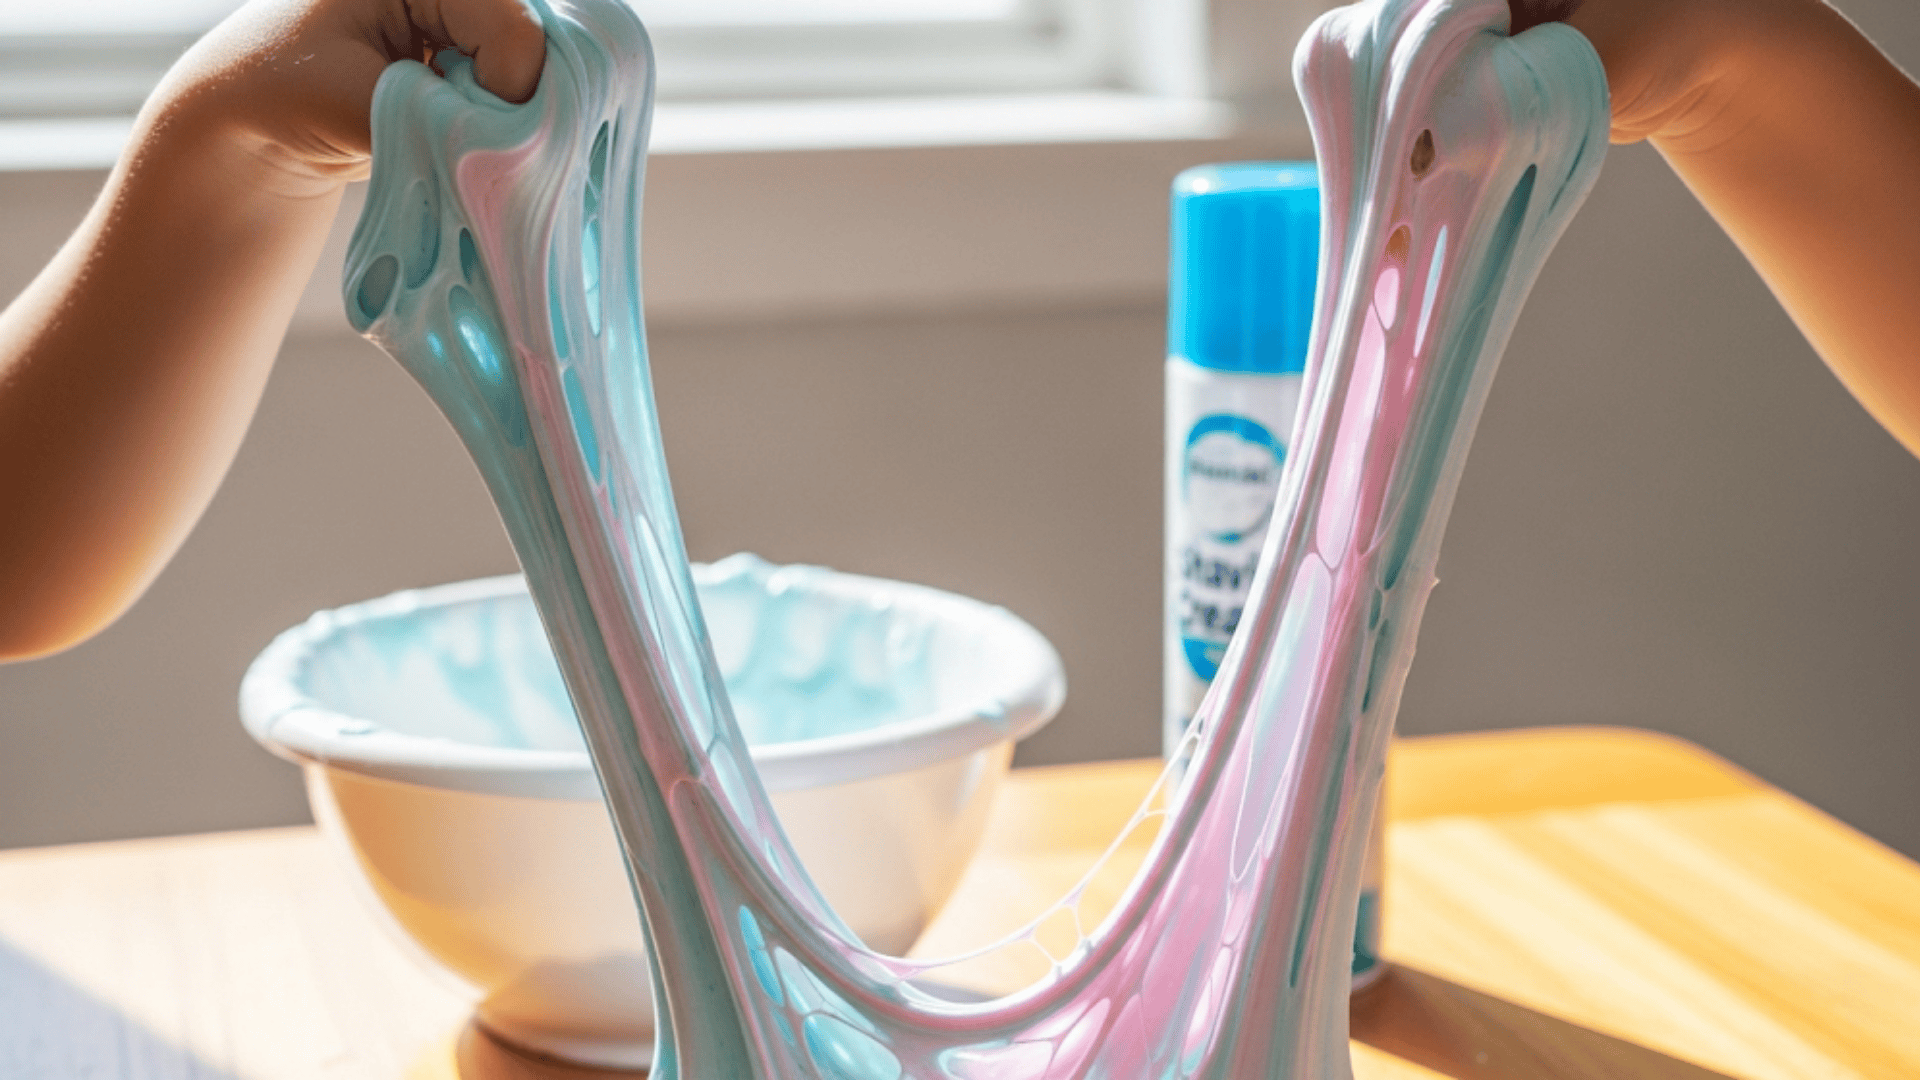
If your kids like super stretchy slime, this one’s a winner. The shaving cream makes it light and fluffy.
Steps:
- Pour ½ cup of school glue into a bowl.
- Add 3 cups of shaving cream and mix well.
- Stir in a few drops of food coloring.
- Add 1 tablespoon of saline solution and mix until it pulls away from the bowl.
- Knead until fluffy and stretchy.
This slime feels soft and bouncy, which makes it extra fun to play with.
No Glue Slime Recipes
Not every slime needs glue to work. These recipes are perfect if you’re out of glue or want a safer, taste-friendly option for younger kids.
Recipe 3: 2-Ingredient Slime (Dish Soap + Cornstarch)
If you’re short on supplies, this recipe is your best friend. It’s quick, safe, and uses things most kitchens already have.
Steps:
- Add 2 tablespoons of cornstarch to a small bowl.
- Pour in 1½ tablespoons of dish soap.
- Stir until the mixture comes together.
- Add a little more soap if it feels too dry, or more cornstarch if it’s too sticky.
This slime doesn’t last as long, but it’s fun for a quick, easy activity.
Recipe 4: Edible/Taste-Safe Slime (For Toddlers)

For younger kids, you’ll want something safe if it goes in their mouths. This marshmallow-based slime is sticky but fun.
Steps:
- Microwave 6 large marshmallows in a bowl for about 20 seconds.
- Stir in 1 tablespoon of coconut oil.
- Mix in ½ cup of cornstarch, a little at a time.
- Knead until it turns into a stretchy, dough-like slime.
It won’t last long, but it’s safe and fun for toddlers to squeeze and stretch.
Fun Variations Kids Will Love
Once you’ve mastered the basics, you can start adding twists that make slime even more exciting. These variations let kids get creative and experiment with colors, textures, and extras.
1. Glitter Slime
Mix fine glitter into your slime after it’s formed. Start with a small amount and add more until you like the sparkle.
2. Glow-in-the-Dark Slime
Use glow-in-the-dark paint or powder as an add-in when mixing your slime. Charge it under a light, then watch it glow.
3. Crunchy Slime (Foam Beads)
Stir foam beads into the slime after it’s ready. They give it a crunchy texture that makes playing extra satisfying.
4. Butter Slime (With Clay)
Knead in soft clay, like Model Magic, until it blends with the slime. The result is smooth, stretchy, and spreadable.
These variations keep slime fun and fresh, so kids never get bored with making the same recipe over and over.
Troubleshooting Slime Problems
Sometimes slime doesn’t turn out the way you expect, and that’s okay. A few quick fixes can usually save it.
- Too sticky: Add a little more activator, like saline solution, and knead until it firms up.
- Too hard: Work in a small amount of lotion to soften it and bring back the stretch.
- Not forming: Adjust the baking soda ratio by adding a pinch more at a time.
With these simple tweaks, you won’t have to toss out a batch of slime. A few small changes can turn it around.
Storing and Caring for Your Slime
Once your slime is ready, storing it the right way helps it last longer. Keep it in a small airtight container or even a zip bag. This keeps it from drying out and makes it easy to grab for play later.
Most homemade slime lasts about three to five days before it starts to lose stretch or dry out. If it gets too hard, you can knead in a drop of lotion or a splash of water to bring some life back.
When slime finally reaches the point where it’s no longer fun to use, toss it in the trash. Don’t wash it down the sink, since it can clog drains. Safe disposal means less mess for you later.
The Science Behind Slime
Kids love slime because it feels like magic, but there’s some simple science behind it.
- Glue polymers: School glue is made of long chains called polymers. On their own, they’re runny and liquid-like.
- The activator: When you add baking soda and saline, they help link those chains together.
- The result: Instead of a runny liquid, the glue turns into a stretchy, squishy solid you can hold.
I like to explain it as the glue being like a pile of noodles. The activator acts like the sauce that sticks them all together. It’s an easy way for kids to understand what’s happening while they play.
Parent Tips for Mess-Free Slime Fun
Slime is fun, but it can get messy fast. A few simple tricks make cleanup easier and keep the stress away.
- Set up on trays or mats: A flat tray or plastic tablecloth keeps slime off the furniture.
- Use aprons or old clothes: Kids can play freely without you worrying about stains.
- Quick cleanup methods: Keep paper towels and baby wipes nearby for sticky hands and surfaces.
With these steps in place, slime time stays fun for kids and manageable for you.
Wrapping Up
Making slime for kids is more than just a fun activity; it’s a chance to connect, create, and share a little science at home
What I’ve found is that the real magic isn’t only in the stretchy, colorful slime, but in the smiles and laughter that come with it. Every batch turns into a mini project that kids feel proud of, and you get to enjoy the process alongside them.
If you keep things simple, set up smart, and enjoy the moment, slime time becomes a memory maker instead of just a messy craft.
Want more easy, hands-on ideas? Check out my other blogs for kid-friendly projects and activities.