

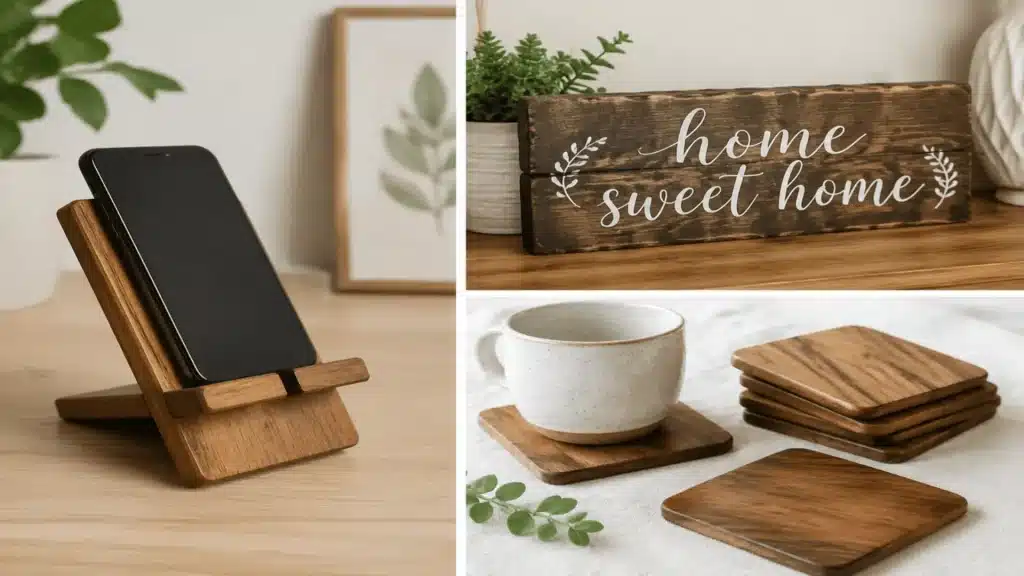
Starting a woodworking project can feel intimidating when you are not sure where to begin. The good news is you do not need advanced tools or years of experience to build something useful.
With the right mindset and a clear starting point, you can turn simple pieces of wood into practical items for your home.
This guide walks you through easy wood projects that are beginner-friendly, realistic, and satisfying to complete.
You will learn how to approach your first build with confidence and find small projects that match your skill level without feeling overwhelmed.
How to Start Your First Easy Wood Project (Step-By-Step)
Starting your first wood project does not have to feel overwhelming. Follow these simple steps in order, and you will reduce mistakes while building confidence with every stage.
Tools and Materials
- Wooden board or scrap wood
- Table saw
- Crosscut sled
- Miter gauge
- Chisel
- Measuring square
- Pencil or marking tool
- Clamps
- Saw fence
Step 1: Cut the Wood to Size
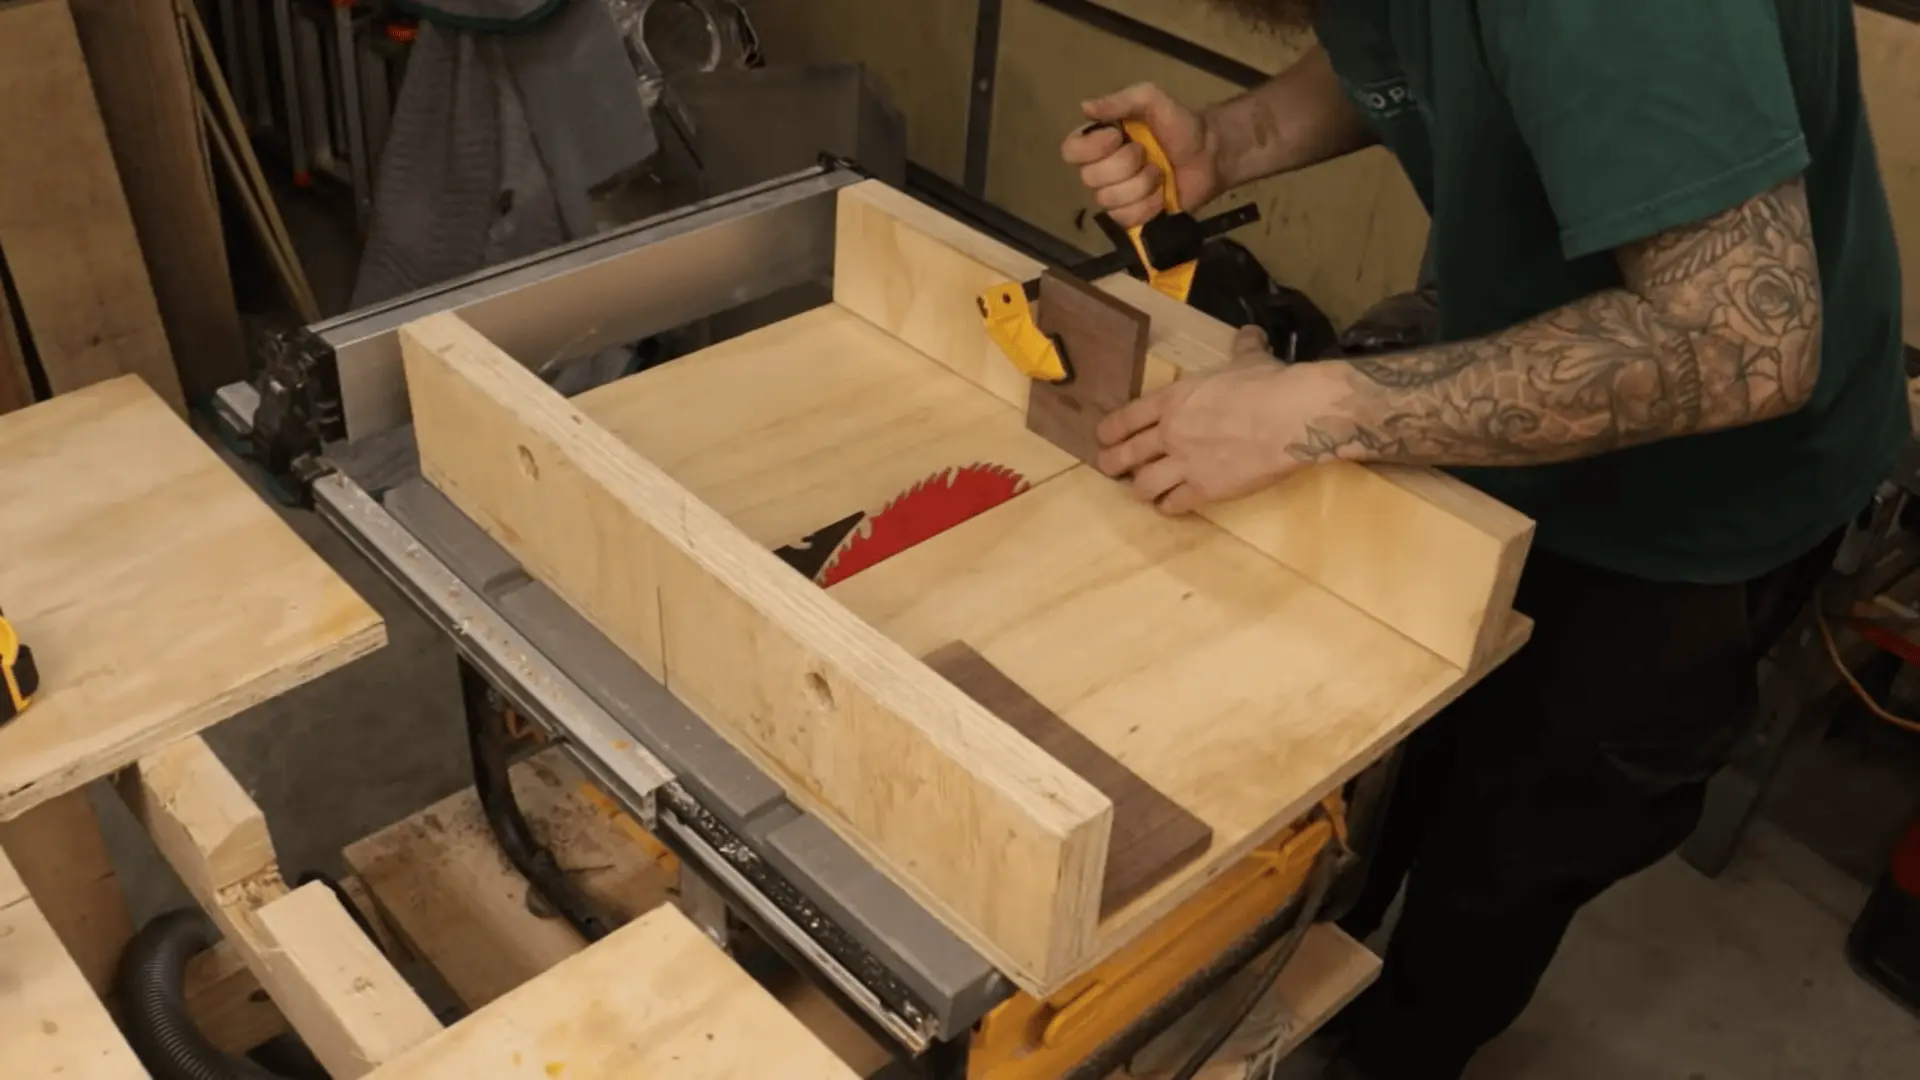
Start by selecting a flat piece of wood. If the board is slightly bent, choose the best side that can still be worked with. Mark the width based on your phone, leaving a little extra space so it does not feel tight.
Use a table saw to cut the board to the width. Then cut the length of at least one piece to your desired size. This will form the base or support, so keep proportions balanced for stability.
Step 2: Create the First Slot
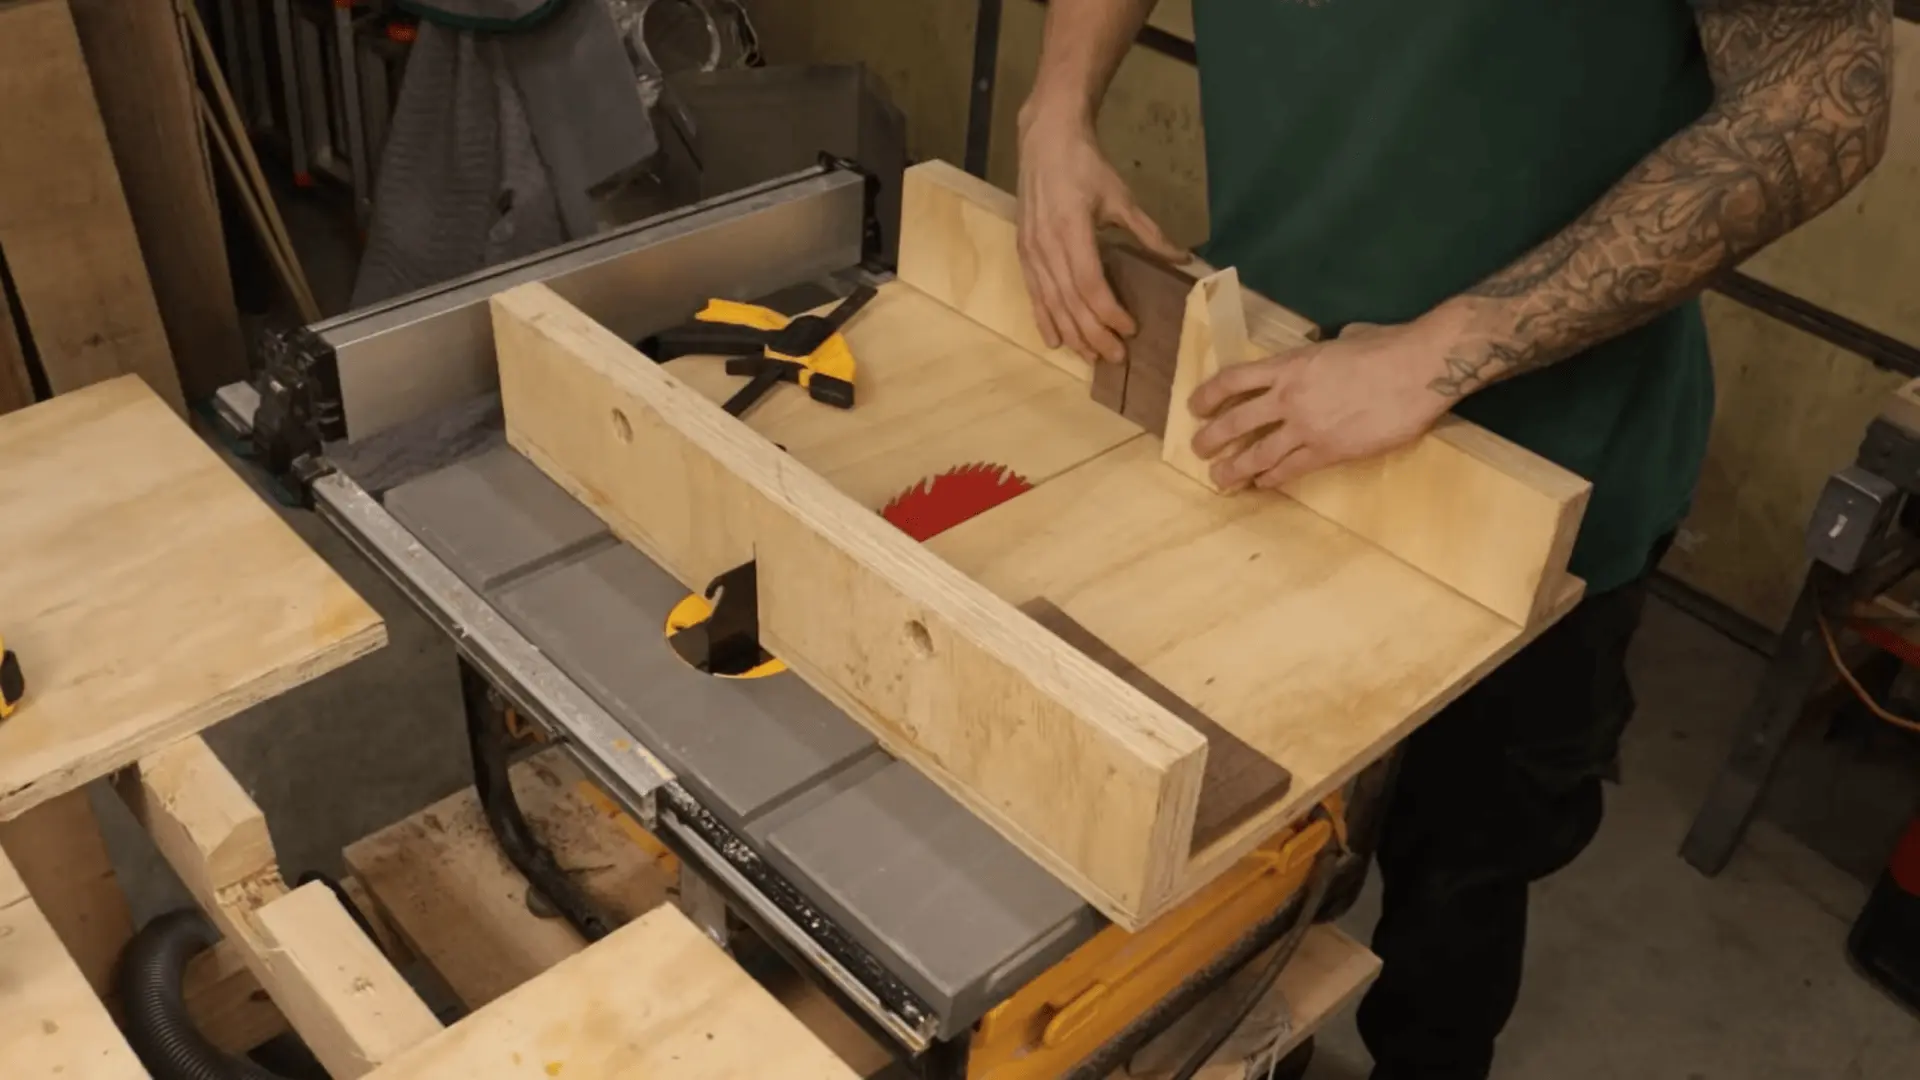
Place your phone against the wood to decide where the slot should go. Mark the slot area clearly using a pencil. Keep the slot centered and deep enough to hold the second piece securely.
Make repeated cuts with the table saw to remove most of the material. If small pieces remain, use a chisel to clean out the slot. Work slowly to keep the edges straight and even.
Step 3: Shape the Second Slot
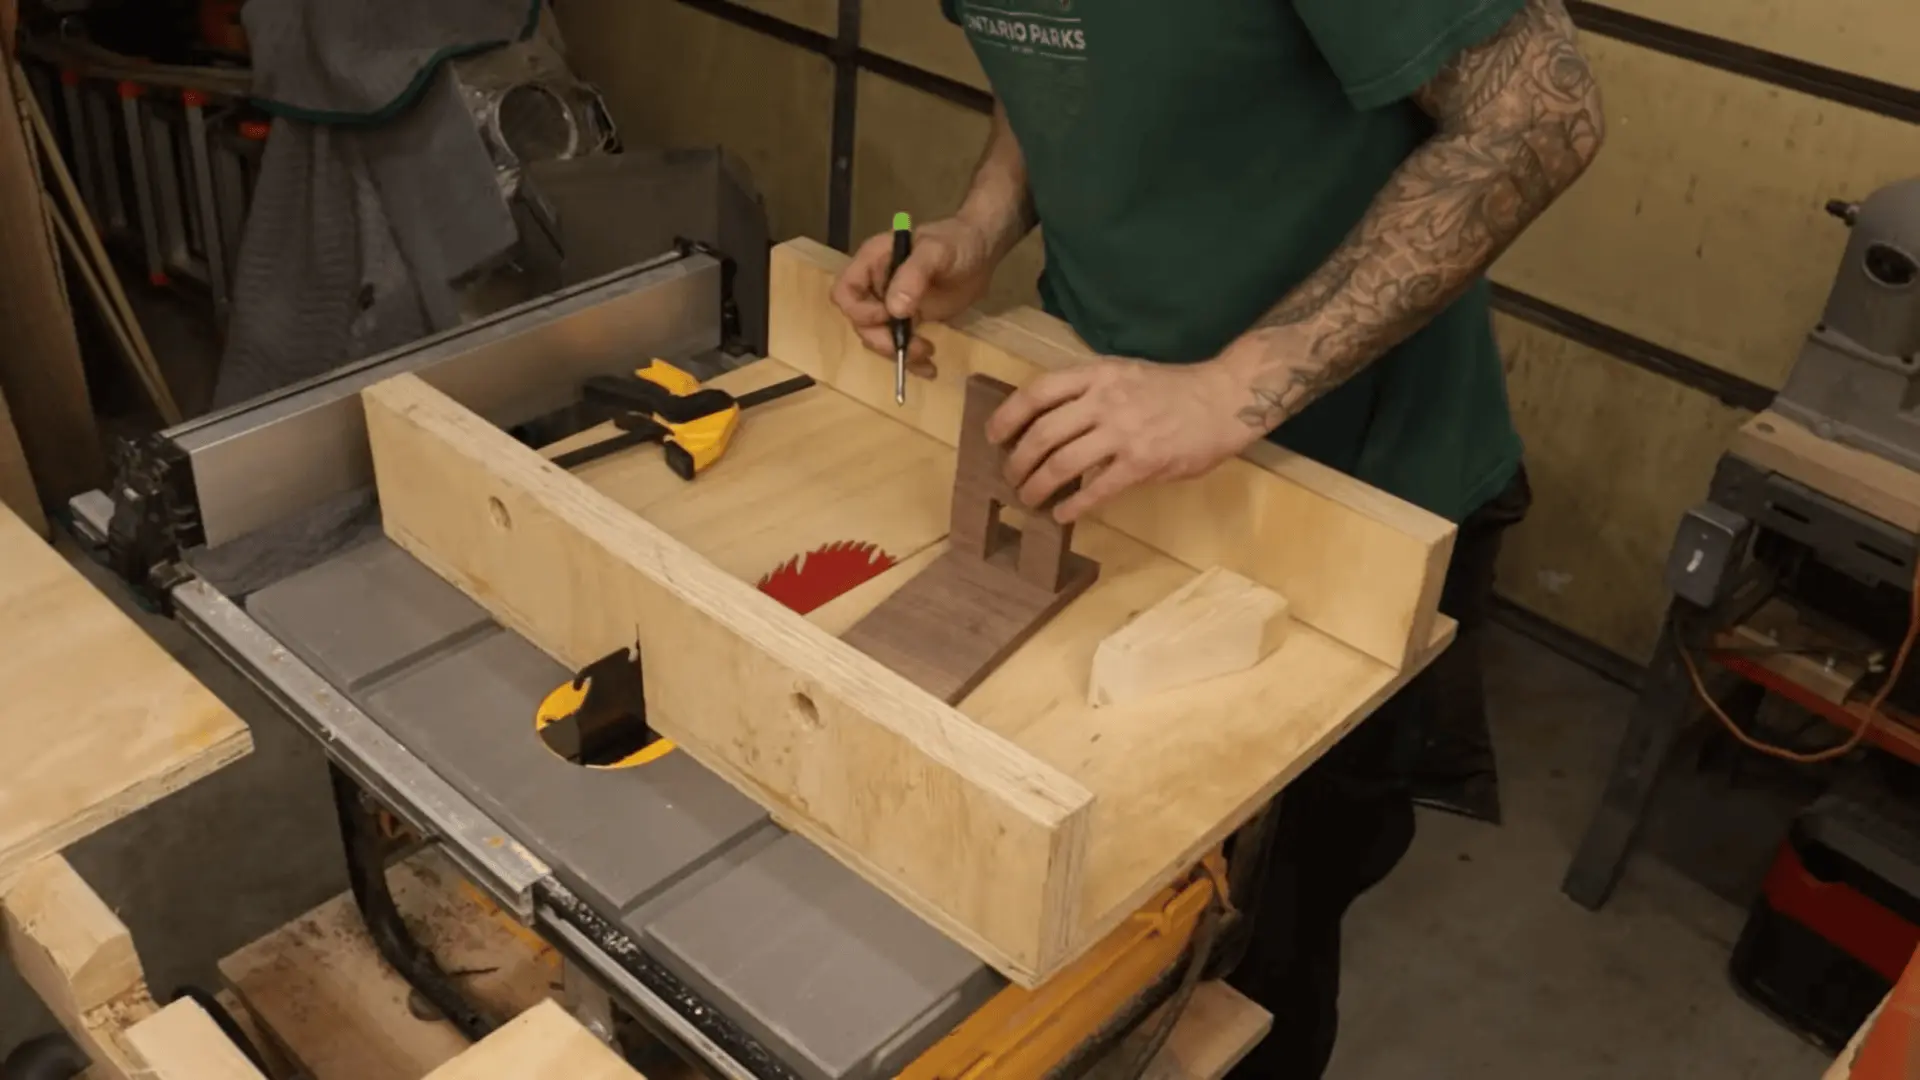
Take the second piece and align it with the first to transfer the slot position. Mark the opposite slot so both pieces can slide into each other properly.
Cut the slot using the same method. Keep checking alignment as you go to avoid uneven cuts. The goal is a snug fit that holds without forcing the pieces together.
Step 4: Refine the Fit

Use multiple passes on the table saw to widen or clean the slot slightly. This helps create a smooth sliding fit instead of a tight or rough connection.
After each adjustment, test how the pieces fit together. Continue making small corrections until they slide in easily but still stay firm when assembled.
Step 5: Add Stability Angles
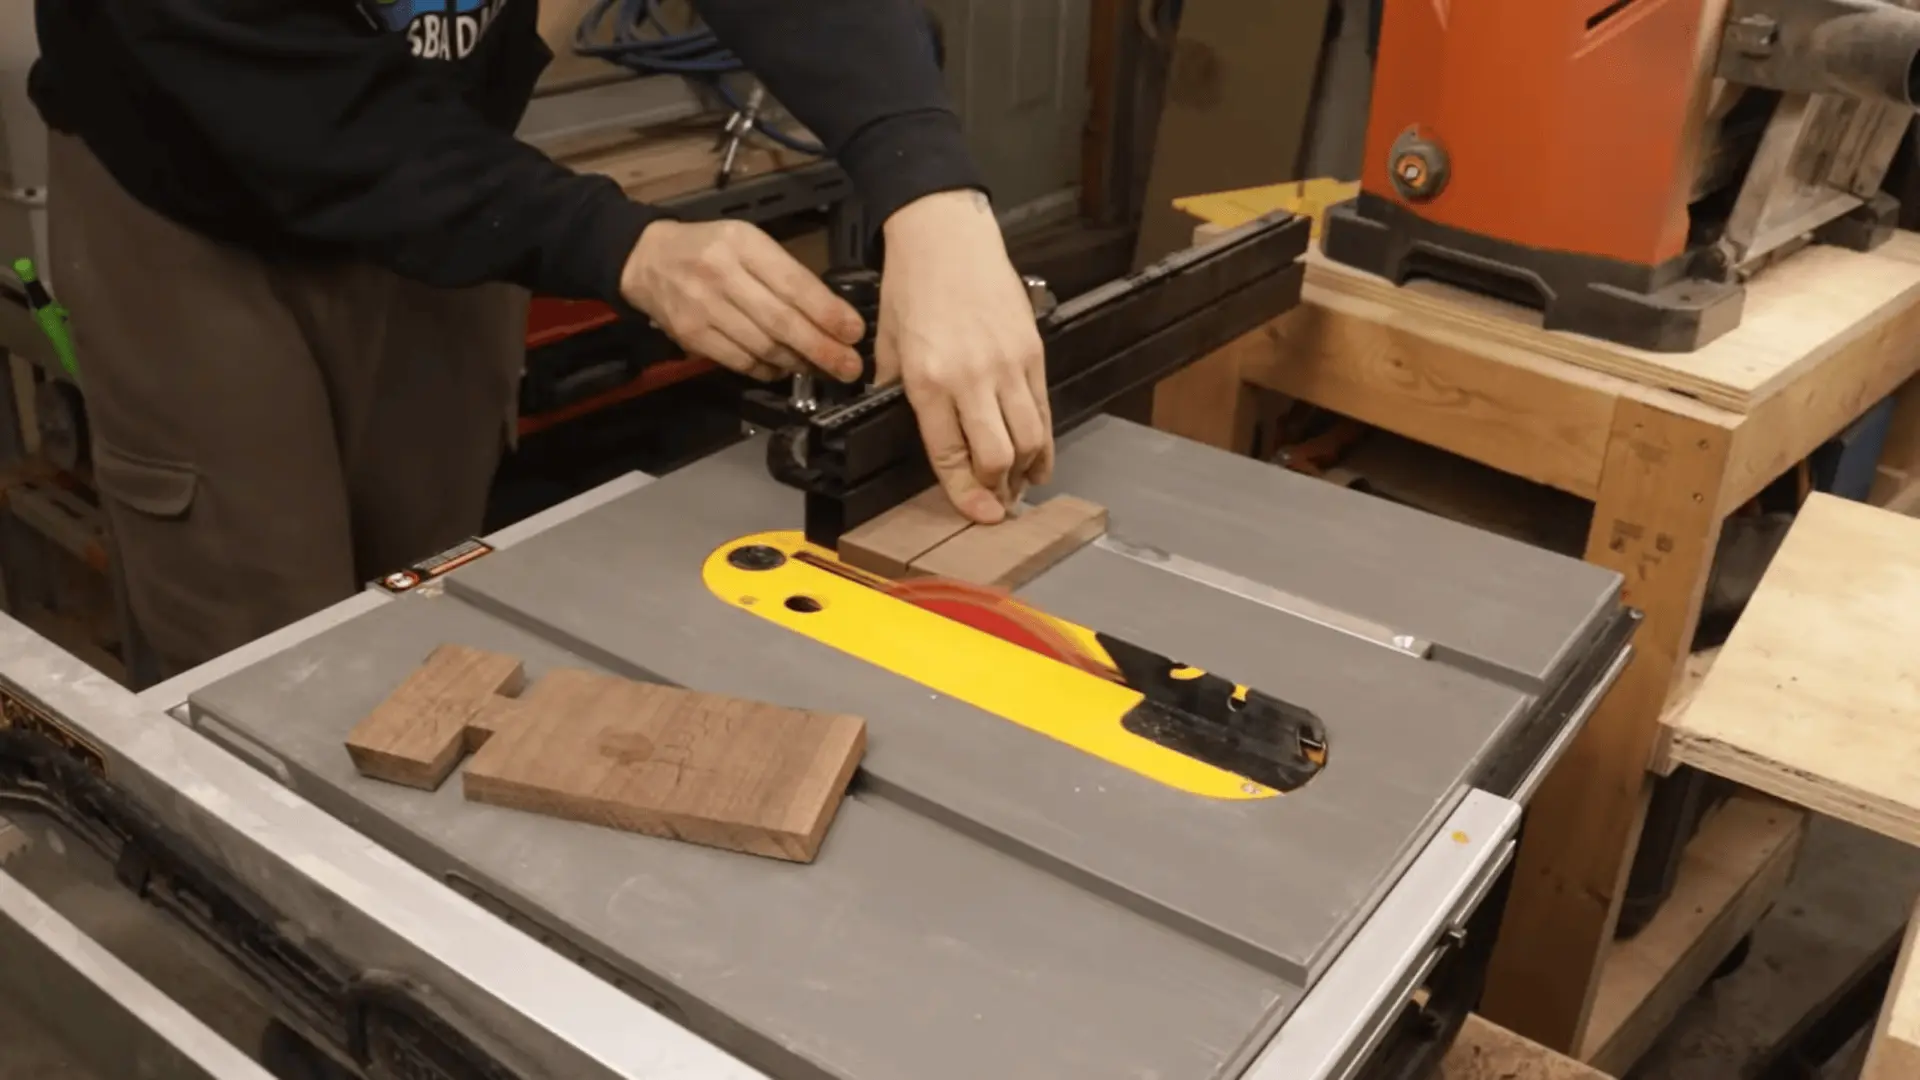
Set your blade at a slight angle and trim the bottom edges of the pieces. This helps the stand sit flat on a surface instead of wobbling.
Test the piece after each cut. If it still does not sit evenly, adjust the angle slightly and trim again. Small changes make a big difference in stability.
Step 6: Assemble and Test
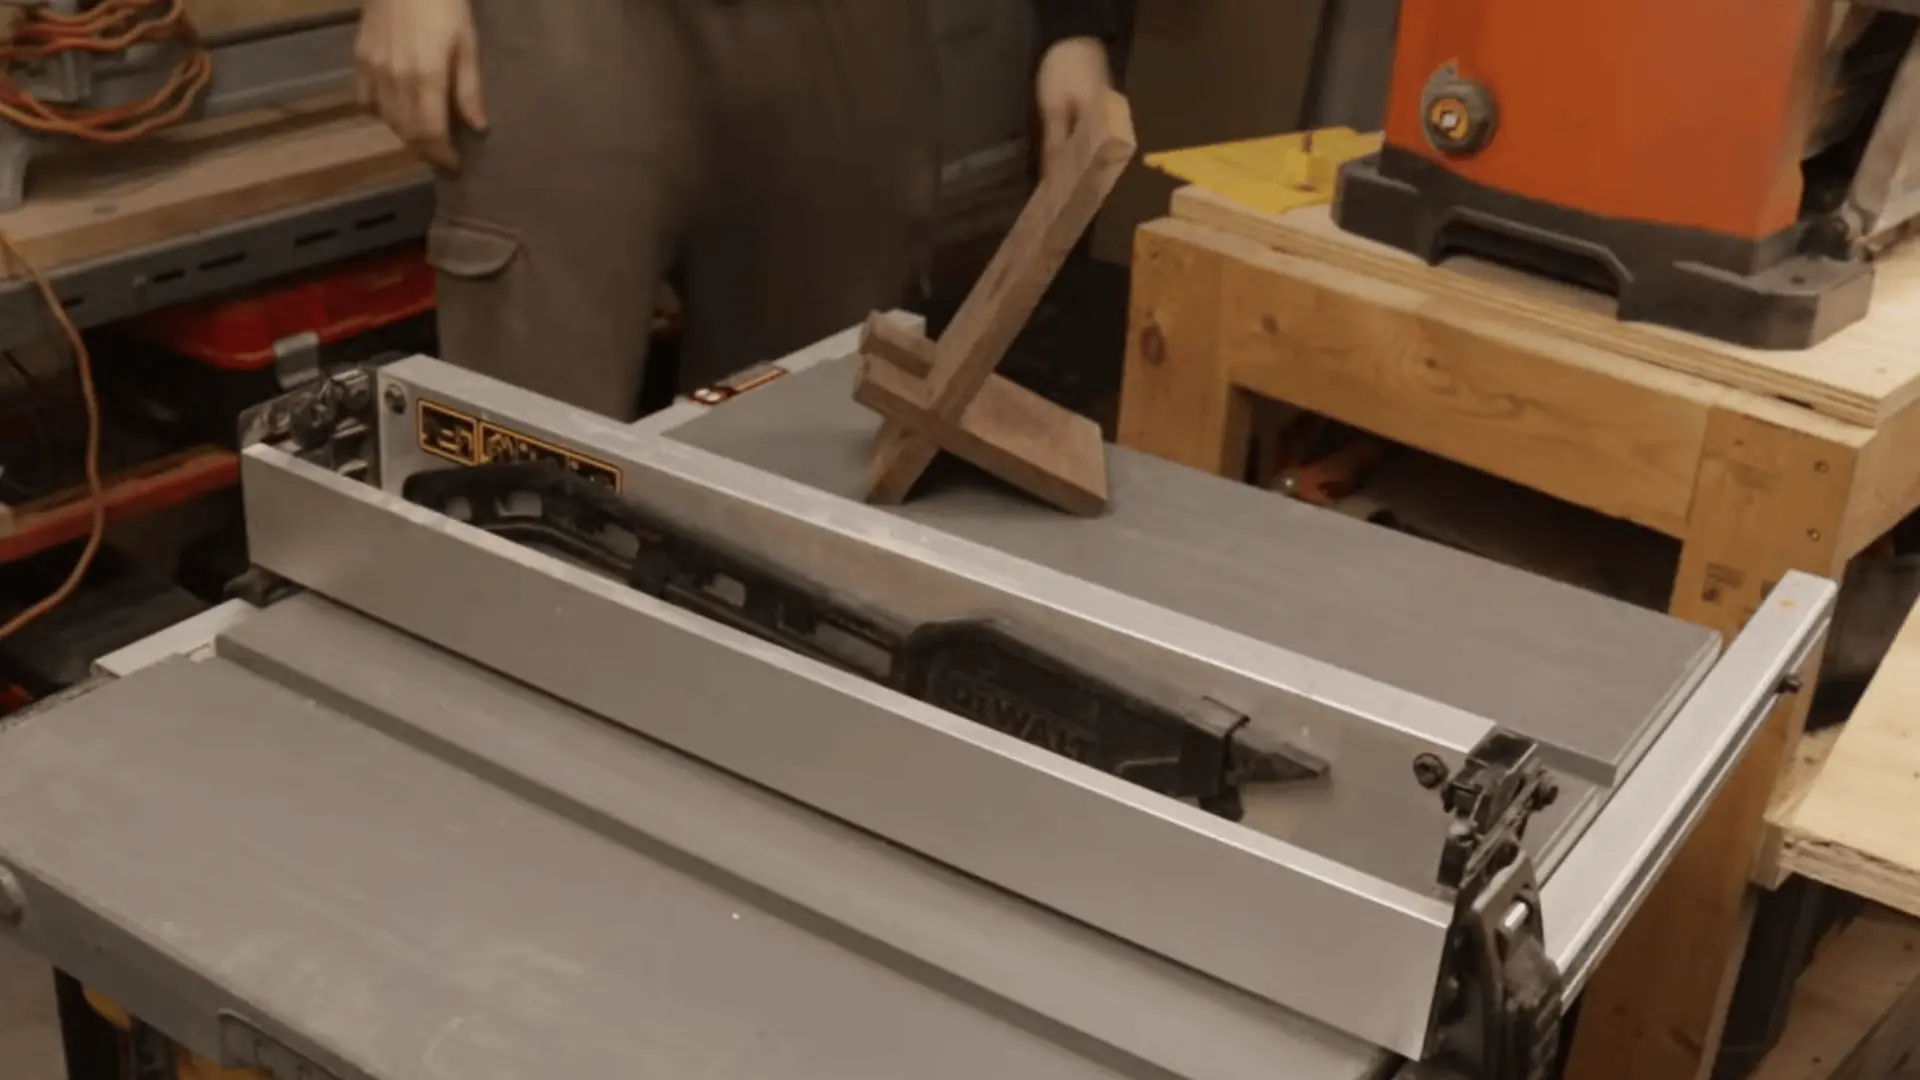
Slide both pieces together and place the stand on a flat surface. Check if it sits properly and holds the phone at a comfortable angle.
Place your phone on the stand and test its balance. If it leans or feels unstable, go back and adjust the slot fit or base angles until it feels solid.
For a complete walkthrough of the process, check out the video tutorial below:
Easy and Small Wood Projects You Can Build
This section covers simple and compact wood projects that are quick to make and require minimal tools. Each idea is practical, beginner-friendly, and perfect for small spaces or quick builds.
Super Simple Starter Projects (Lowest Skill)
These beginner-friendly projects use straight cuts, simple assembly, and basic tools to help you build confidence while learning essential woodworking skills like measuring, sanding, and alignment.
1. Wooden Coasters
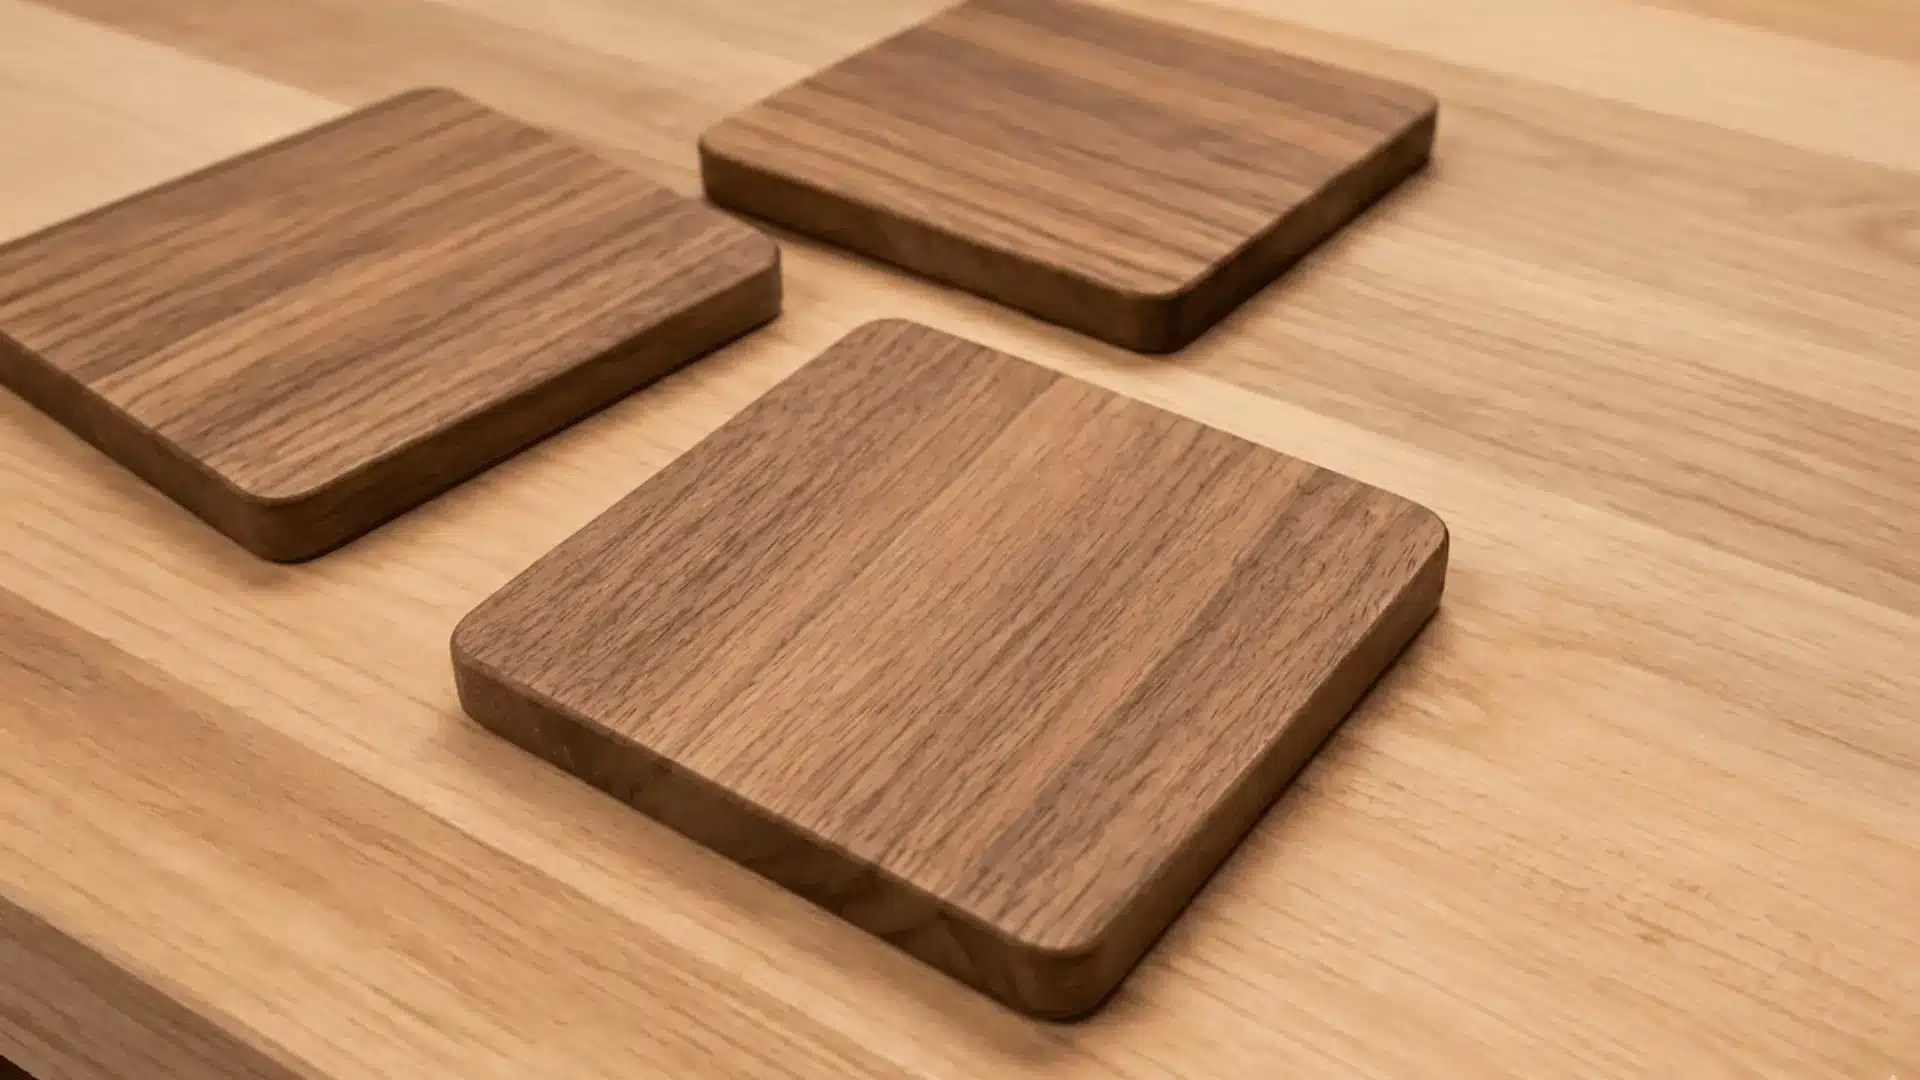
Start with small square or round pieces of wood. Mark equal sizes, then cut them carefully using a saw. Sand all sides and edges until smooth, especially the corners.
Wipe off dust and apply a simple finish if you want. Avoid rushing sanding, or you’ll end up with rough edges that don’t feel good or look clean.
2. Pencil Holder
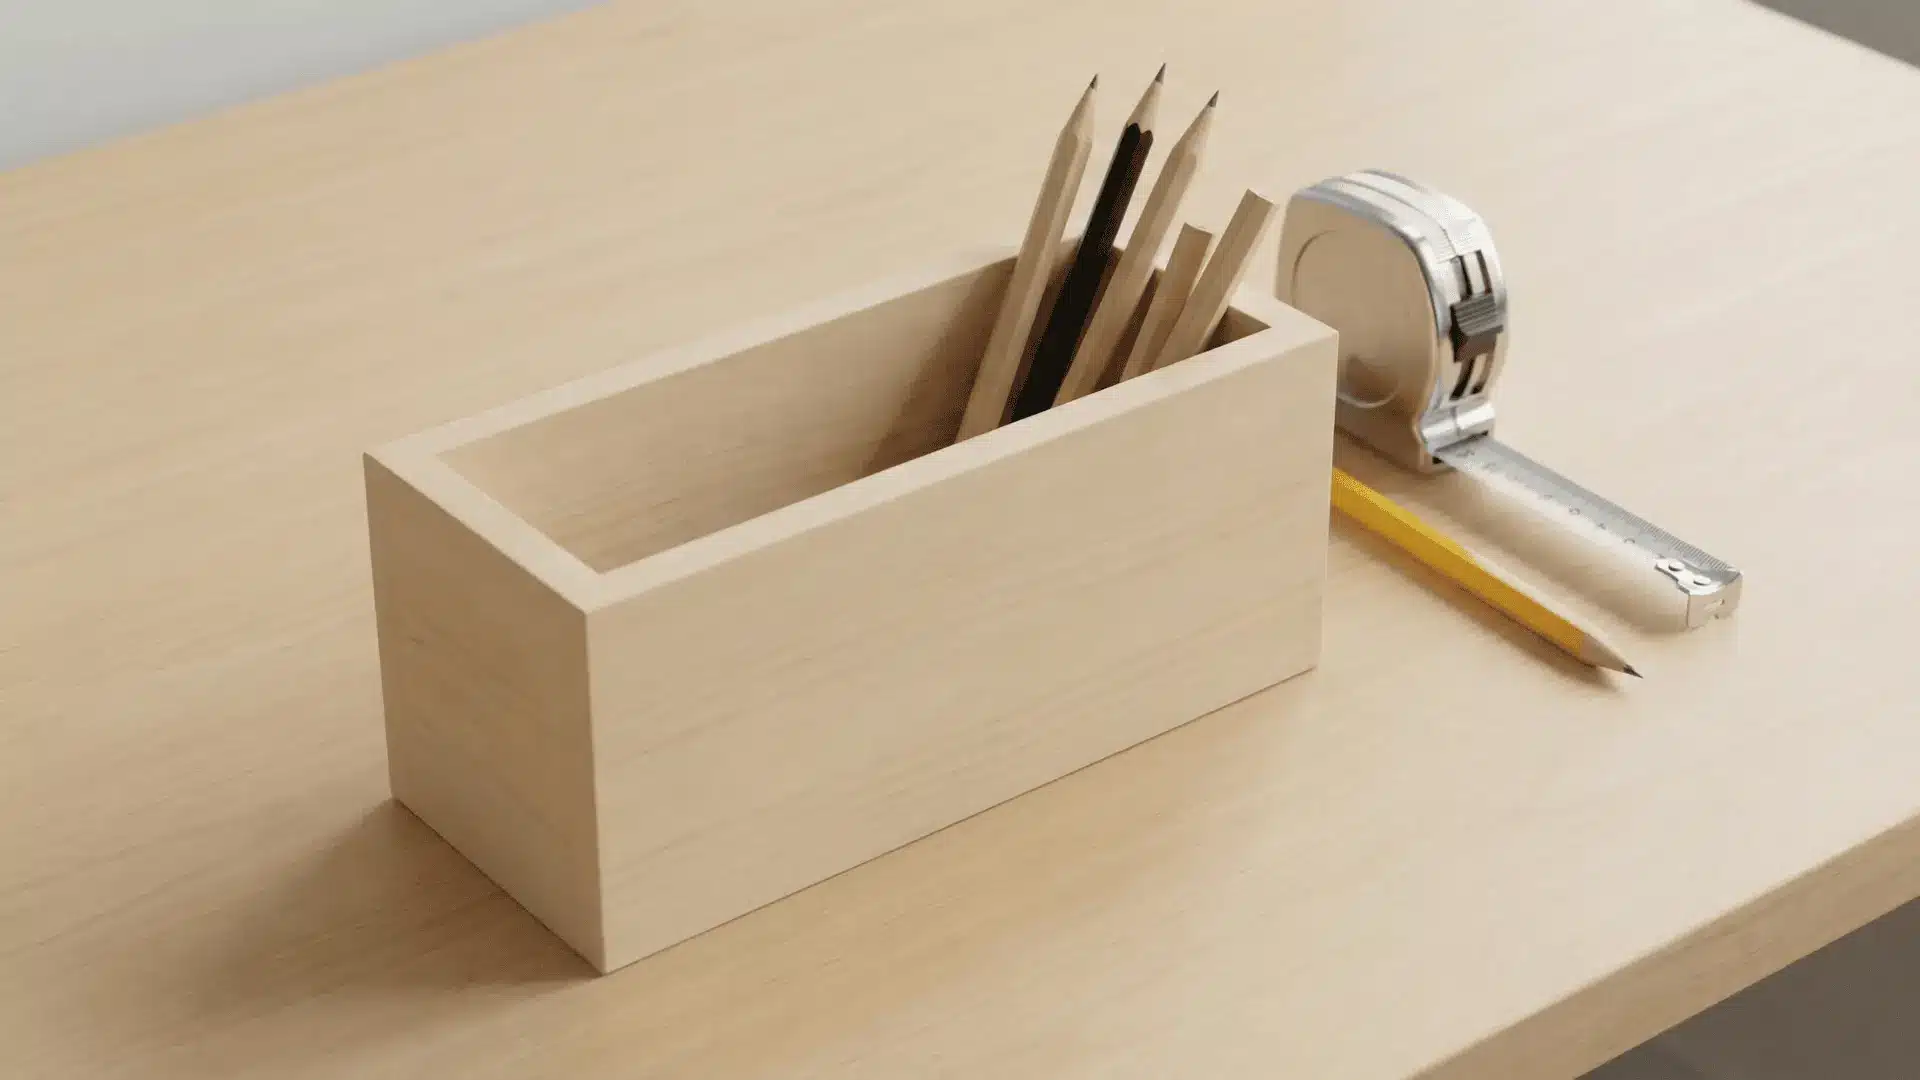
Cut four equal side pieces and one base piece. Check measurements twice before cutting to keep all sides even.
Apply wood glue along edges and hold pieces together with clamps or nails. Let it dry fully. Sand the outside lightly. If your measurements are off, the box may tilt or not sit flat on your desk.
3. Phone Stand
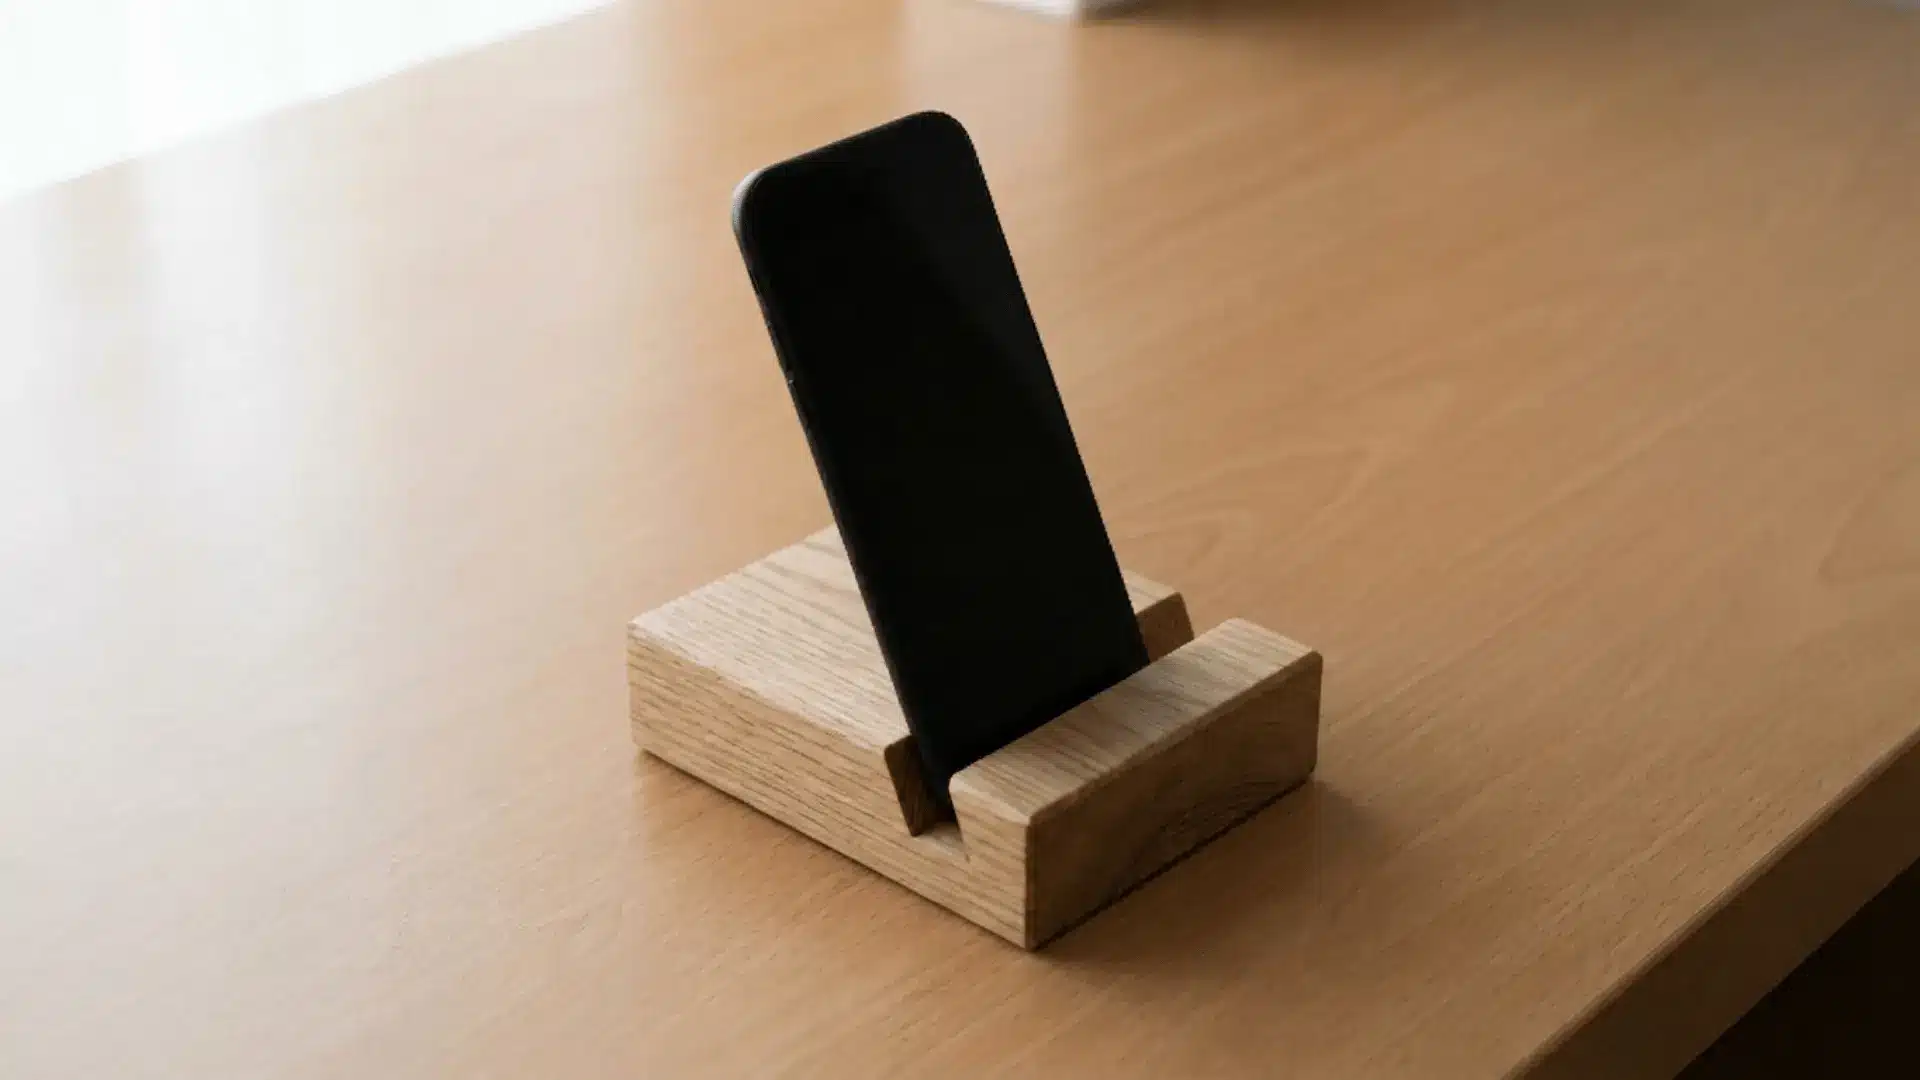
Take a small wooden block or board. Mark a slot line at a slight angle, then cut carefully using a saw or chisel. Smooth the slot with sandpaper so the phone sits well.
Test the angle before finishing. If the angle is too steep or too flat, your phone may slip or not stay stable.
4. Key Holder
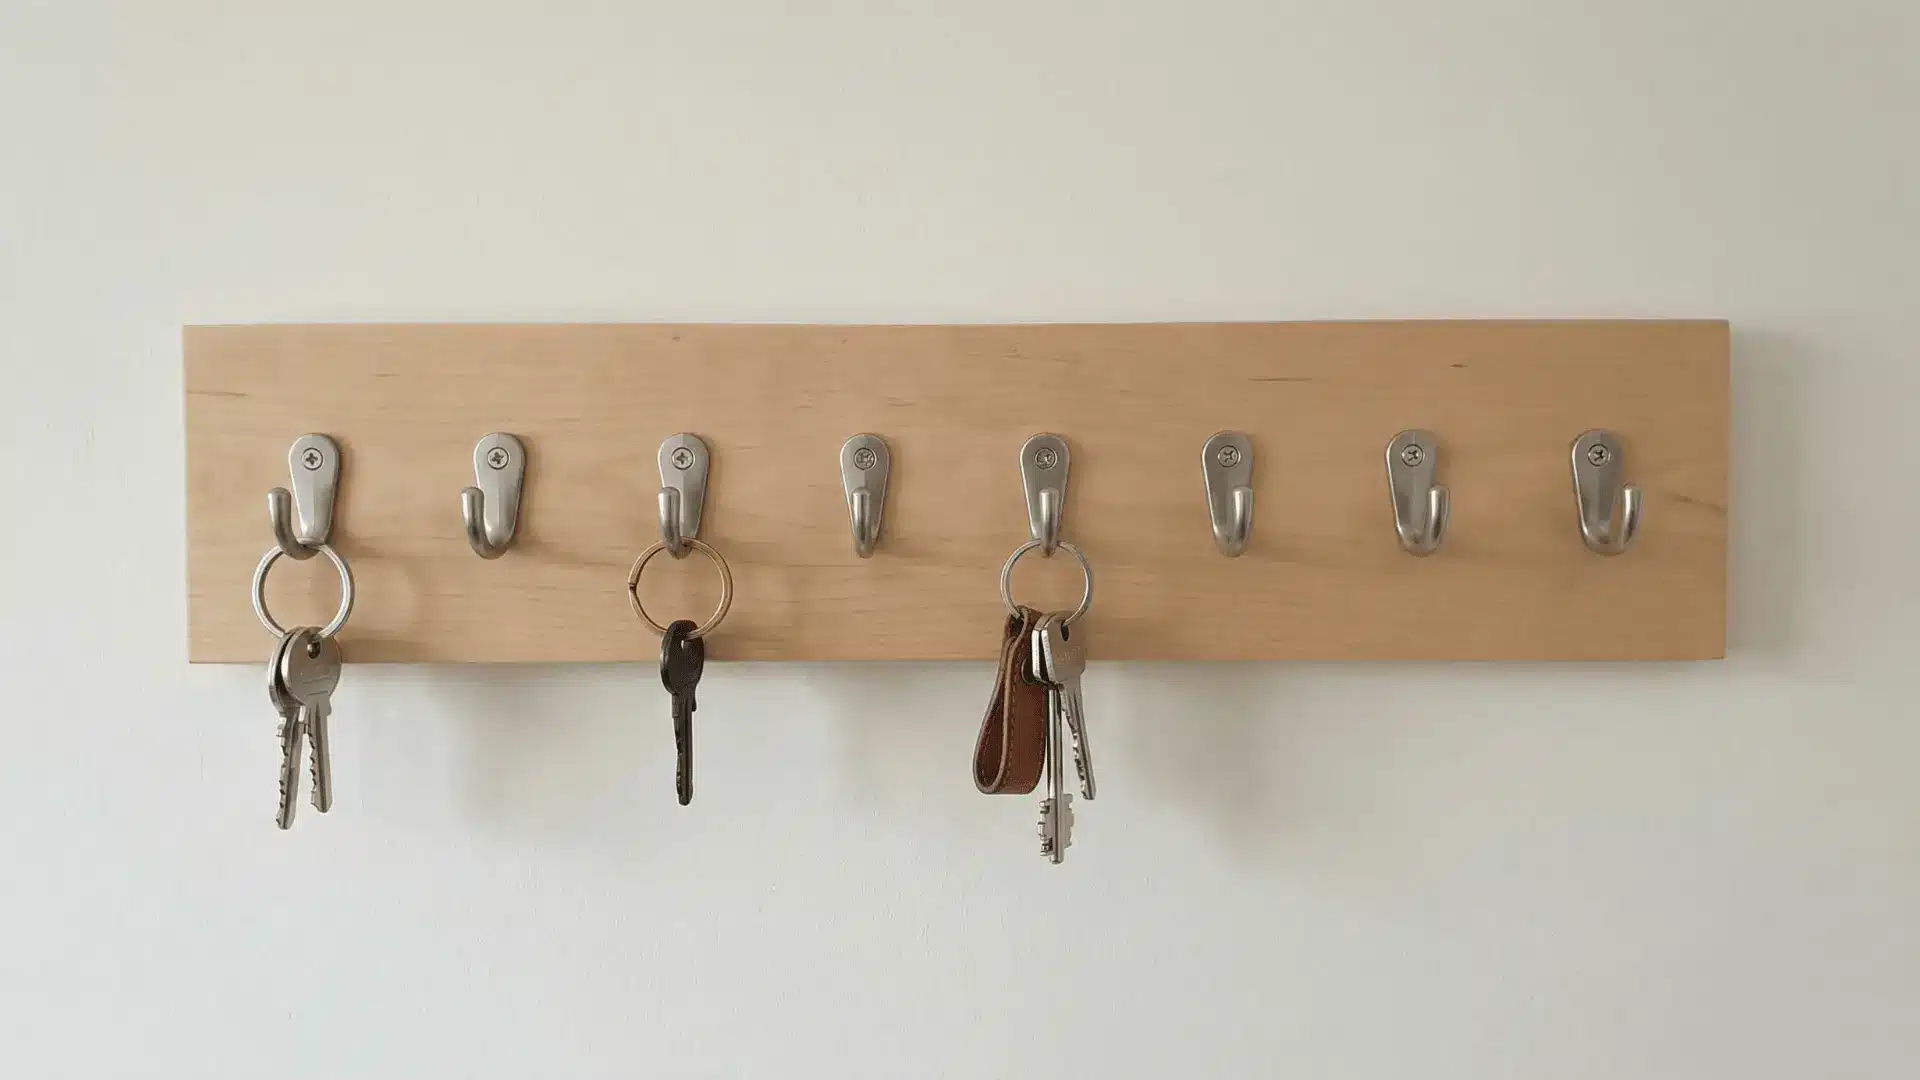
Cut a flat wooden board to your preferred size. Mark equal spacing for hooks using a ruler. Drill small pilot holes before inserting screws or hooks.
Fix hooks tightly and sand the board. You can mount it on a wall using screws. Poor spacing or loose screws will make it look uneven and less useful.
5. Wooden Bookmarks
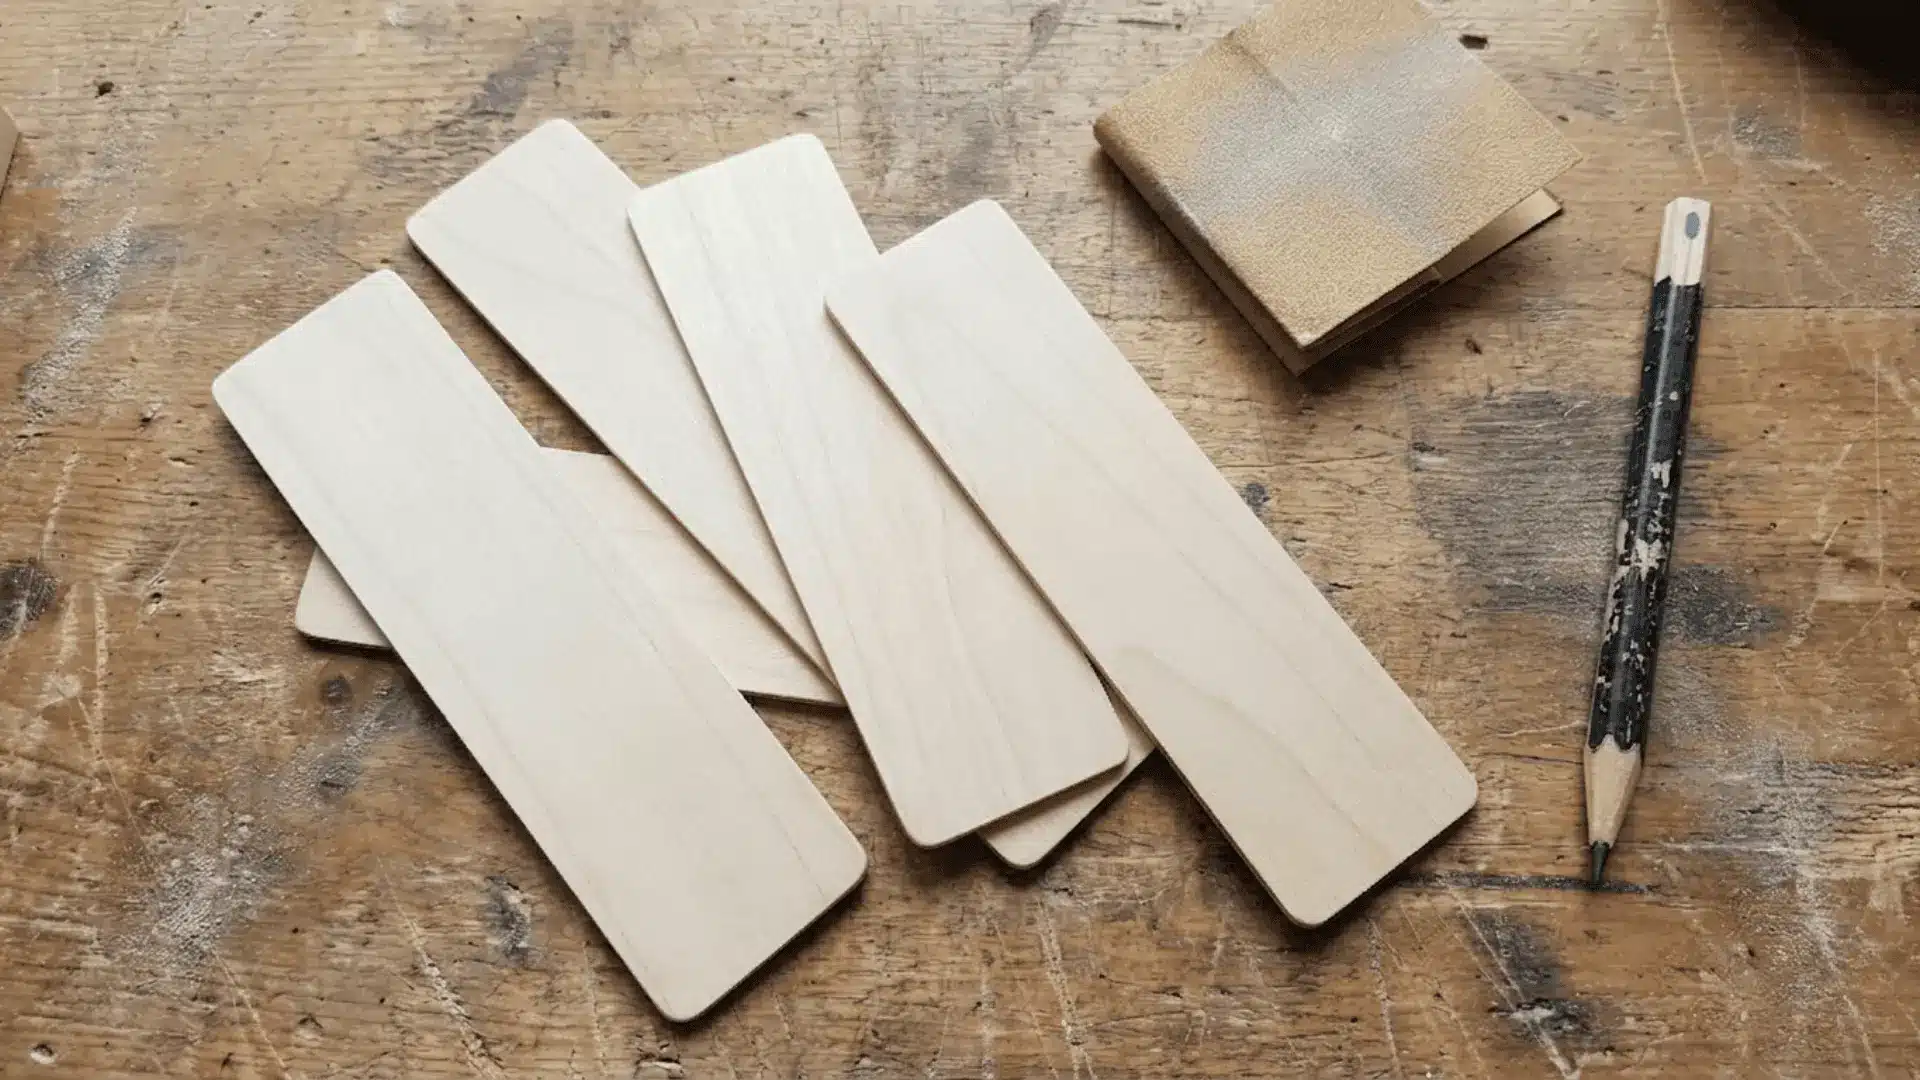
Use thin wood strips and mark a simple rectangular shape. Cut gently to avoid cracking. Sand both sides and edges very well until smooth.
You can round the corners slightly for comfort. Apply a light finish if needed. If the wood is too thin or pressure is uneven, it may snap during cutting.
6. Simple Wall Hooks Board
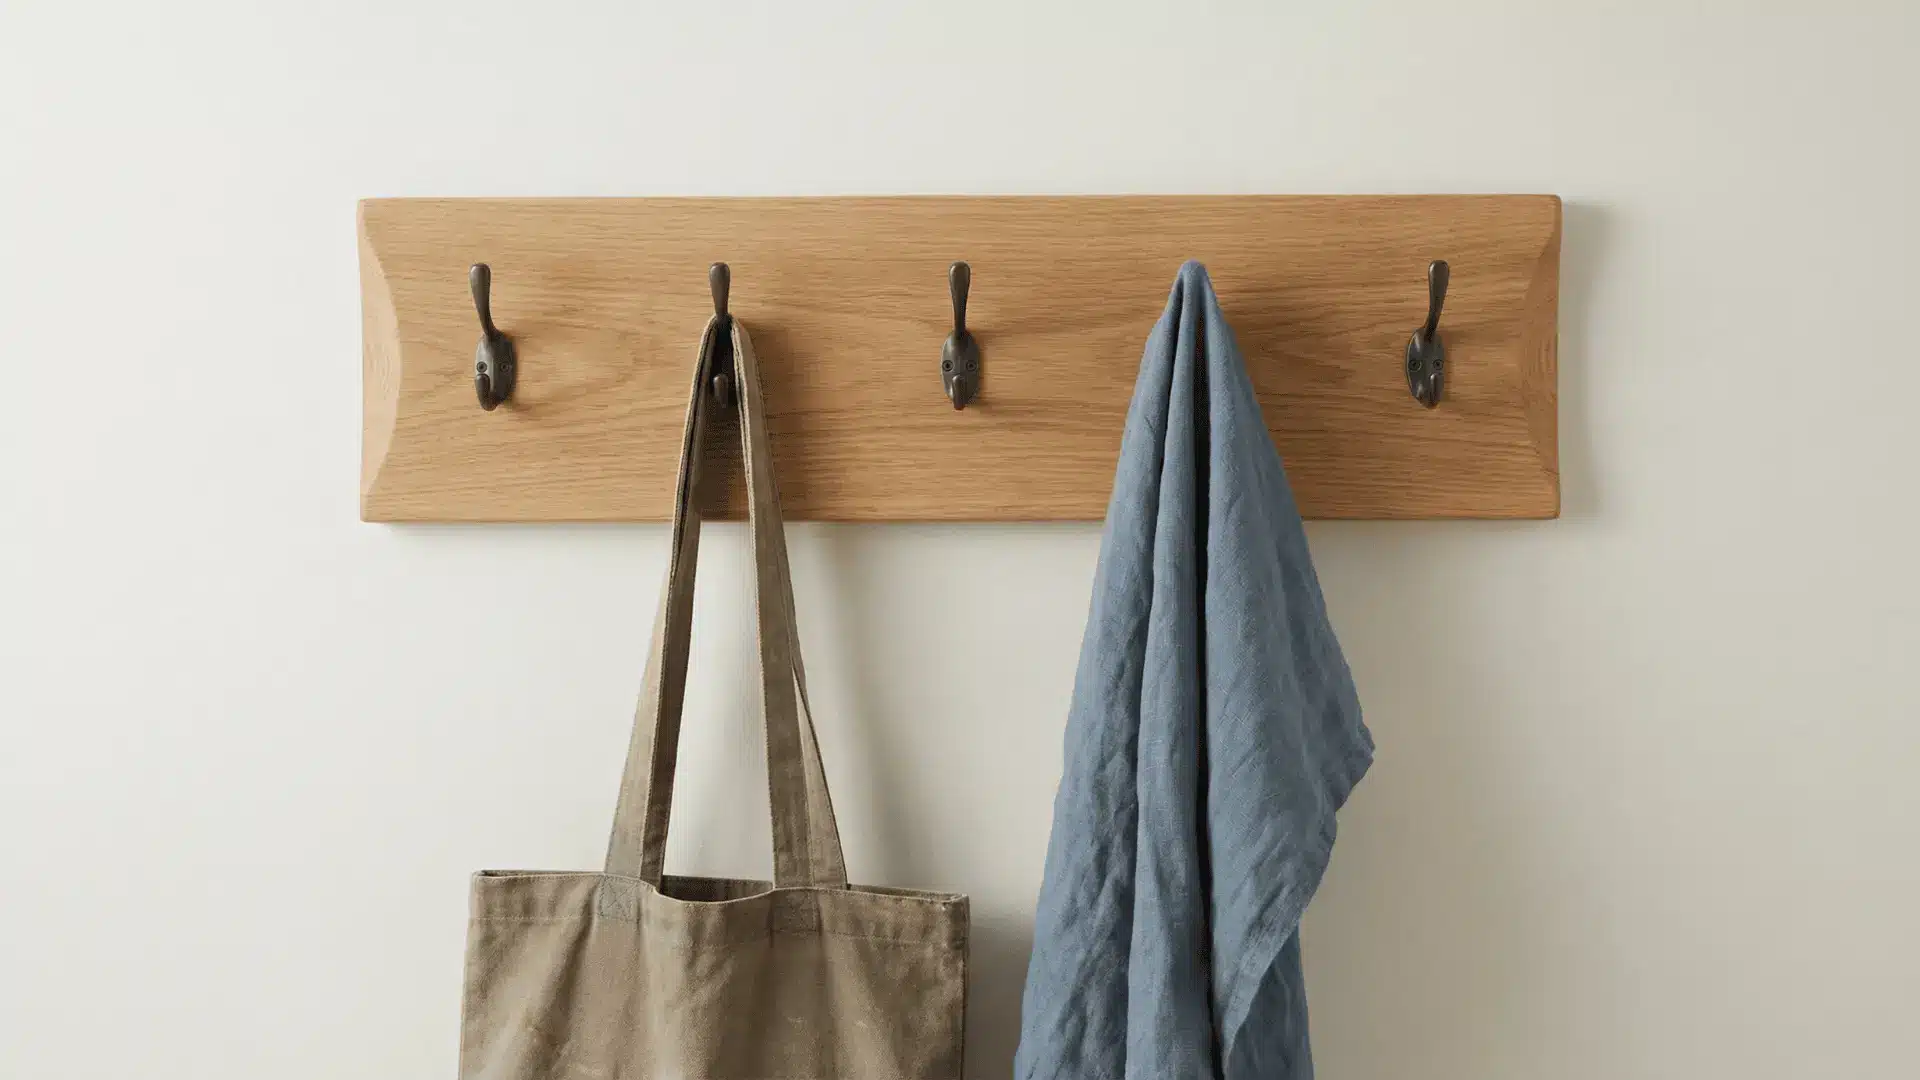
Choose a straight wooden board and sand it first. Mark equal points for hooks across the board. Drill pilot holes and attach hooks securely.
Use wall anchors when mounting to ensure strength. Check alignment with a ruler. If hooks are uneven or anchors are missing, the board may tilt or come loose.
Small Functional Home Projects
These projects add practical value to your home while building confidence in measuring, joining, and structural stability, all with simple, beginner-friendly techniques.
7. Wall Shelf
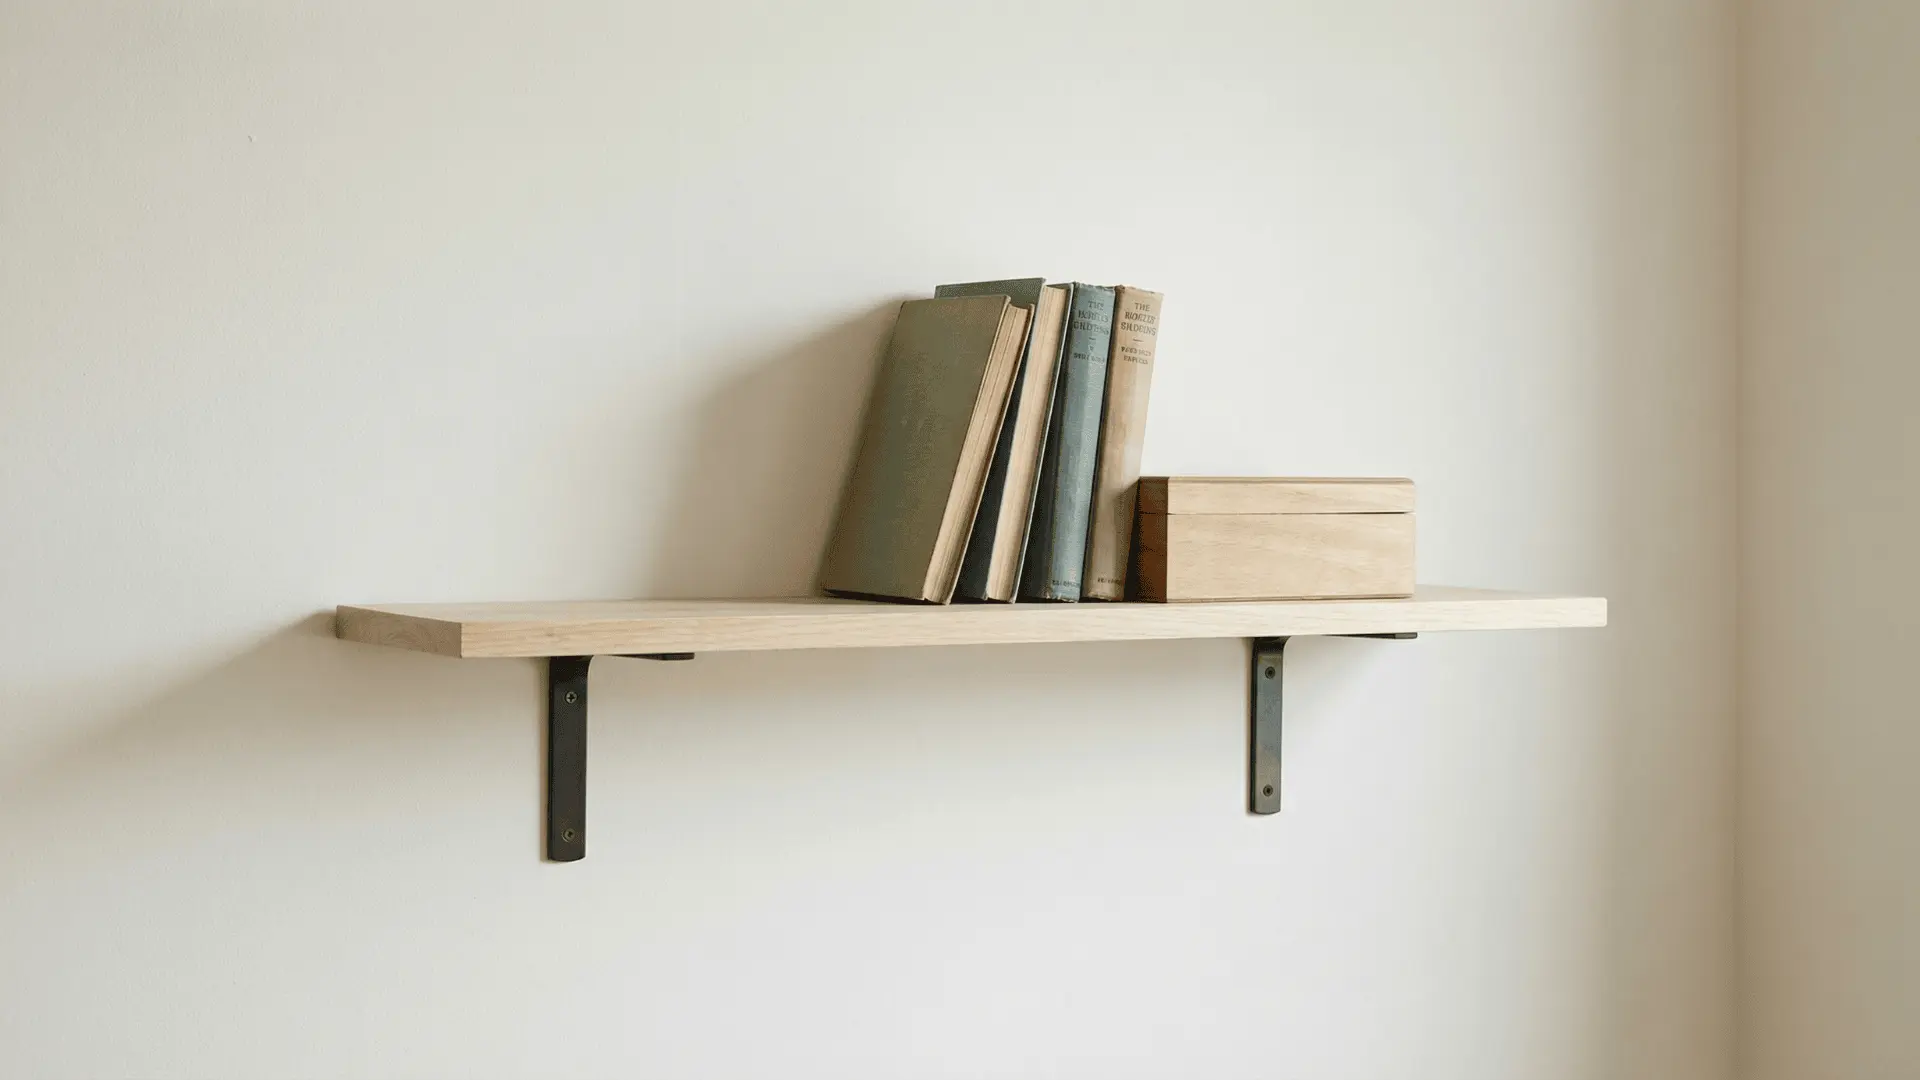
Cut a flat board for the shelf and prepare brackets or supports. Sand all surfaces before assembly. Mount brackets on the wall using proper anchors, then place and secure the shelf.
Use a level tool to keep it straight. If not leveled or supported properly, the shelf may sag or become unstable over time.
8. Wooden Tray
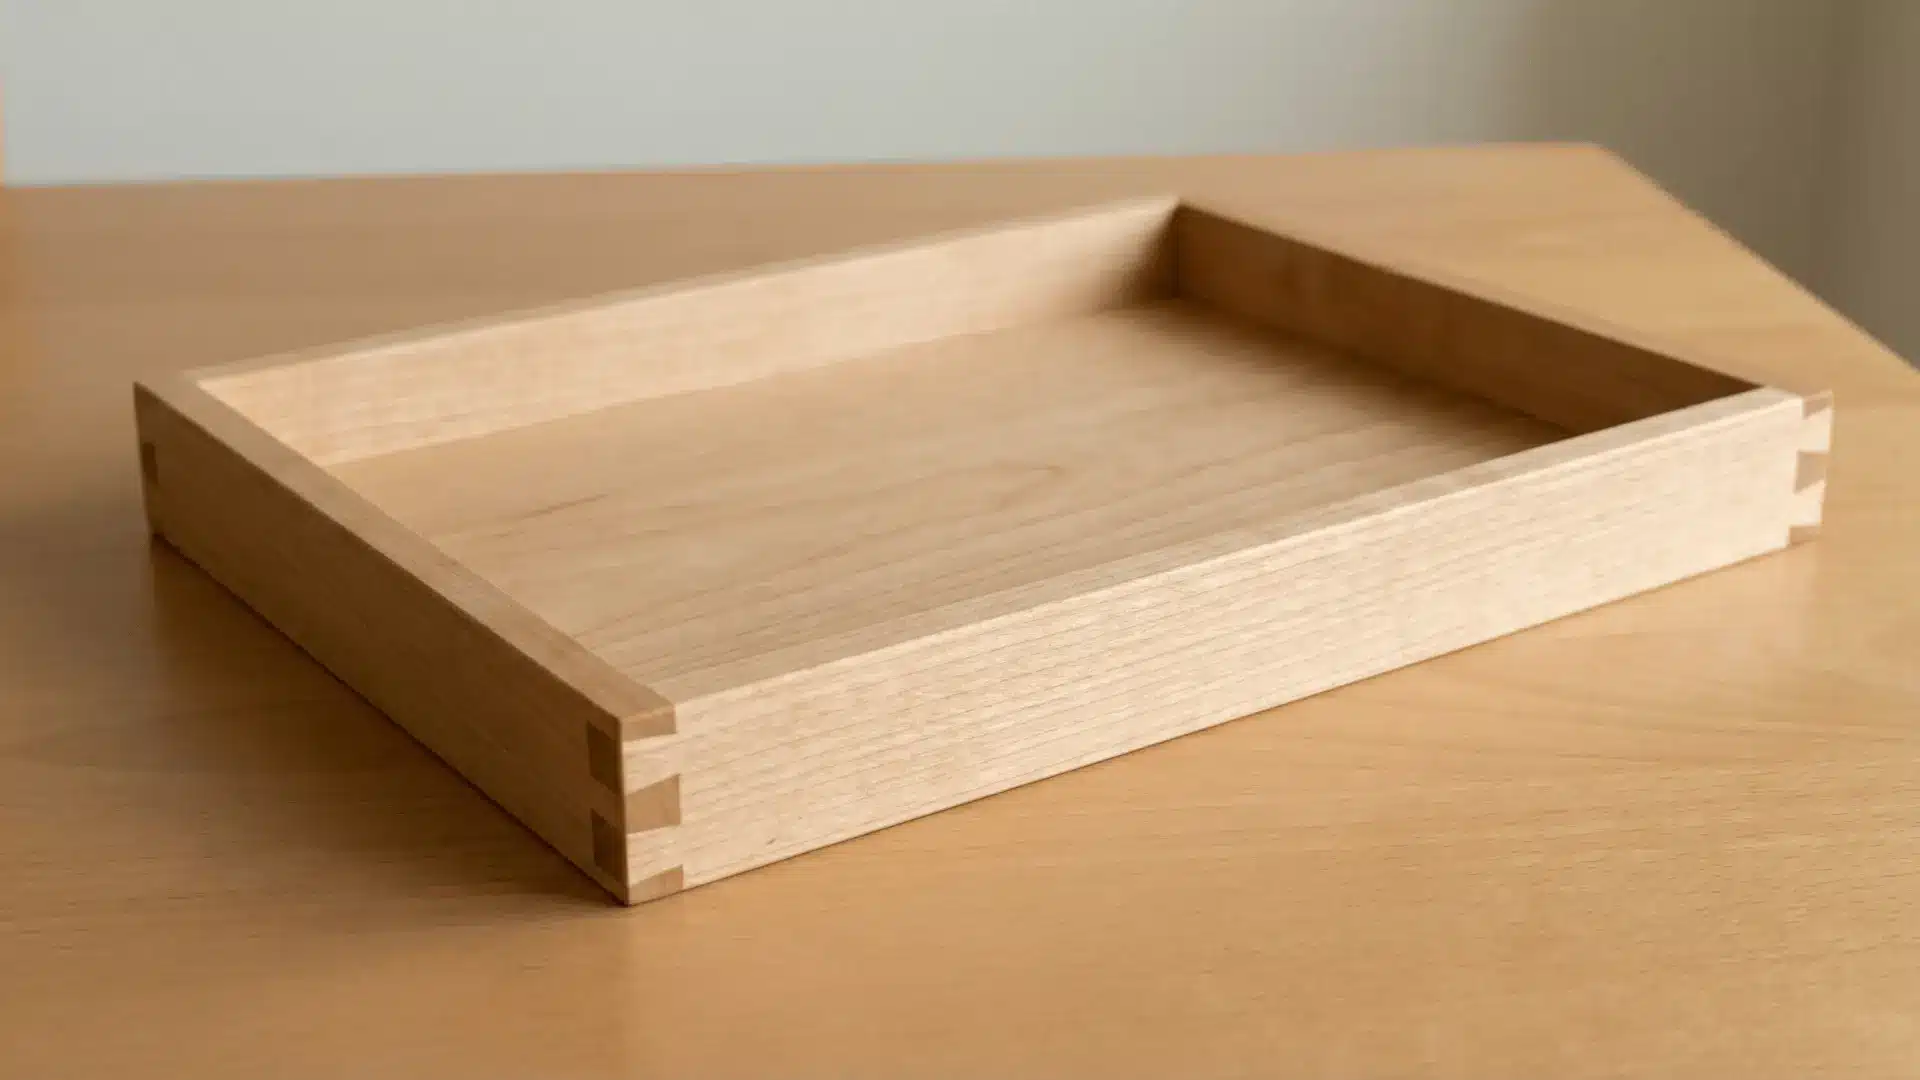
Cut one base and four side strips. Apply glue along edges and join sides around the base. Use clamps to hold everything tight while drying. Check corners to keep them square.
Sand all edges after drying. Weak joints or uneven alignment can cause gaps, making the tray less strong and harder to use.
9. Cutting Board
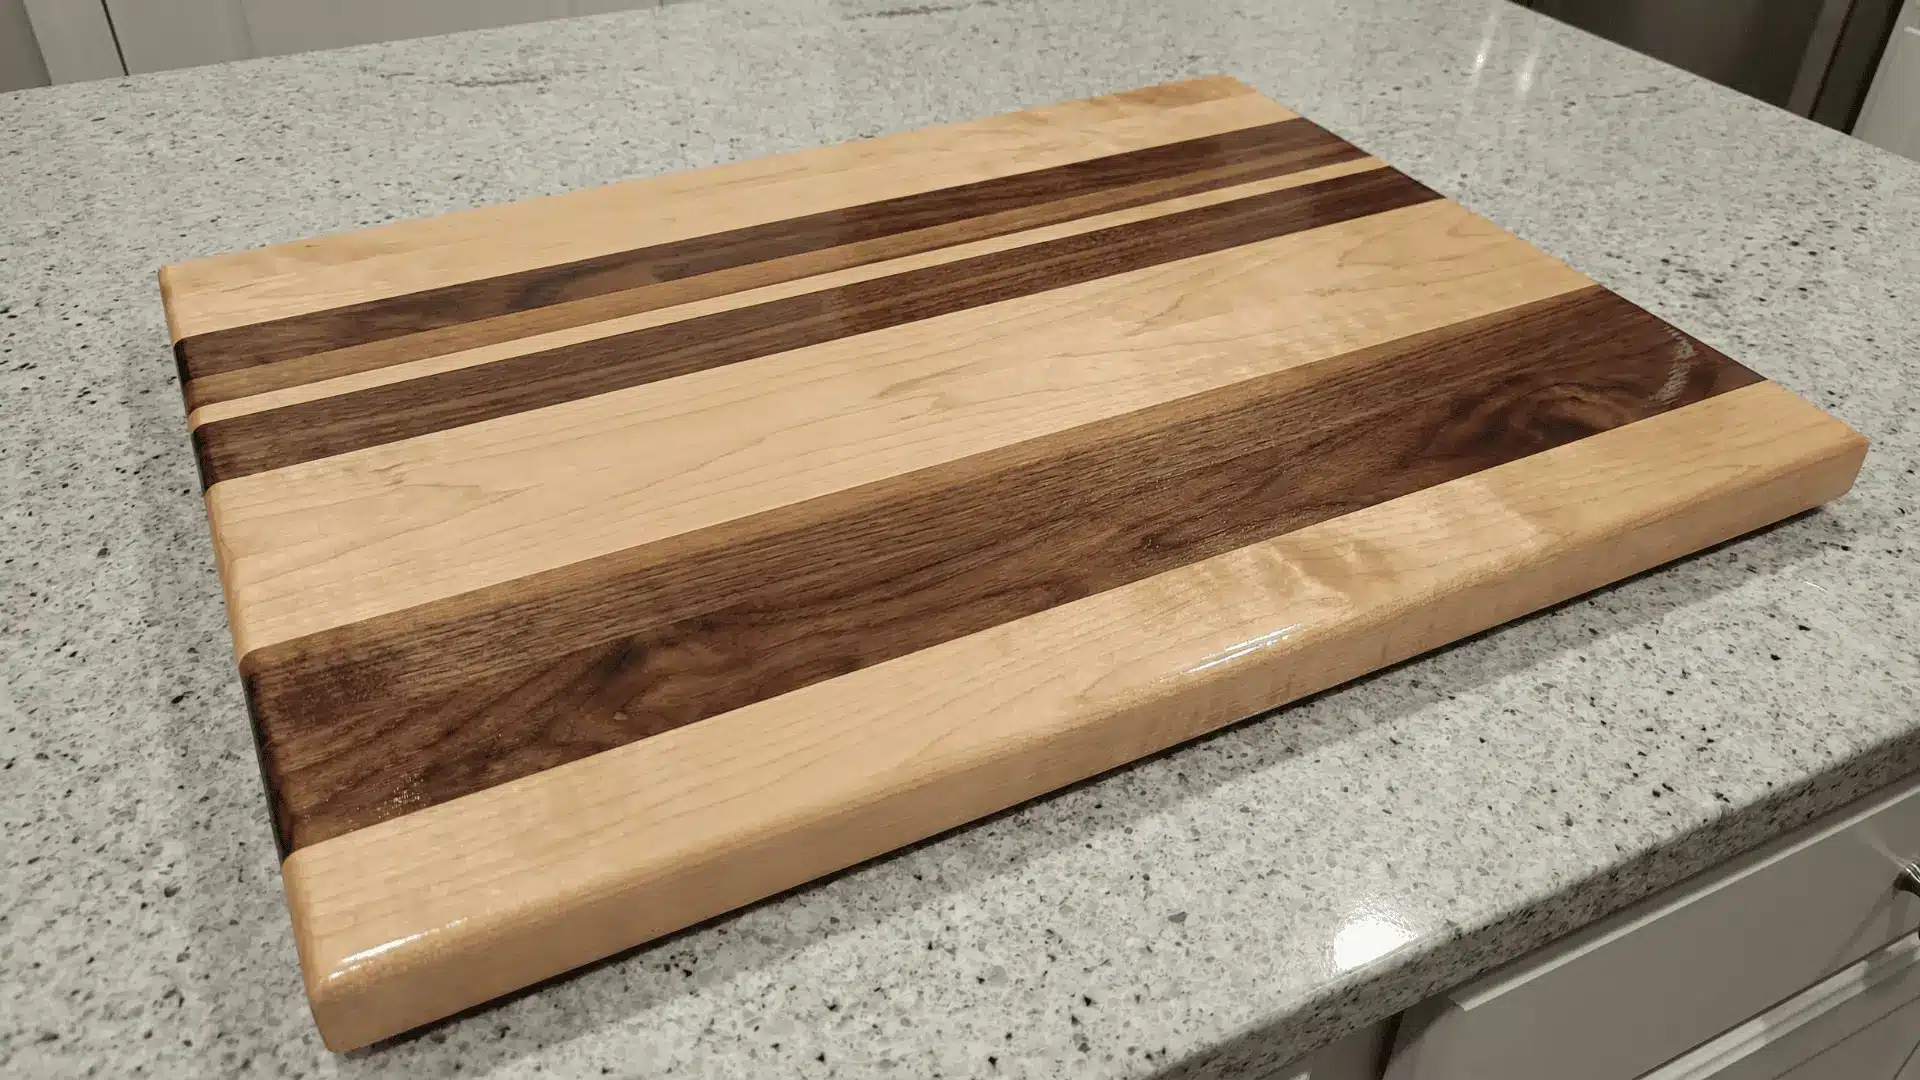
Cut wood pieces to equal length and arrange them side by side. Apply glue evenly and clamp tightly. Let it dry completely before sanding the surface smooth.
Round the edges slightly. Apply food-safe oil for protection. If sealing is skipped or uneven, moisture can damage the board and cause cracks over time.
10. Wooden Picture Frame
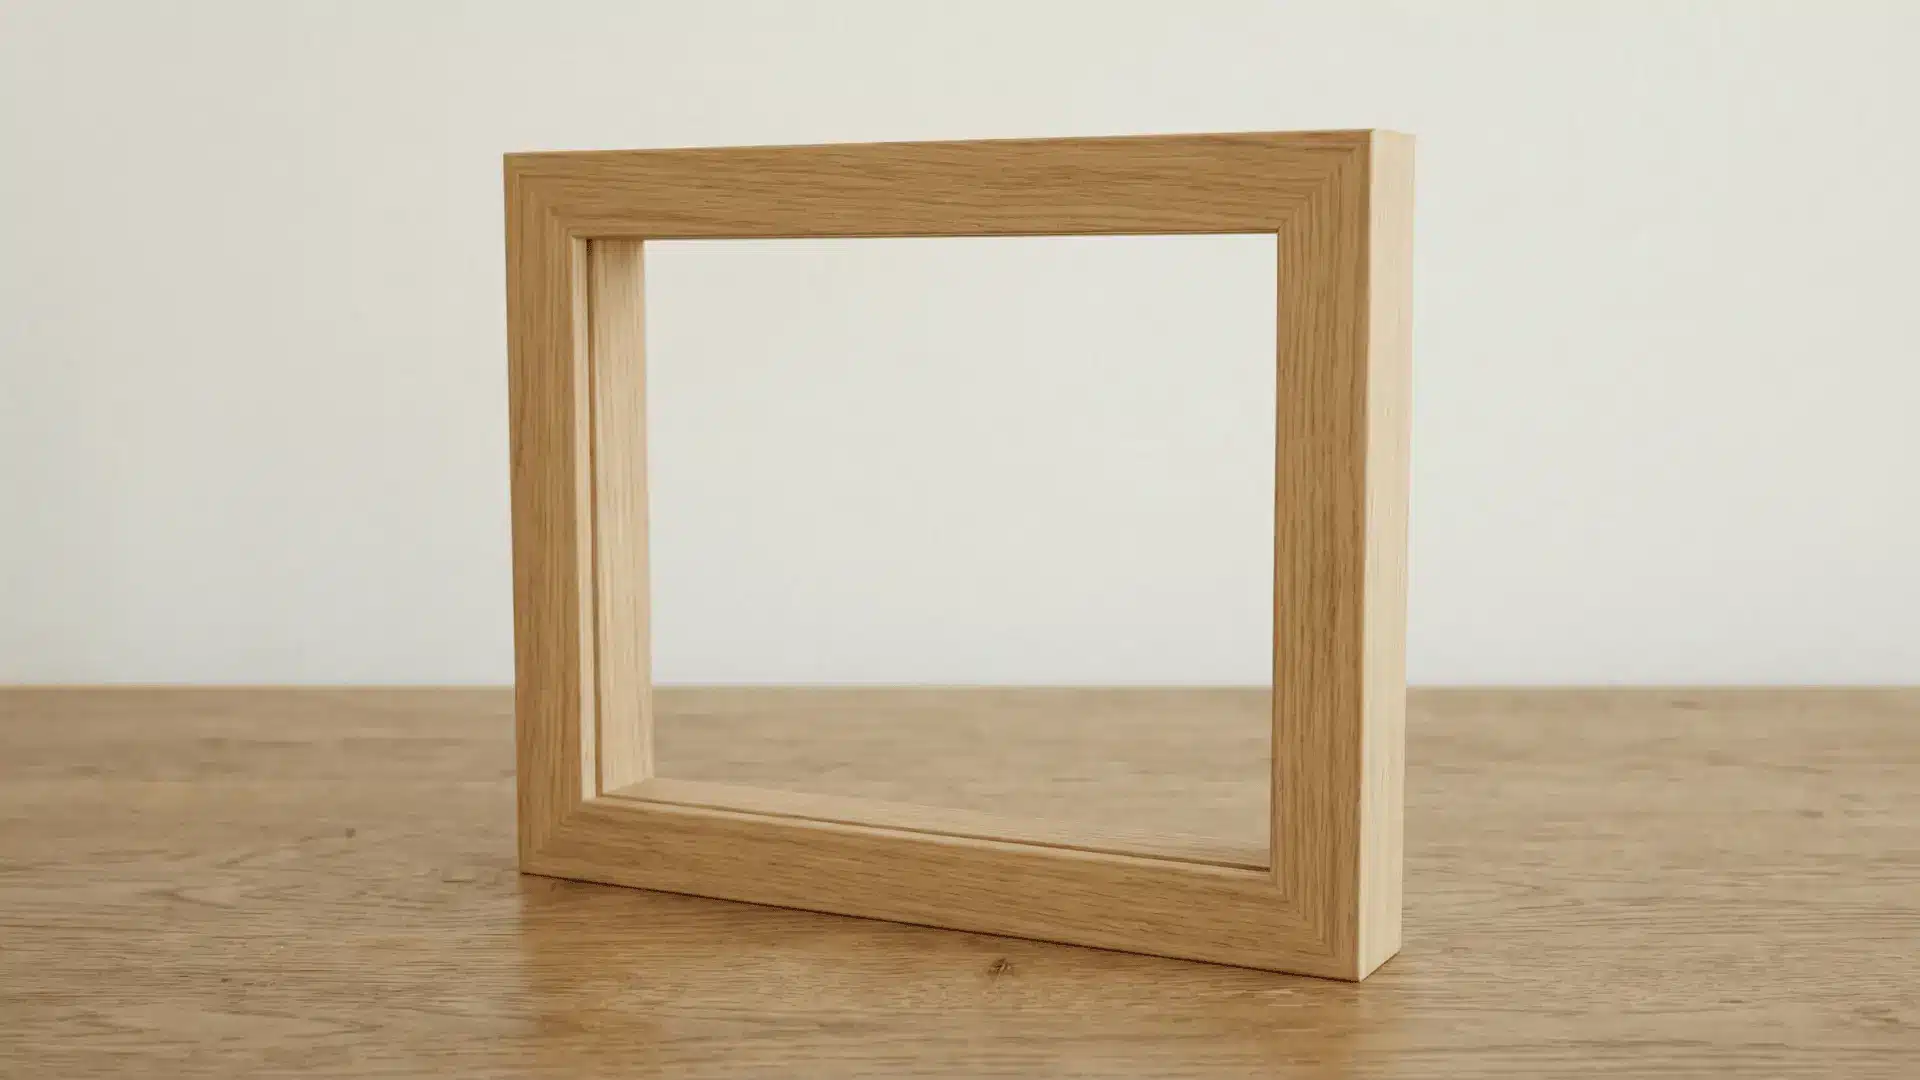
Measure your picture size first, then cut four frame pieces accordingly. Join corners using glue and clamps. Make sure corners align neatly before drying.
Sand the frame smooth and check fit. You can add backing later. Poor alignment or uneven cuts can leave gaps and make it hard to fit the picture properly.
11. Candle Holder
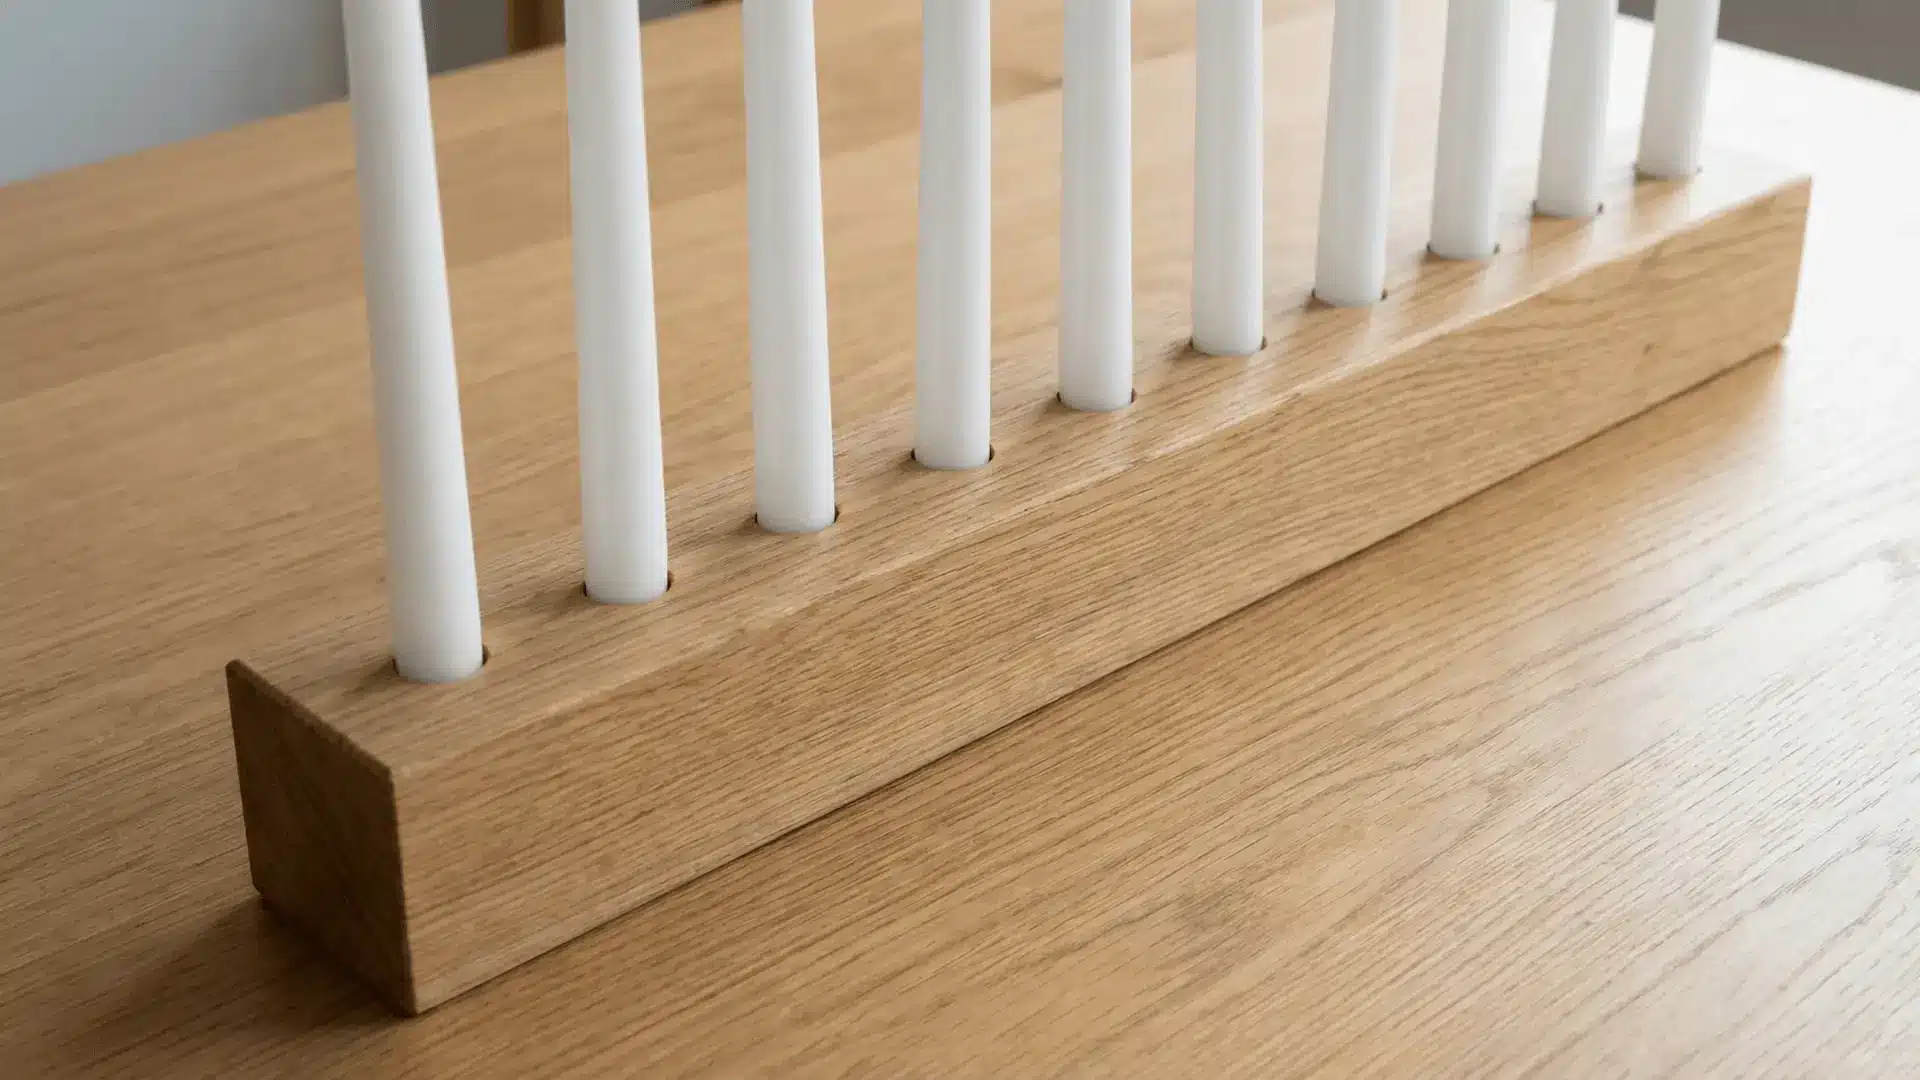
Take a wooden block and mark center points for candles. Drill holes carefully to the right depth using a drill bit that matches candle size.
Sand the surface and edges to remove rough spots. Test the fit before finishing. If holes are too wide or uneven, candles may tilt or sit loose, which is unsafe.
12. Wooden Doormat
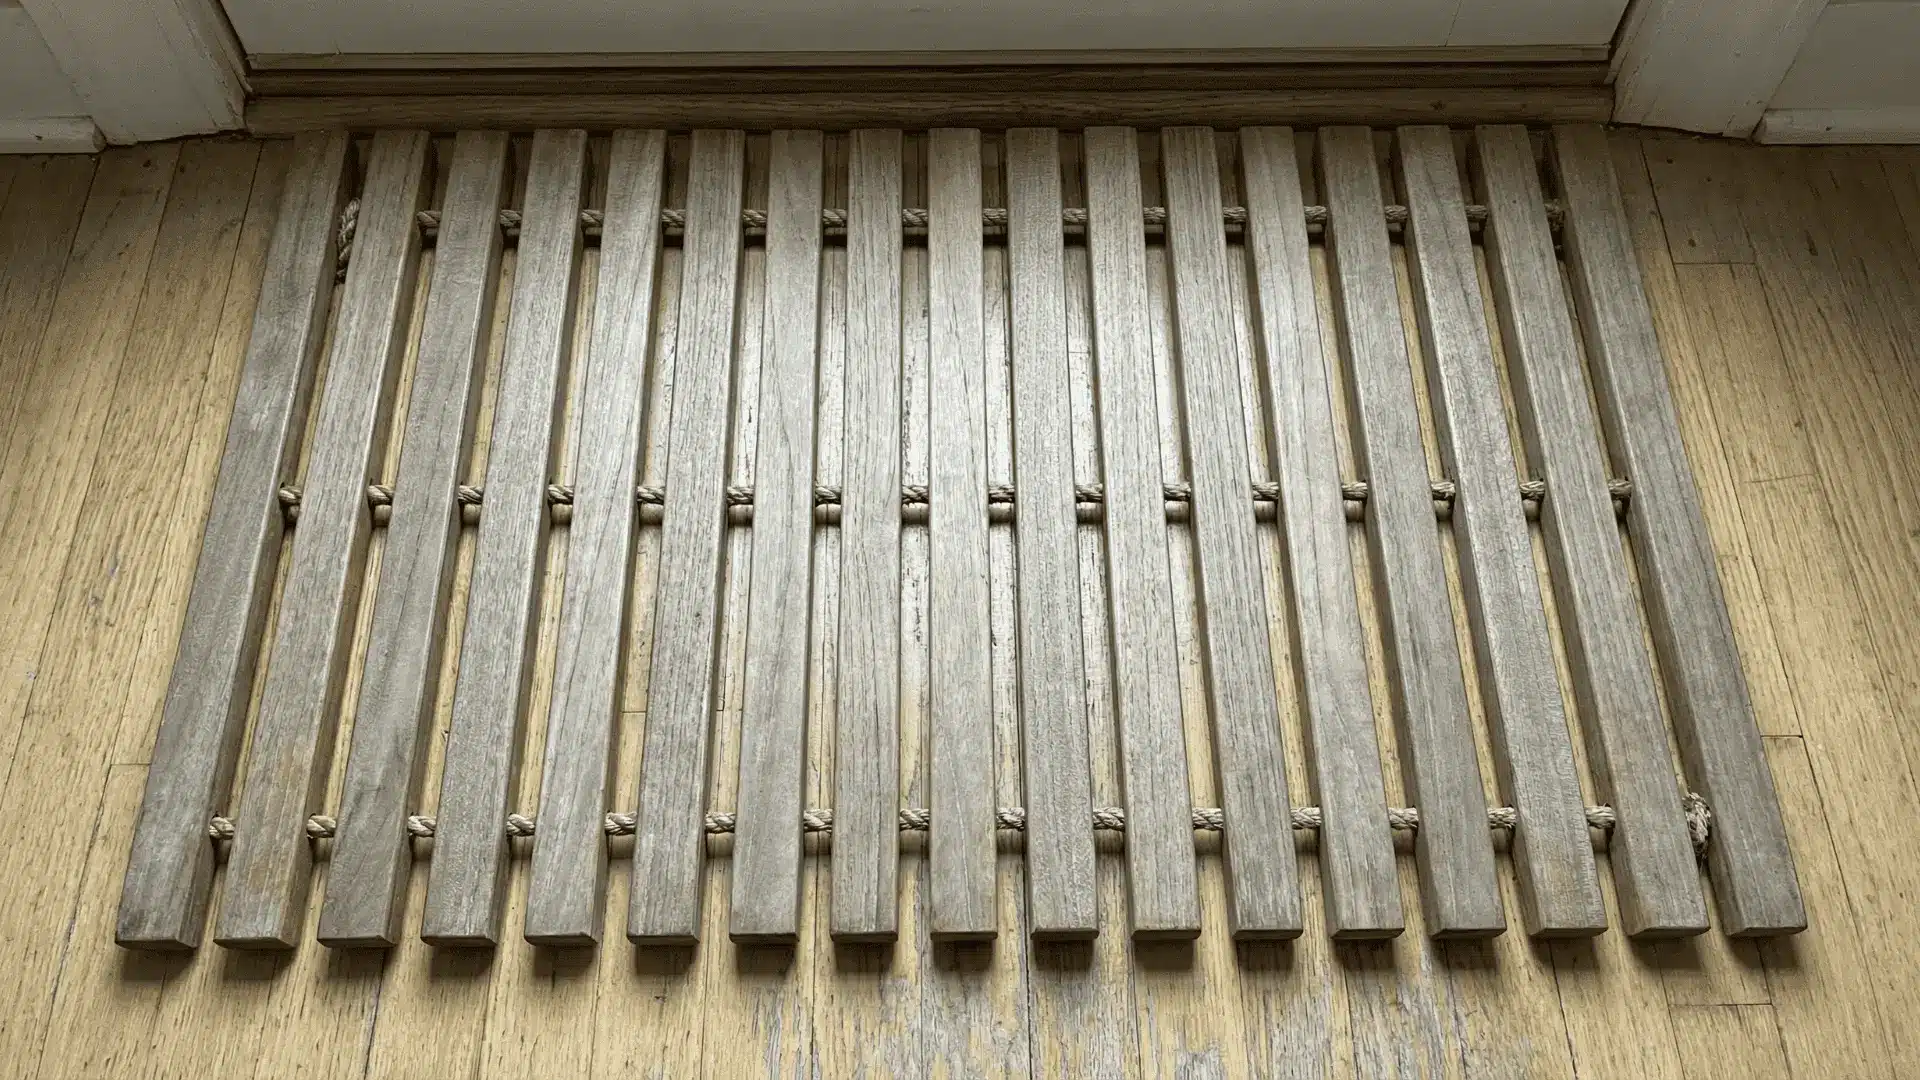
Cut several wooden slats of equal length. Sand each piece before assembly. Mark equal spacing and drill holes for rope or connectors.
Thread rope through and tie securely underneath. Keep spacing consistent while assembling. If spacing is uneven or knots are weak, the mat can shift or feel unstable when stepped on.
Decorative And Gift Projects
These projects emphasize visual appeal and functionality, helping you practice precision, finishing, and creative design while making items suited for home décor and personalized gifts.
13. Wooden Photo Holder
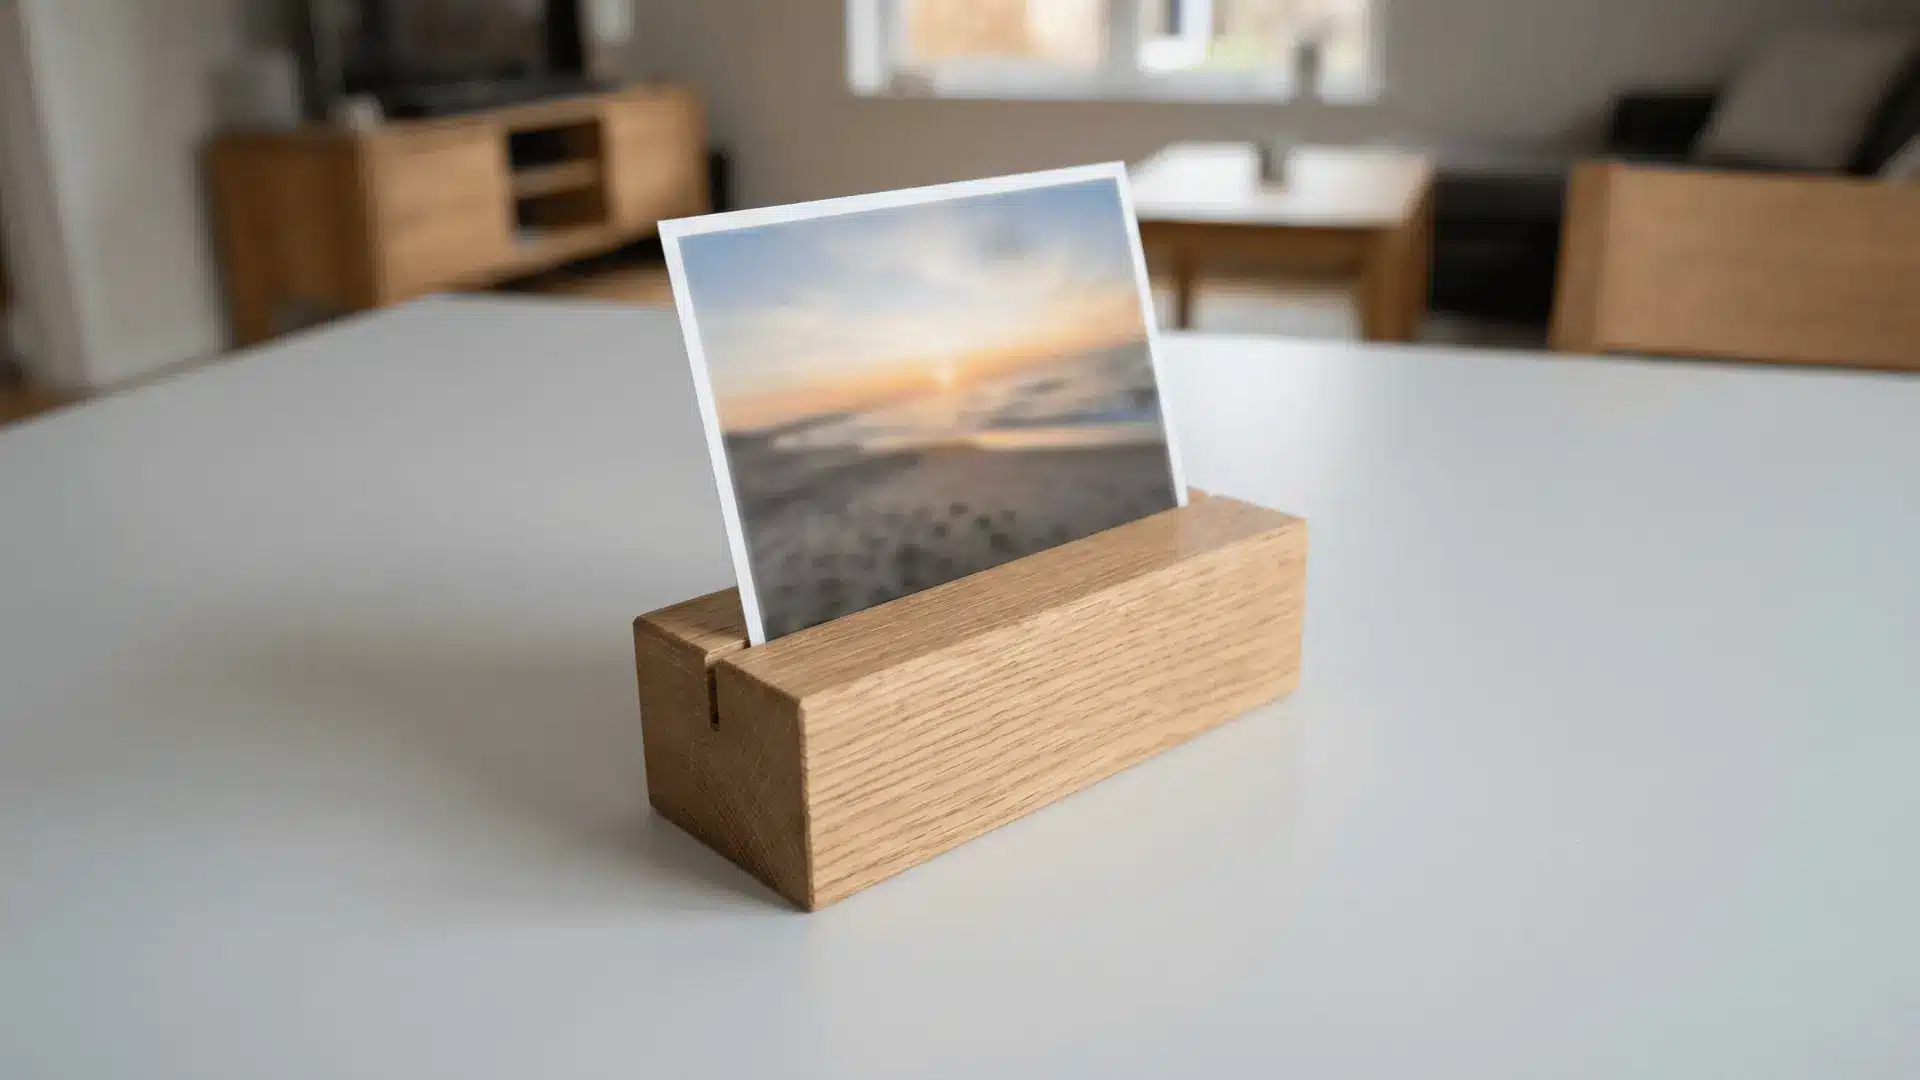
Cut a small wooden base and mark a thin slot across the top. Use a saw to create the slot, then sand it smooth. Keep the base flat and stable.
Test with a photo to check grip. If the slot is too wide or shallow, the photo may slip or not stand properly.
14. Rustic Sign Board
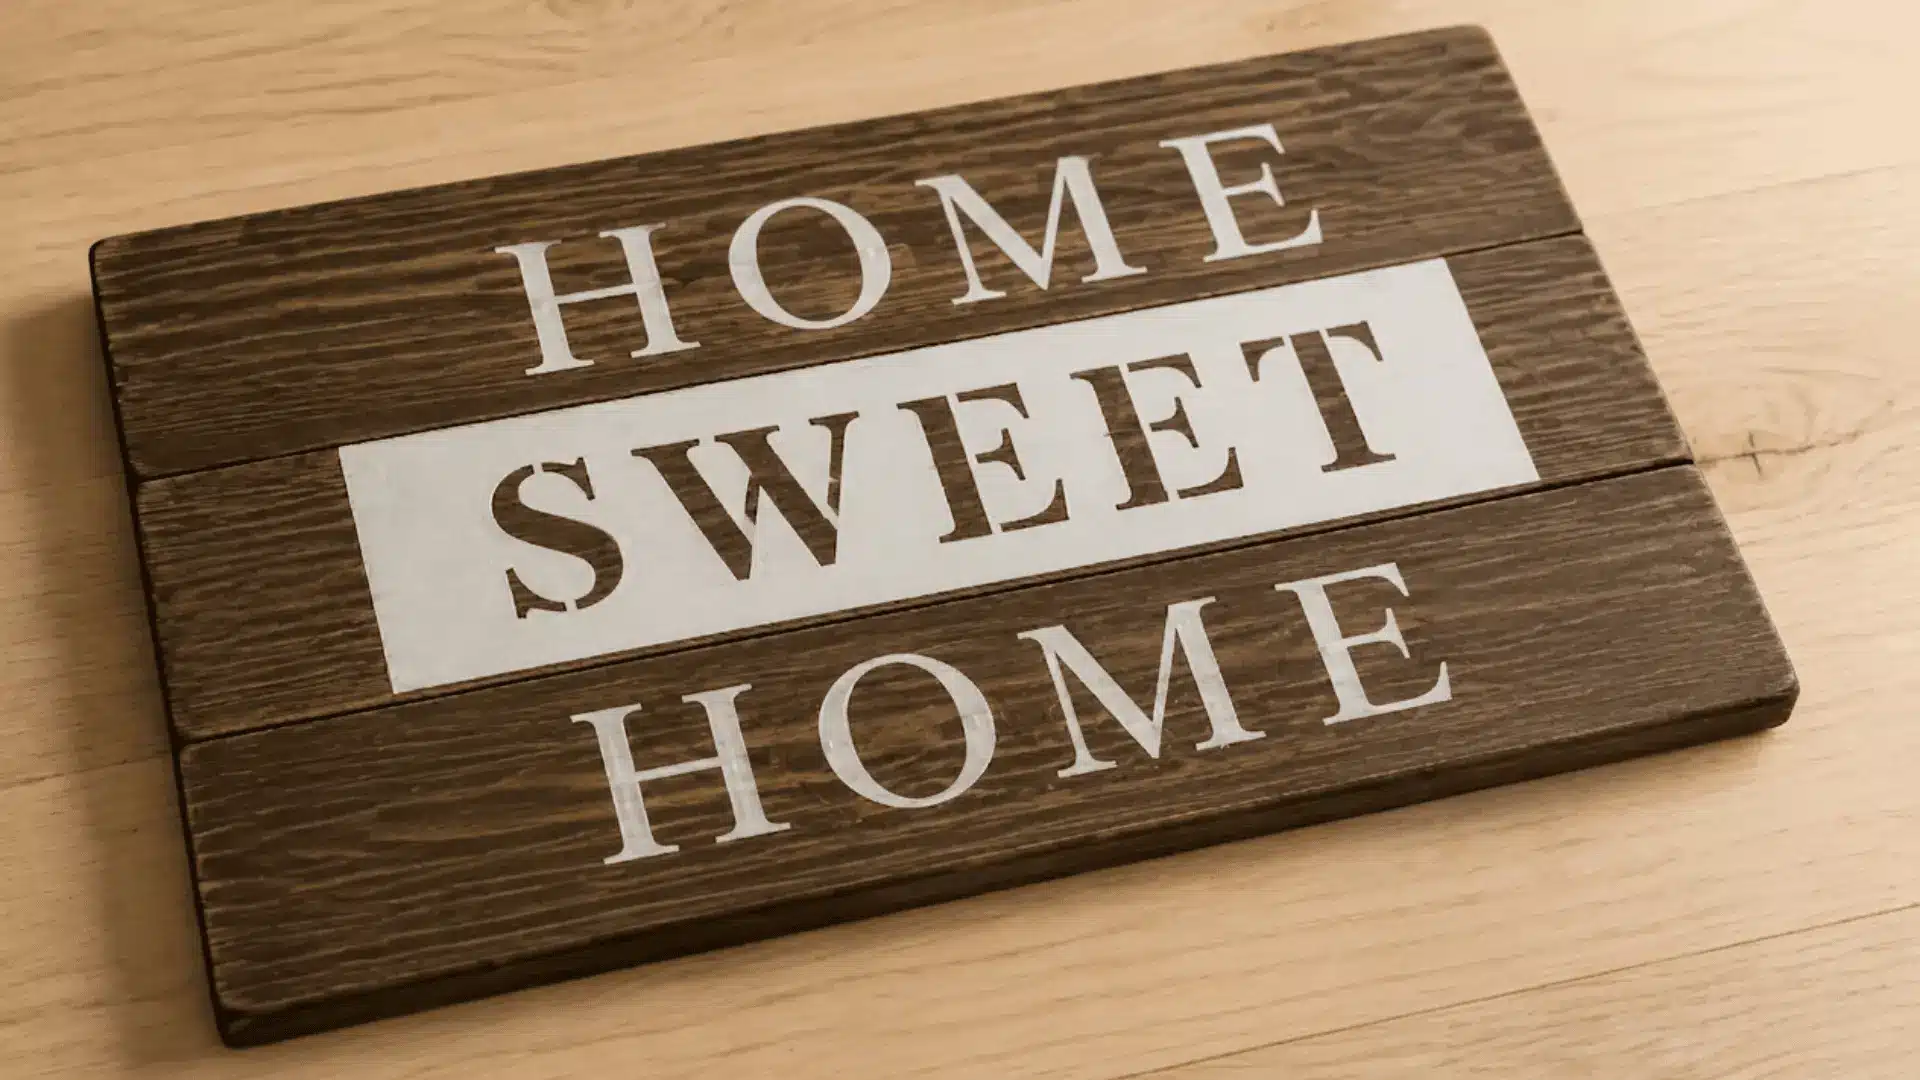
Start with a flat wooden board and sand it evenly. Wipe off dust before applying stain or paint. Lightly mark your text layout using a pencil.
Paint or stencil carefully and let it dry fully. Seal the surface if needed. Skipping sanding or sealing can lead to uneven paint and messy lettering.
15. Wooden Name Plate

Cut a clean rectangular board and sand it smooth. Mark guidelines for text placement using a ruler. Add letters using paint, carving, or vinyl.
Keep spacing even and straight. Let everything dry before handling. If alignment is off, the name plate can look uneven and harder to read from a distance.
16. Small Plant Box
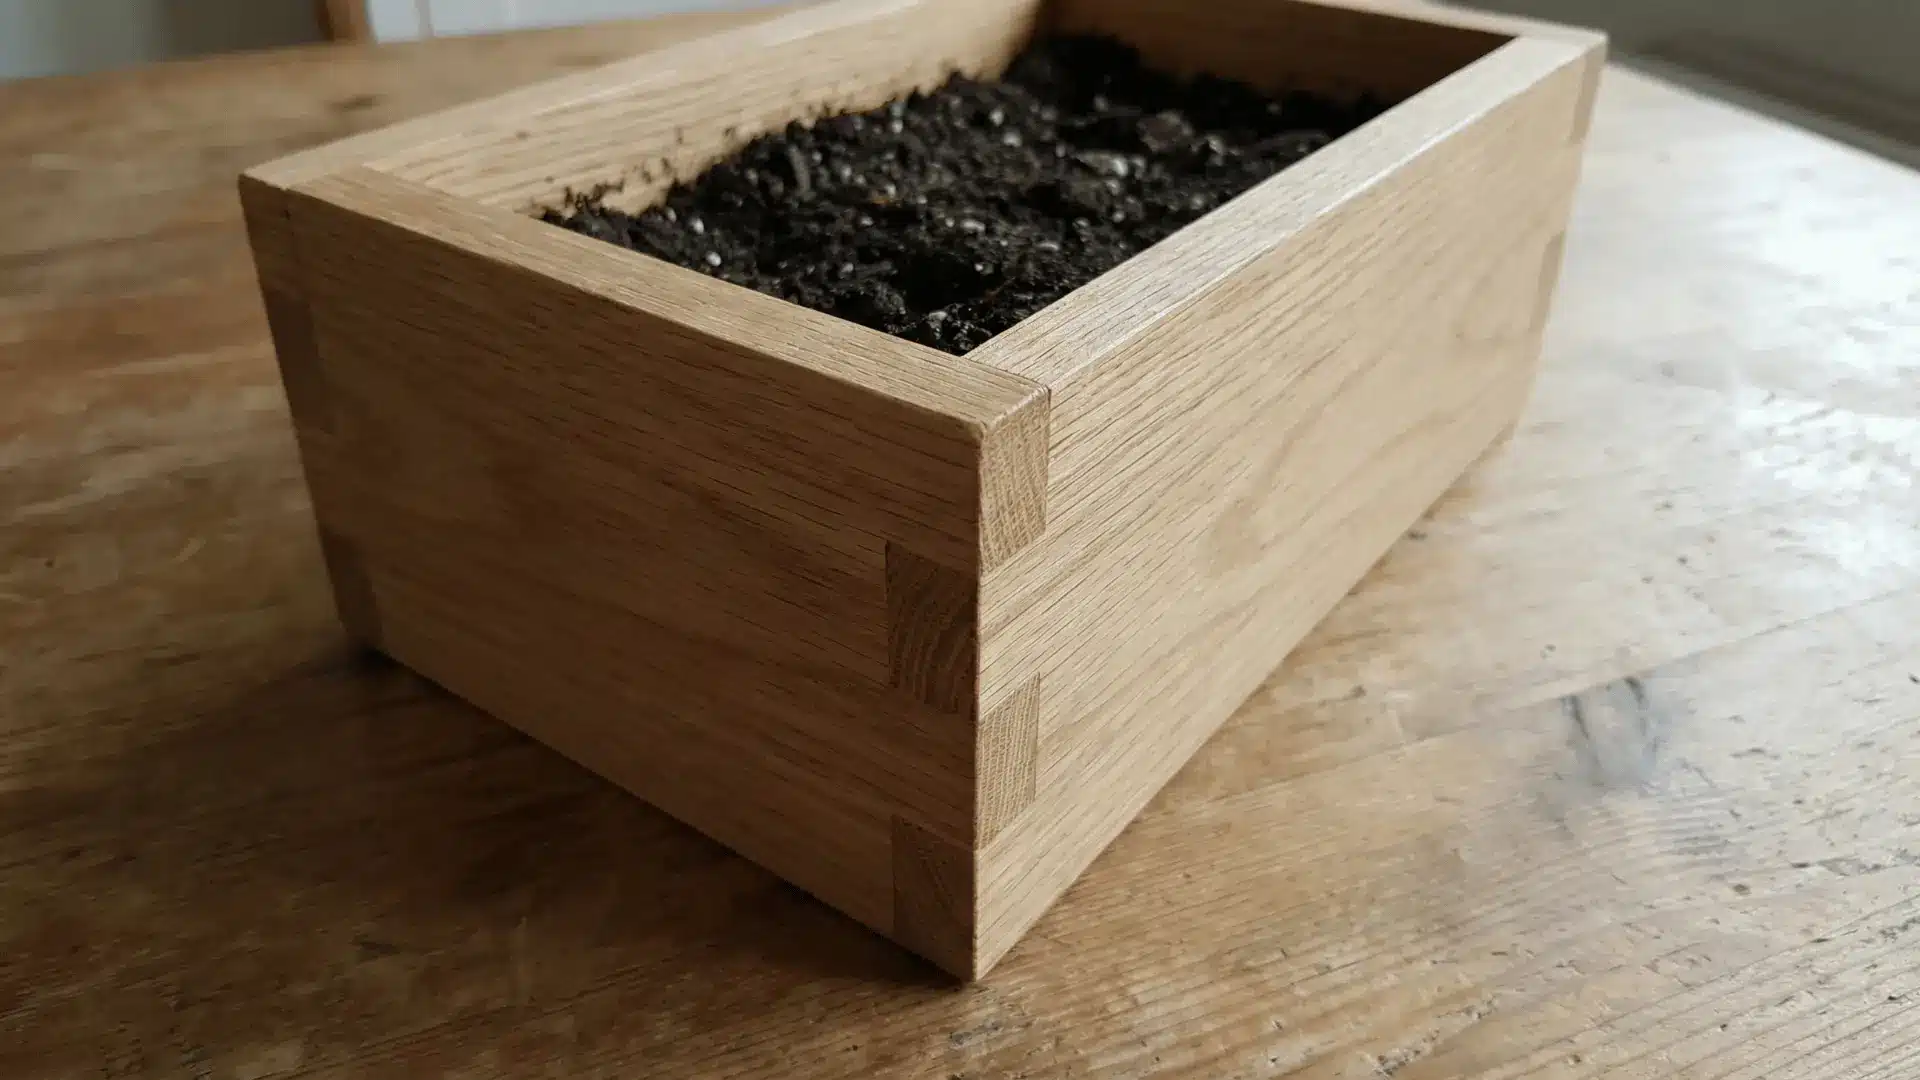
Cut four side panels and a base piece. Join them using glue and nails, making sure all corners are at right angles. Clamp if needed while drying.
Sand the outer surface lightly. Add a protective lining inside. If joints are loose or unsealed, water can damage the wood over time.
17. Hanging Plant Holder
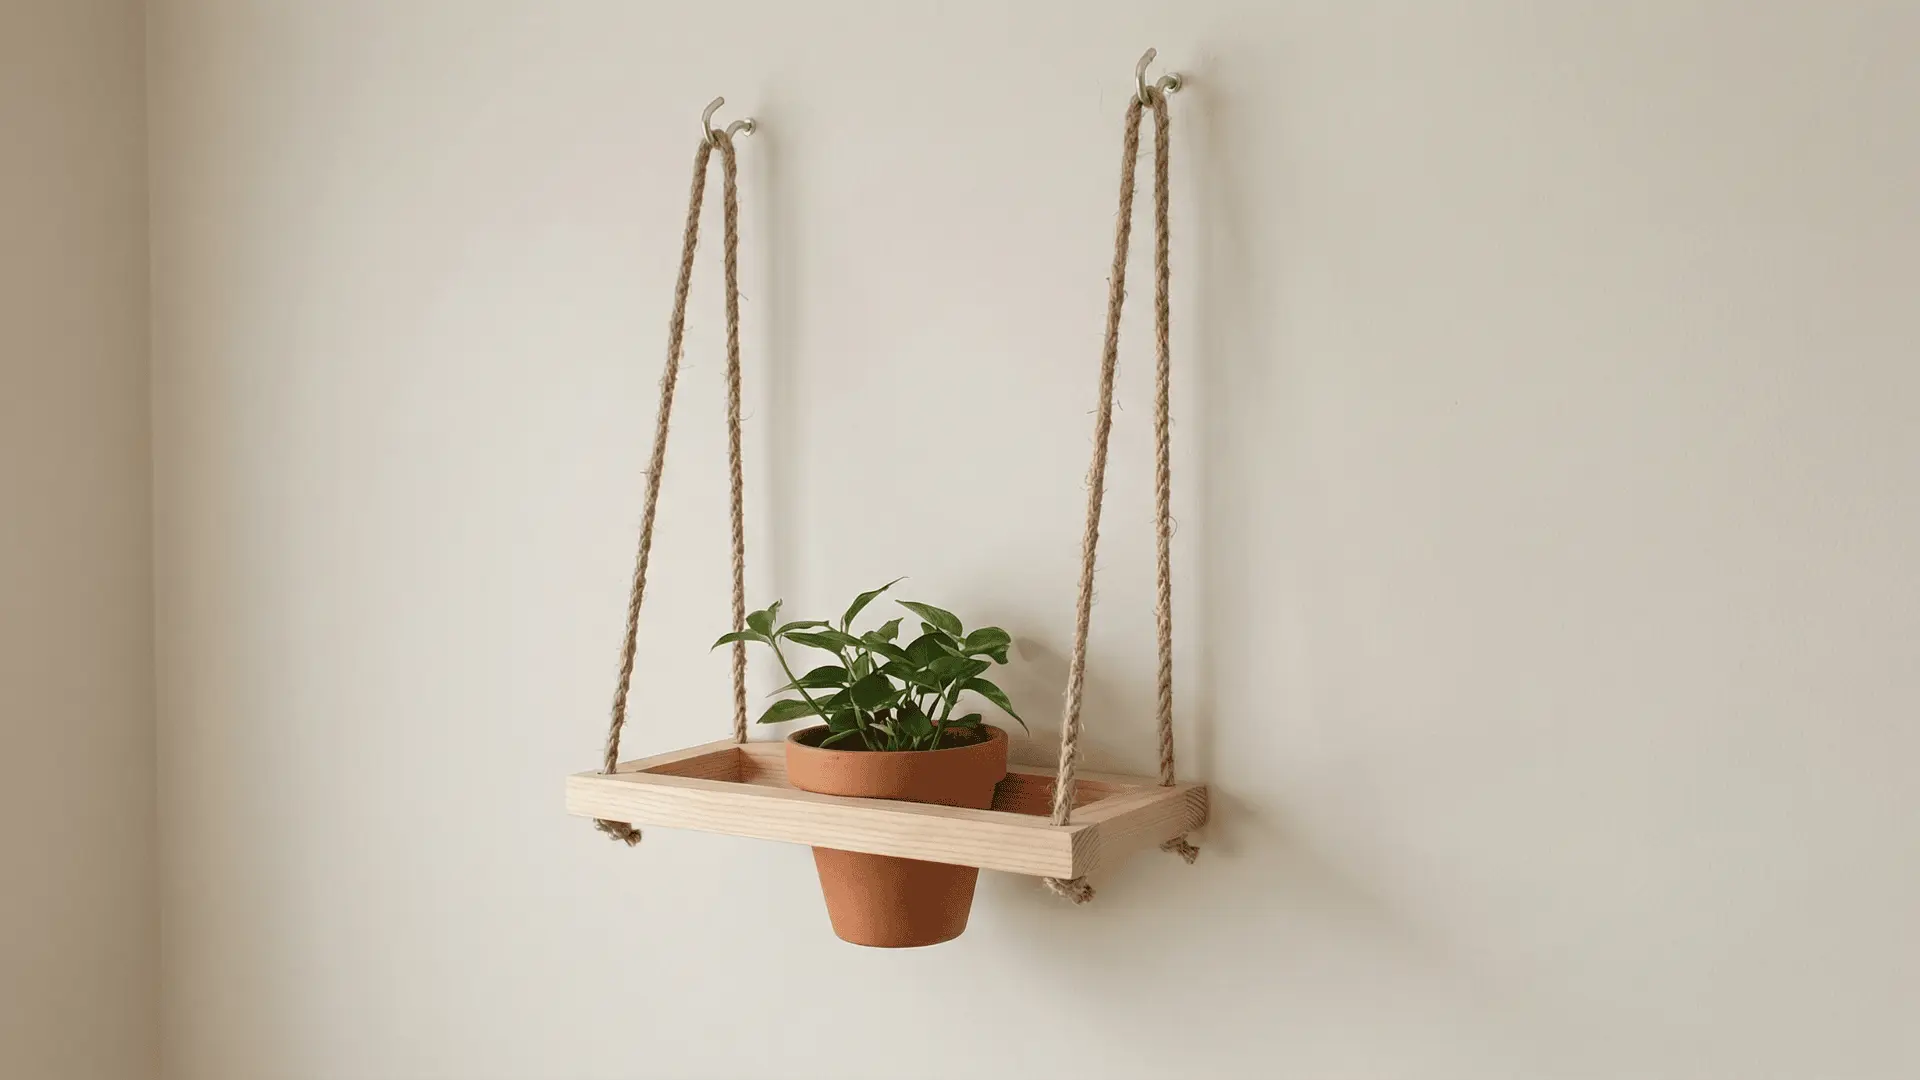
Build a small wooden frame or base using simple cuts. Drill holes or attach hooks for rope. Tie rope securely and test balance before hanging.
Sand edges to avoid rough spots. Make sure all joints are tight. Weak joints or loose hardware can cause the holder to tilt or fall.
18. Wooden Jewelry Organizer
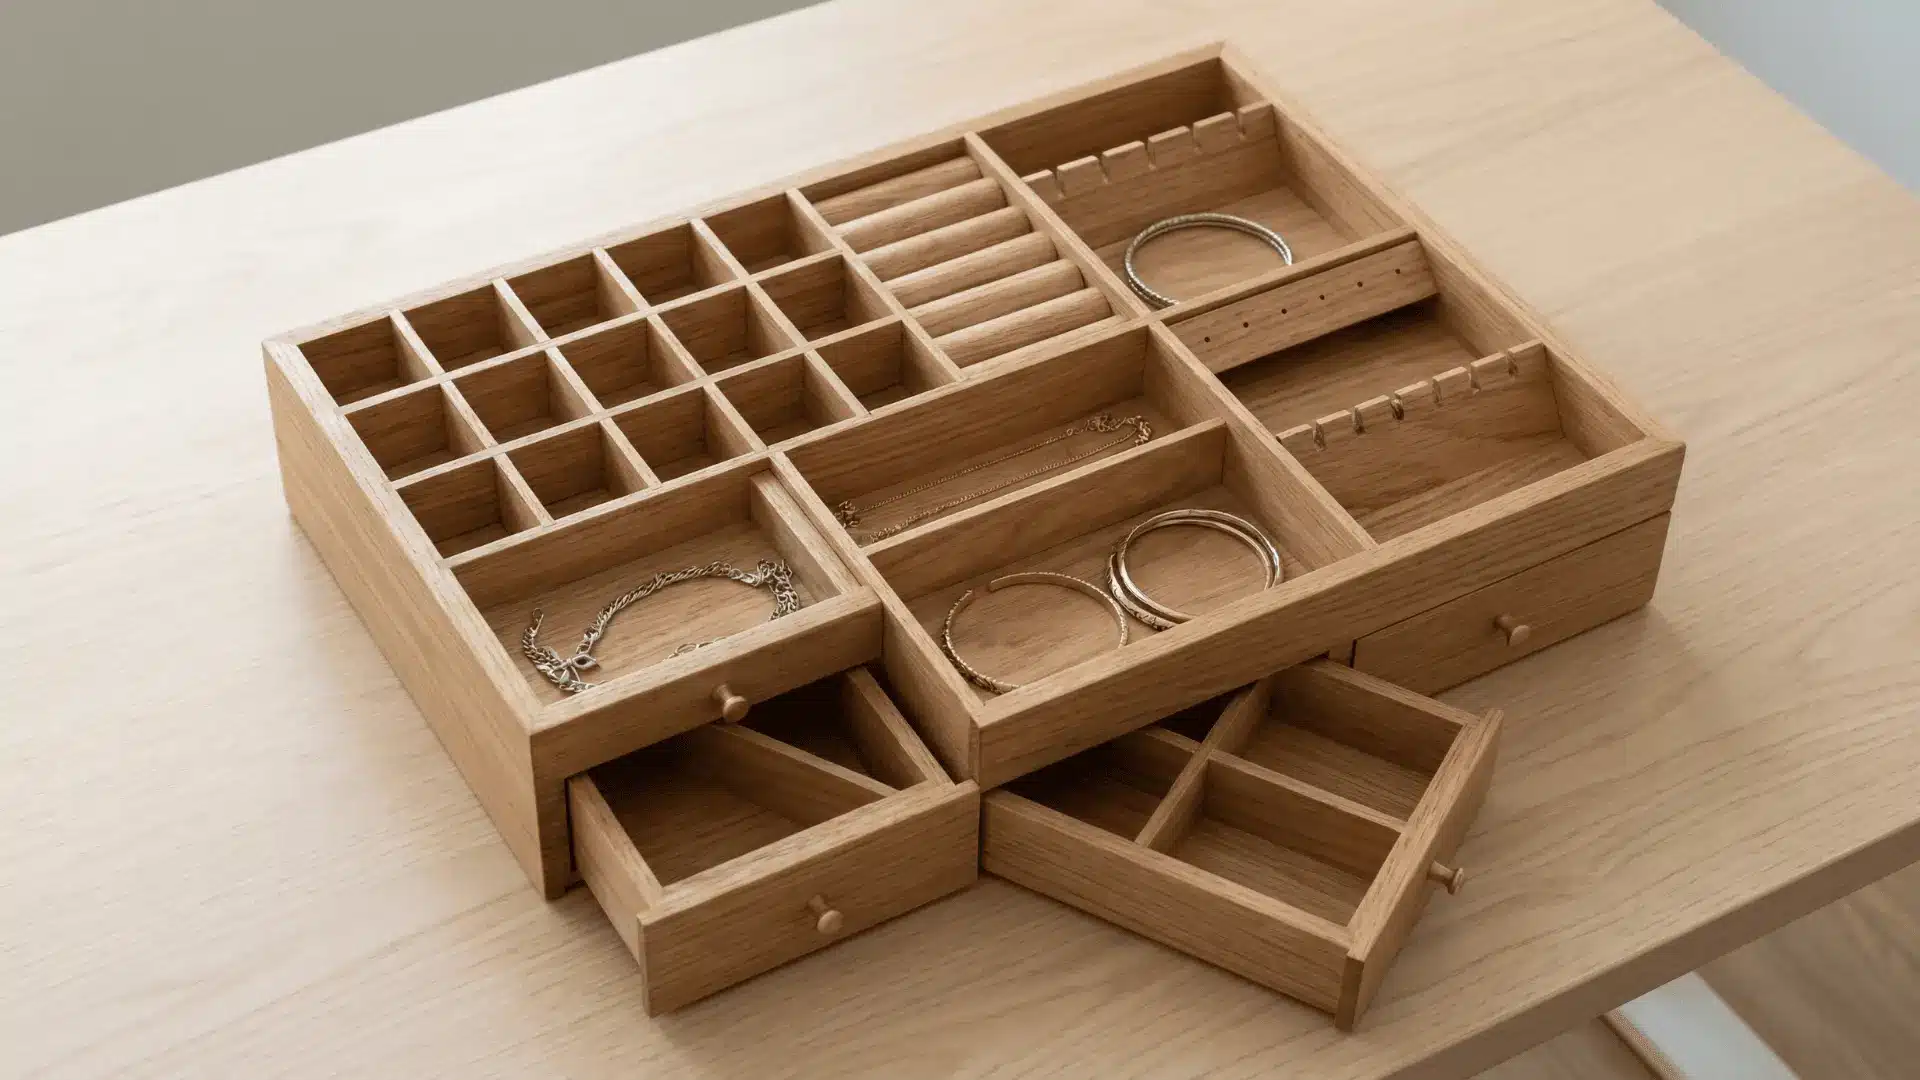
Cut a base board and smaller pieces for sections or hooks. Plan the layout before fixing anything. Attach dividers or hooks evenly using glue or screws.
Sand all parts for a clean finish. Test spacing with items. Poor measurements can create uneven sections that don’t hold jewelry properly.
Outdoor Beginner Projects
These beginner-friendly outdoor projects focus on durability, weather resistance, and structural stability while helping you understand how wood performs in changing conditions.
19. Birdhouse
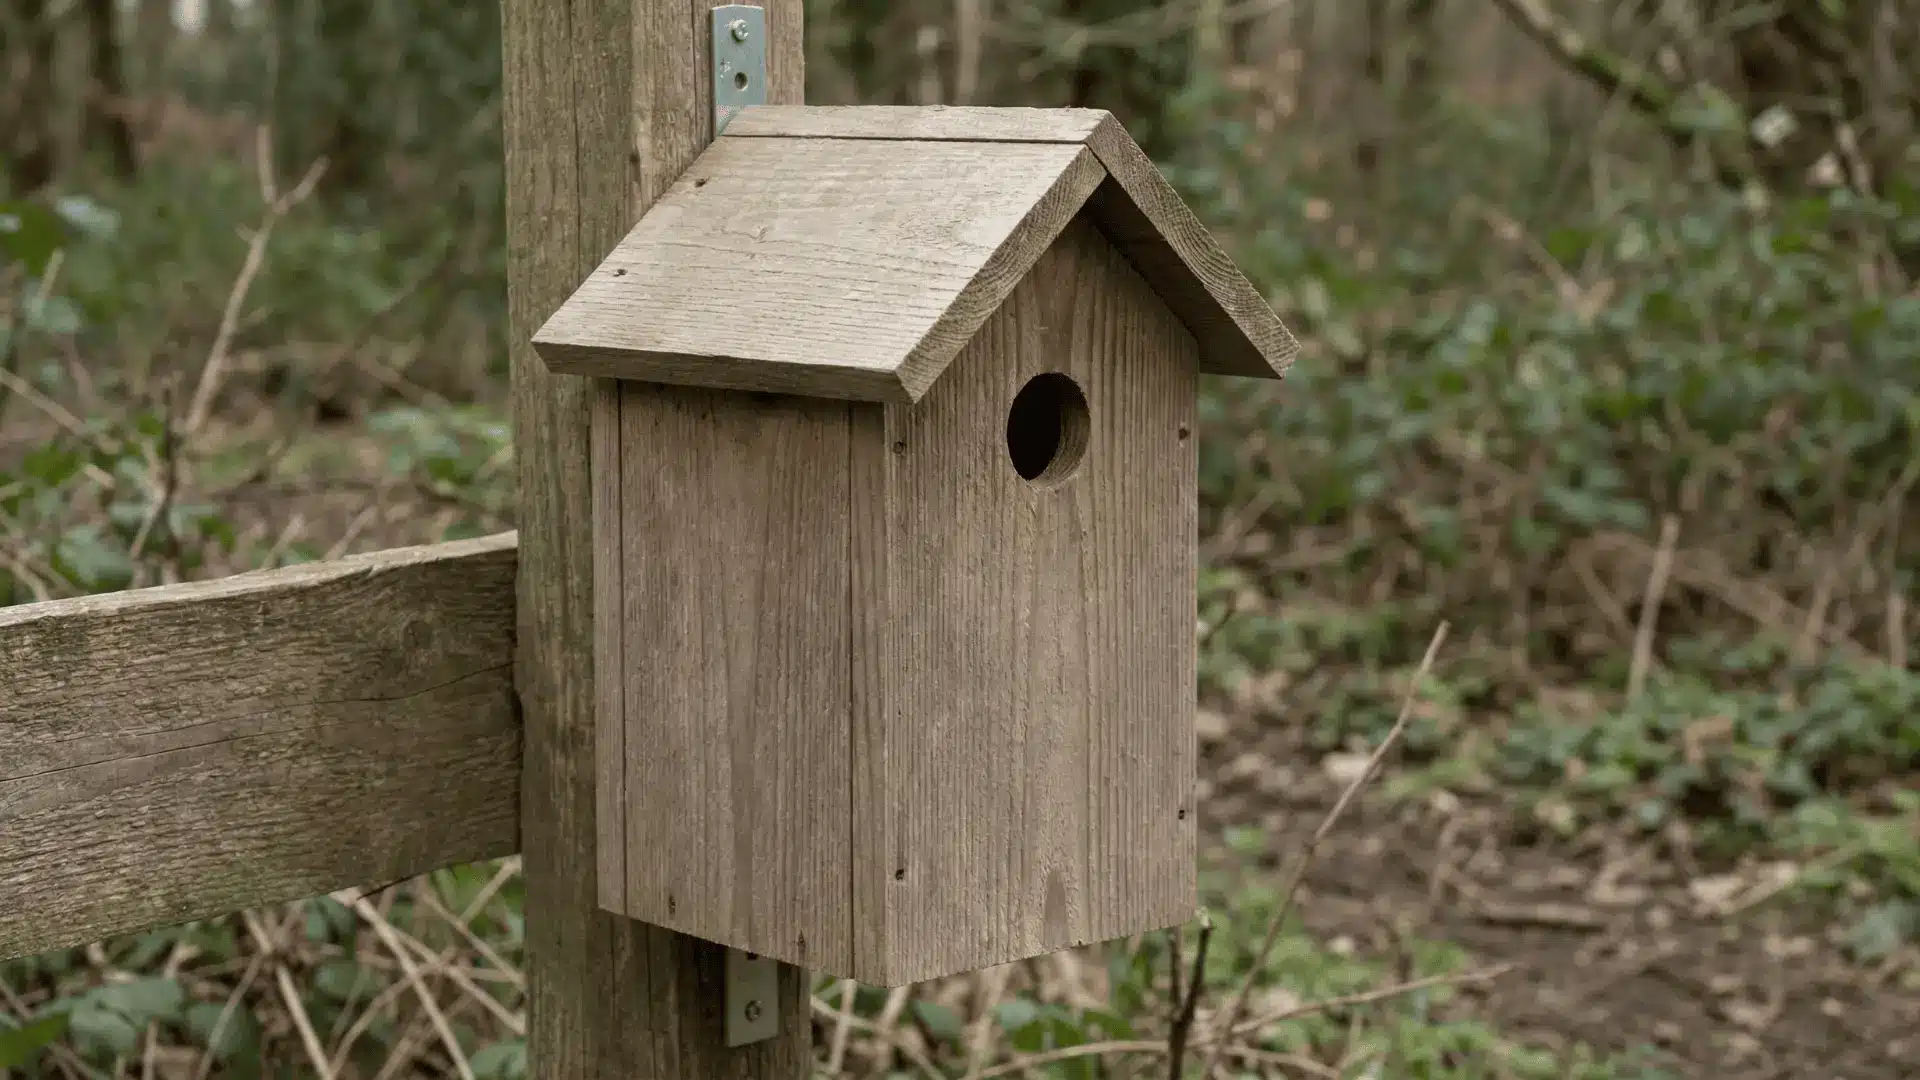
Cut panels for the base, sides, roof, and front opening. Drill a small entry hole on the front piece. Assemble using glue and nails, keeping all edges aligned.
Add small ventilation holes if needed. Seal the roof area. If joints are not tight, water can enter and damage the structure.
20. Bird Feeder
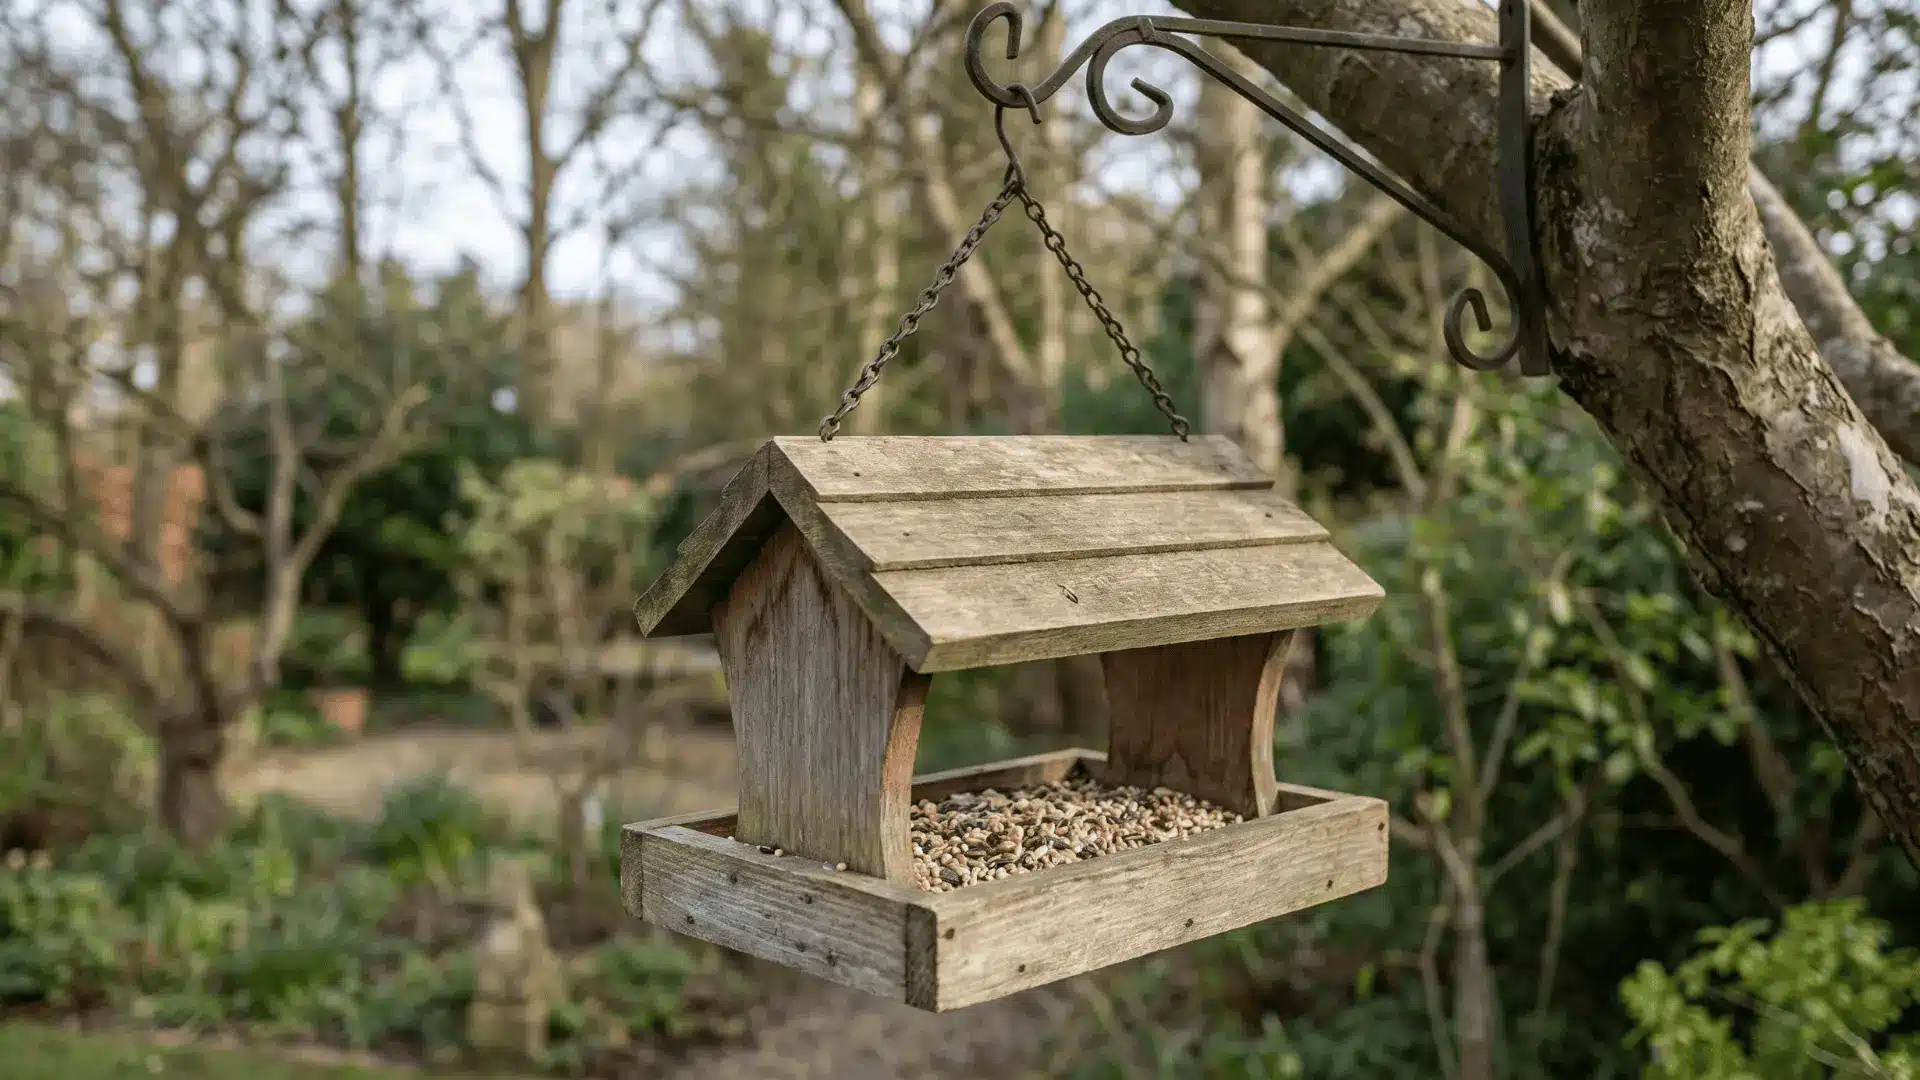
Cut base, sides, and a simple roof piece. Assemble the structure with glue and screws, leaving space for seed access. Add a hanging hook or support.
Sand edges before use. Test balance by hanging it. If joints are weak or uneven, the feeder may tilt and spill seed easily.
21. Garden Marker Stakes
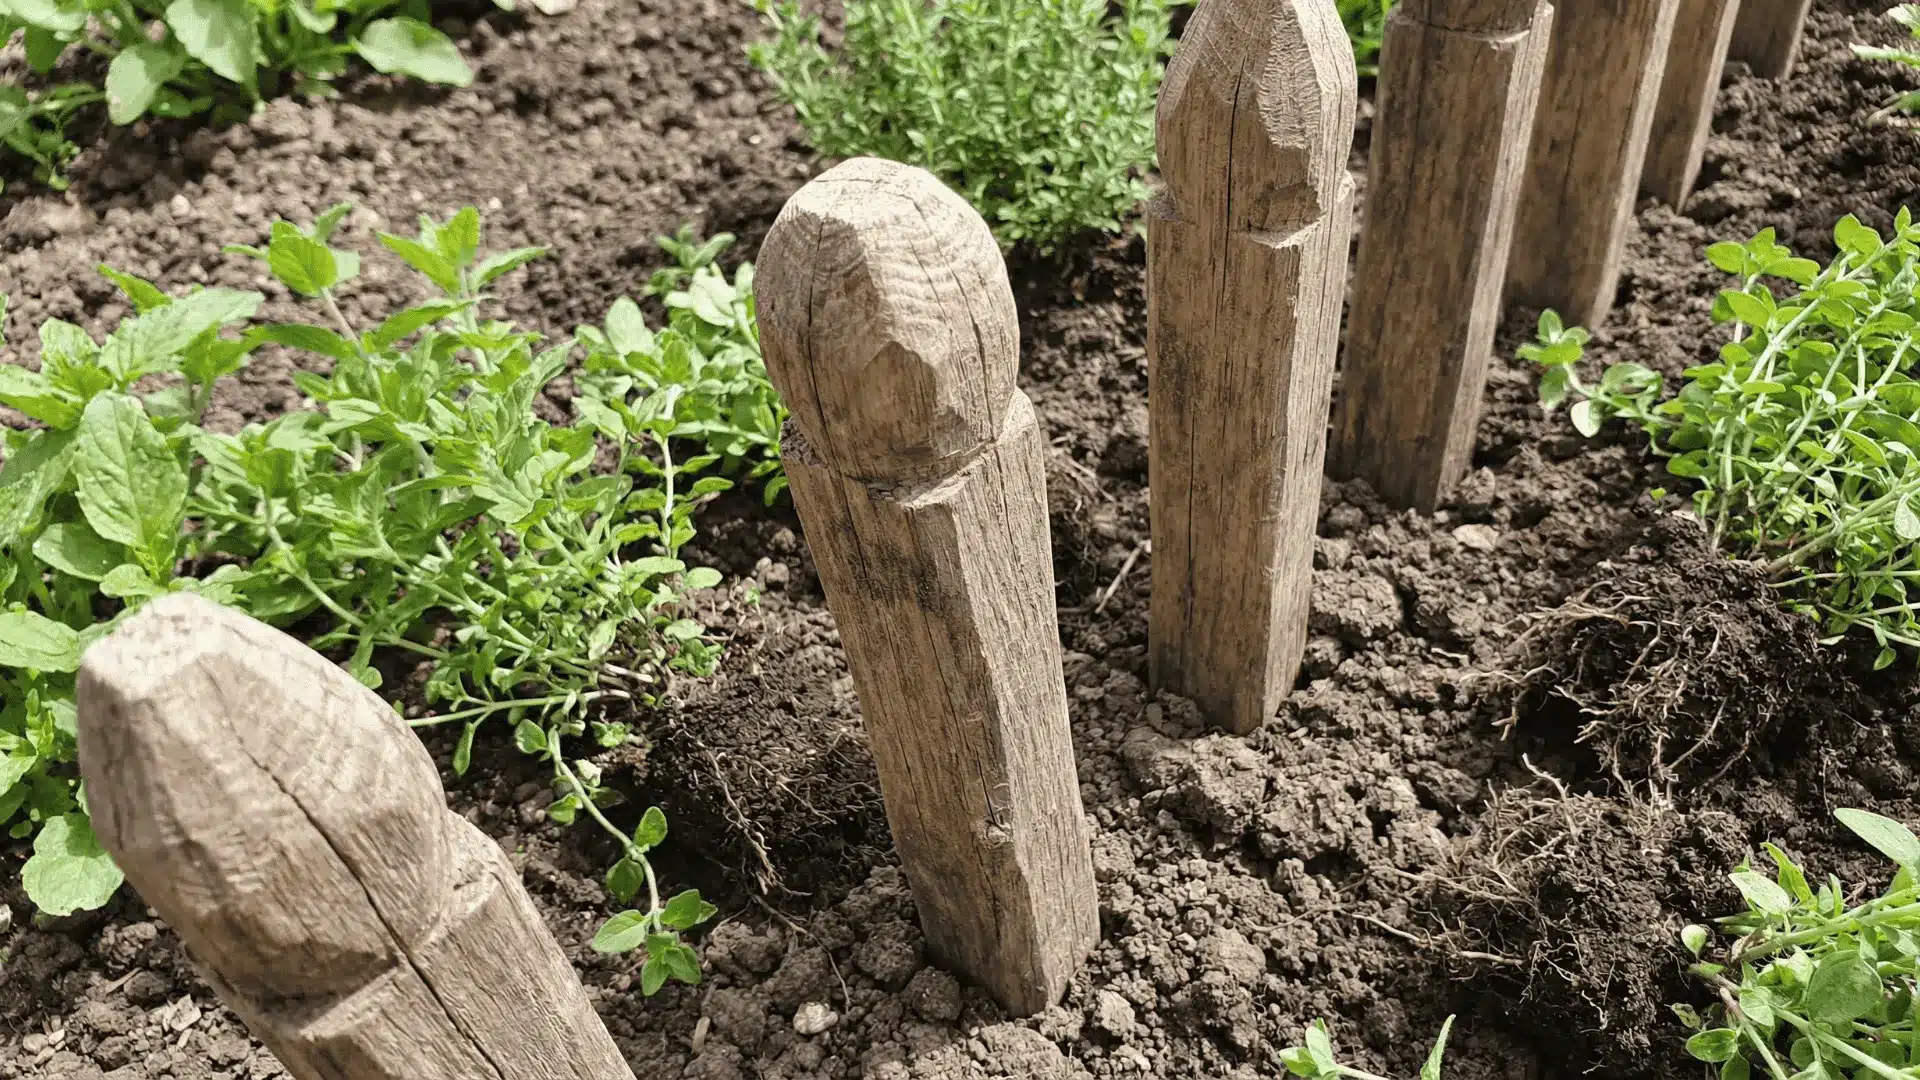
Cut thin wooden strips into small stake shapes. Sharpen one end slightly so it can go into soil easily. Sand all edges to avoid splinters. Write or paint plant names clearly on the flat surface.
Apply a simple outdoor seal if possible. If wood is too thin or untreated, it can break or fade quickly.
22. Wooden Planter Box
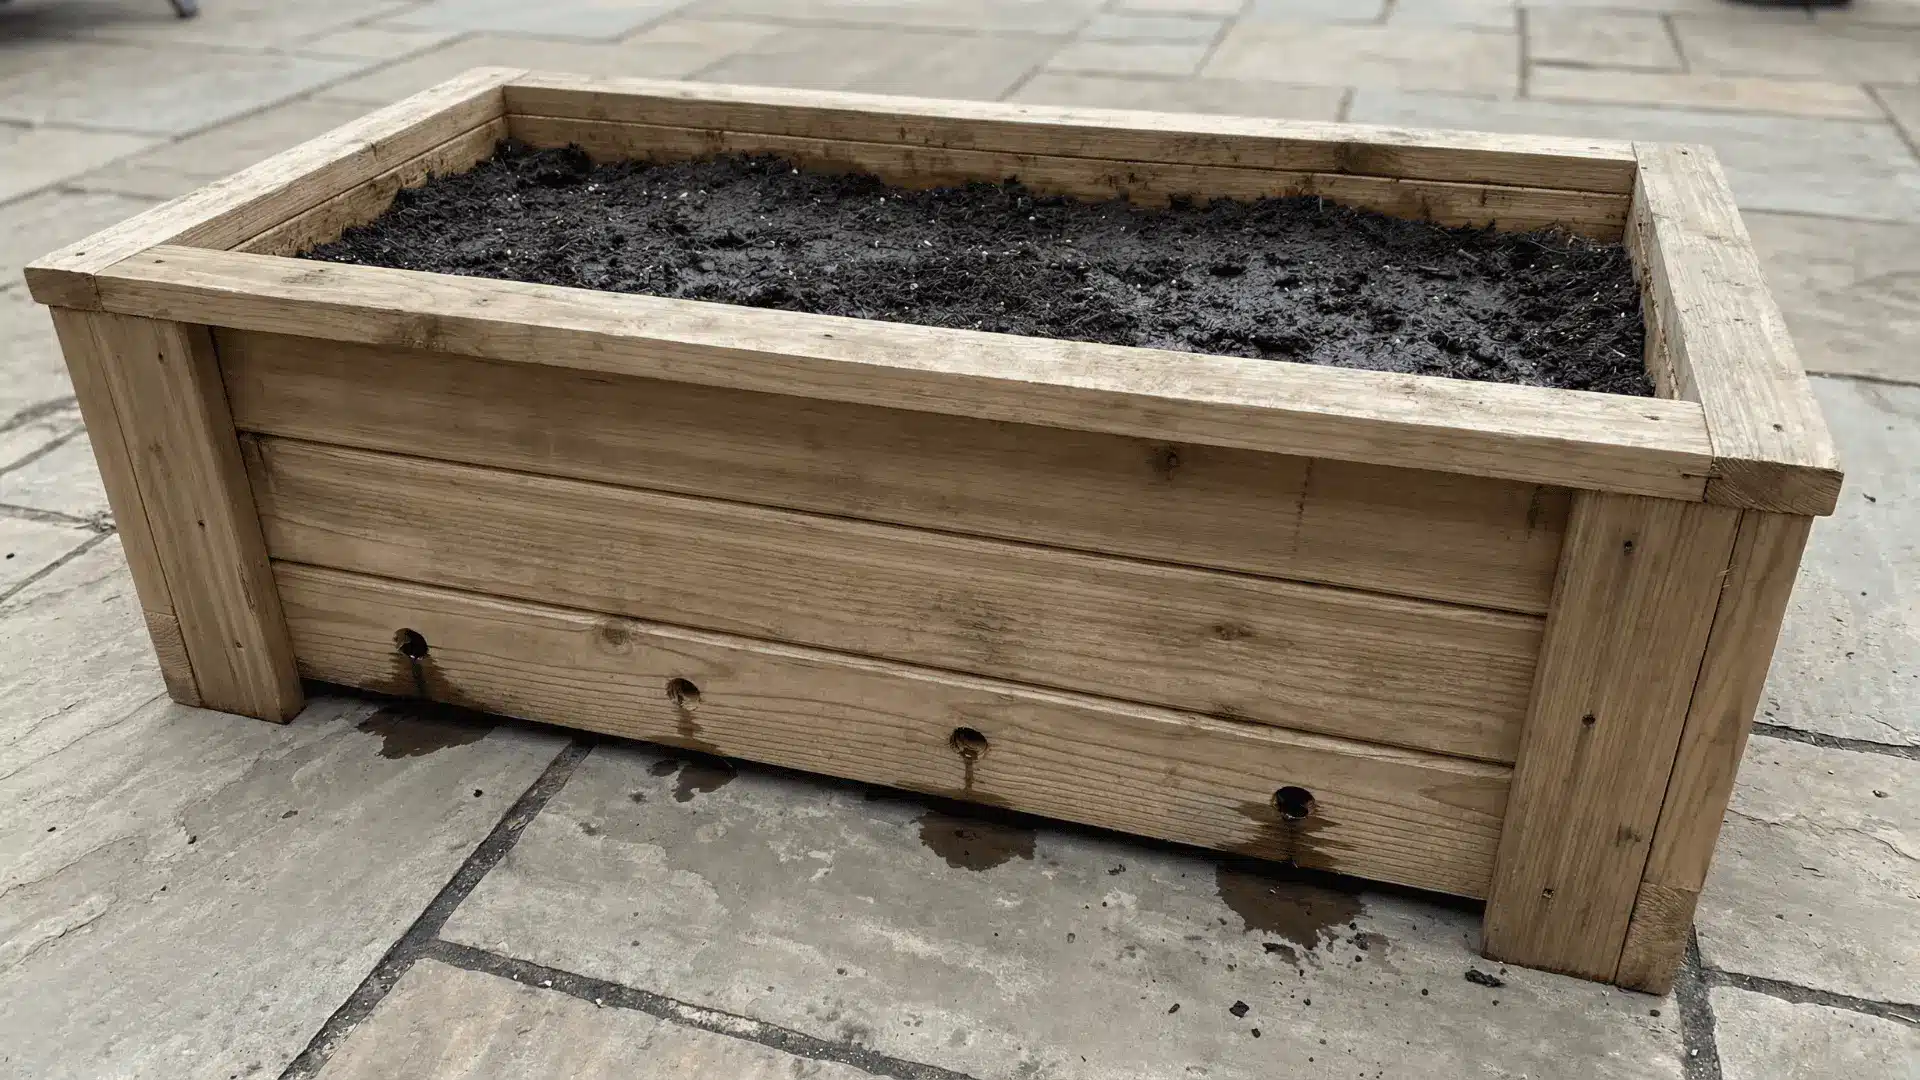
Cut panels for the sides, base, and optional legs. Drill drainage holes in the bottom before assembly. Join pieces using screws or nails, keeping corners straight.
Sand outer surfaces. Line the inside if needed. Without drainage or proper sealing, water can collect inside and cause wood to rot over time.
23. Outdoor Plant Stand
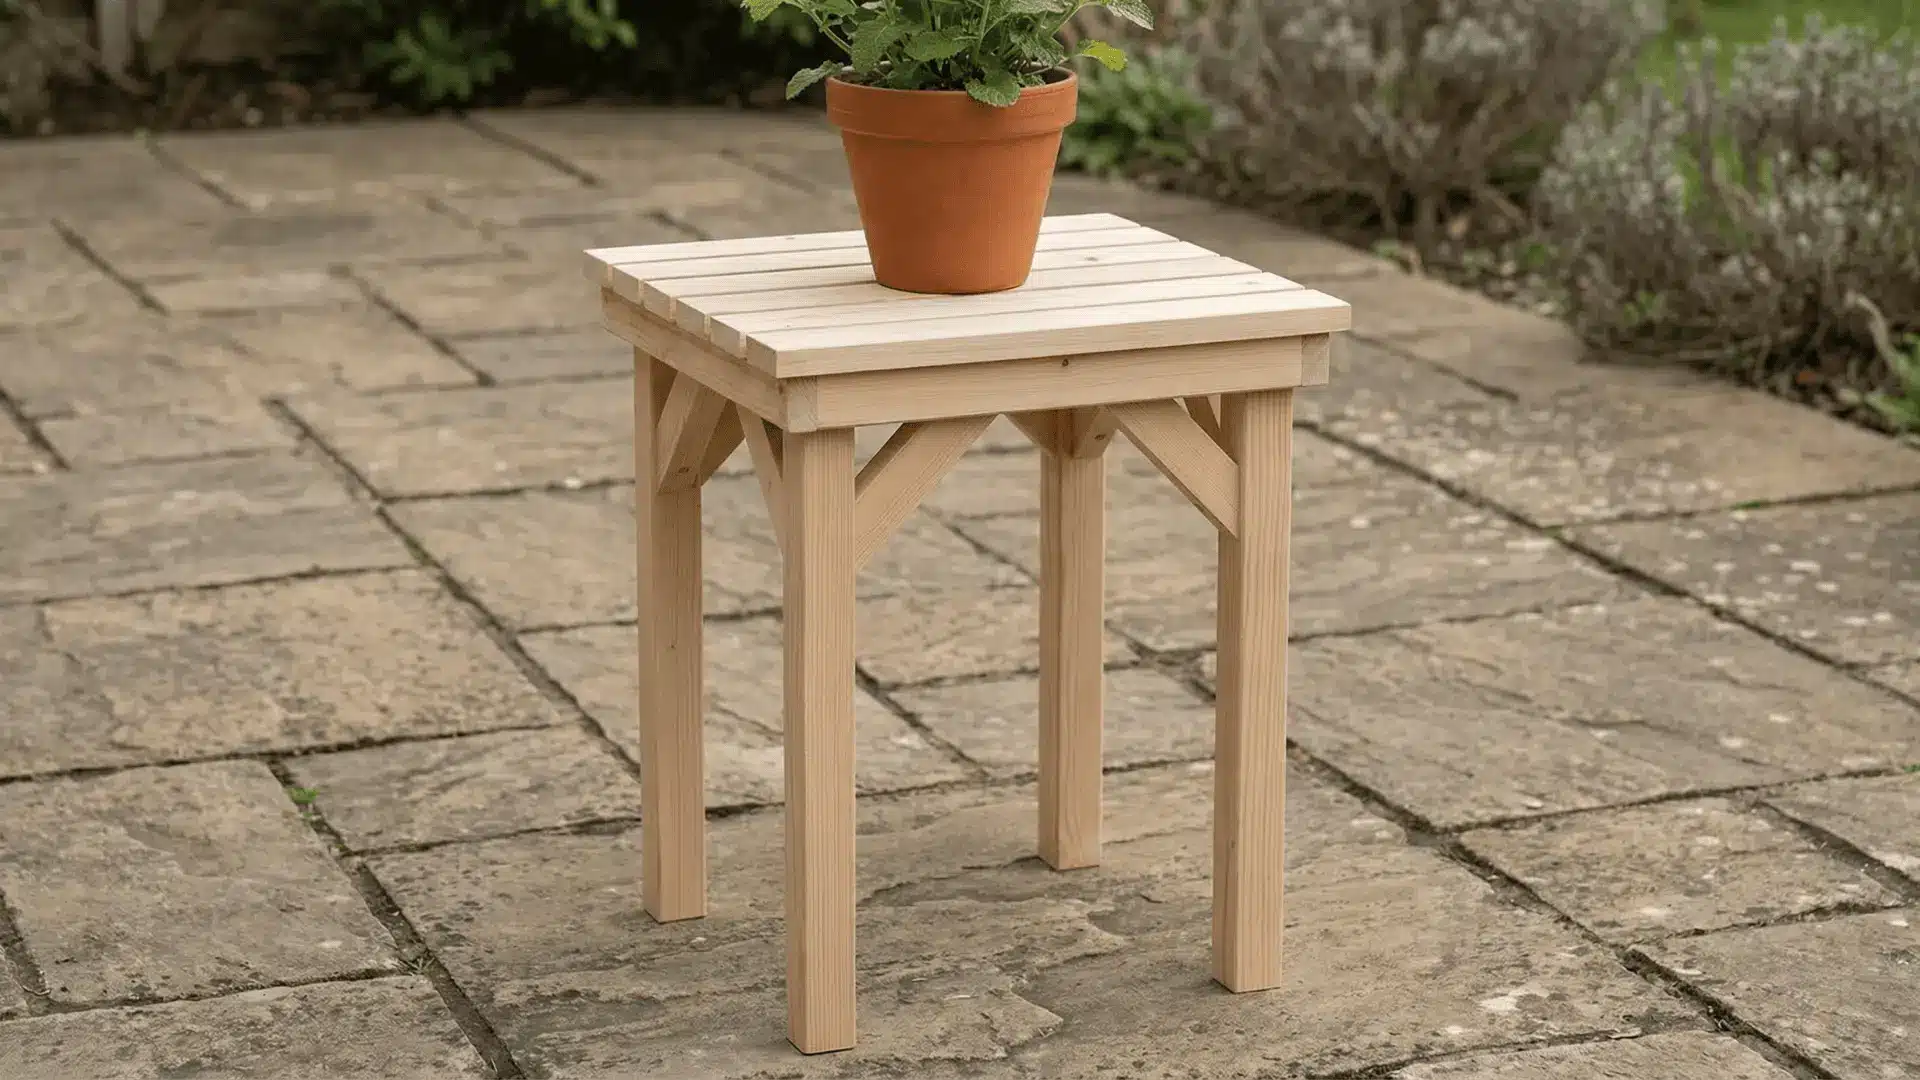
Cut equal-length legs and a flat top or tiers for placing pots. Assemble the frame using screws, making sure all legs touch the ground evenly. Check balance before final tightening.
Sand rough edges. Apply outdoor protection if possible. Uneven legs or weak joints can make the stand wobble or tip under weight.
24. Simple Garden Tool Holder
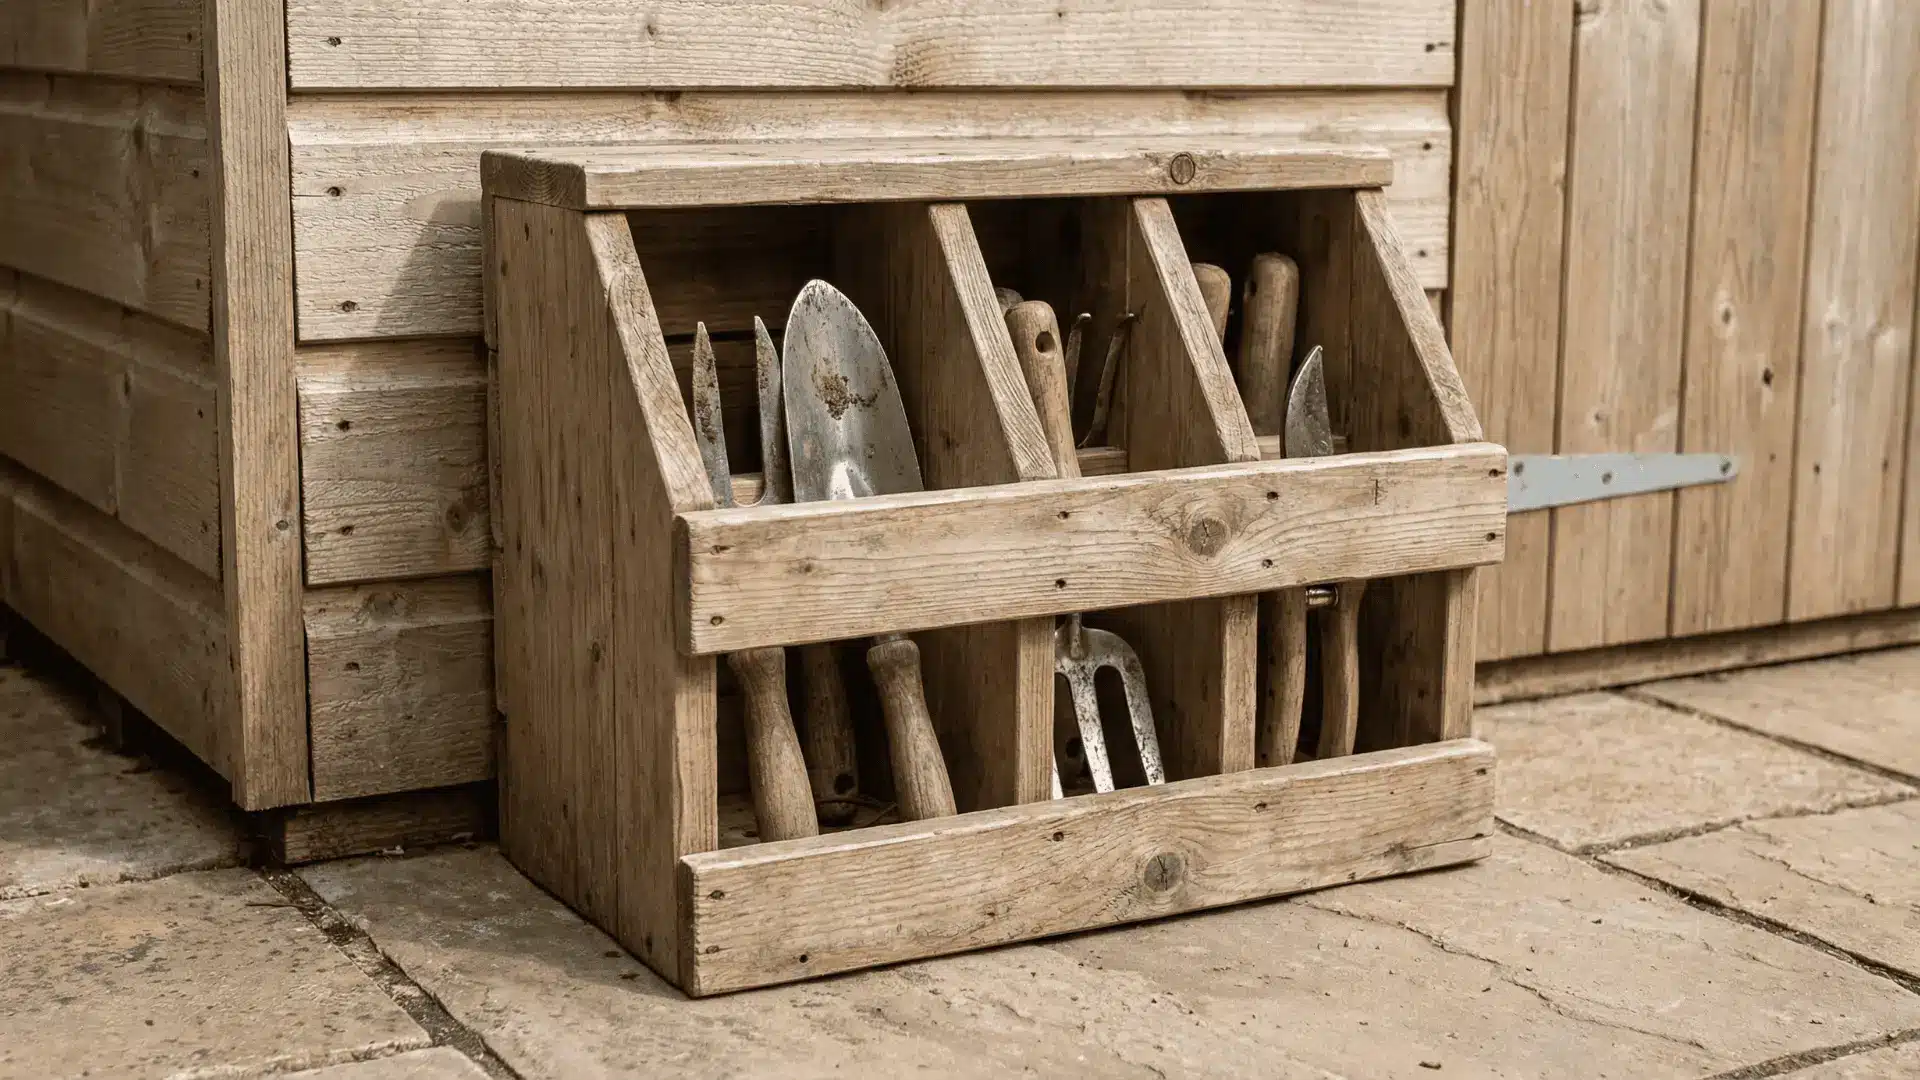
Cut a base and side supports based on the tools you want to store. Mark and space slots or sections clearly. Assemble using screws or nails. Sand all edges.
Test with your tools to check fit. If spacing is incorrect or structure is weak, tools may not sit properly or the holder may loosen.
Slightly Advanced (Still Beginner-Friendly)
These projects build basic strength, balance, and multi-part assembly skills. They are beginner-friendly and help improve stability, load support, and measurement accuracy.
25. Step Stool
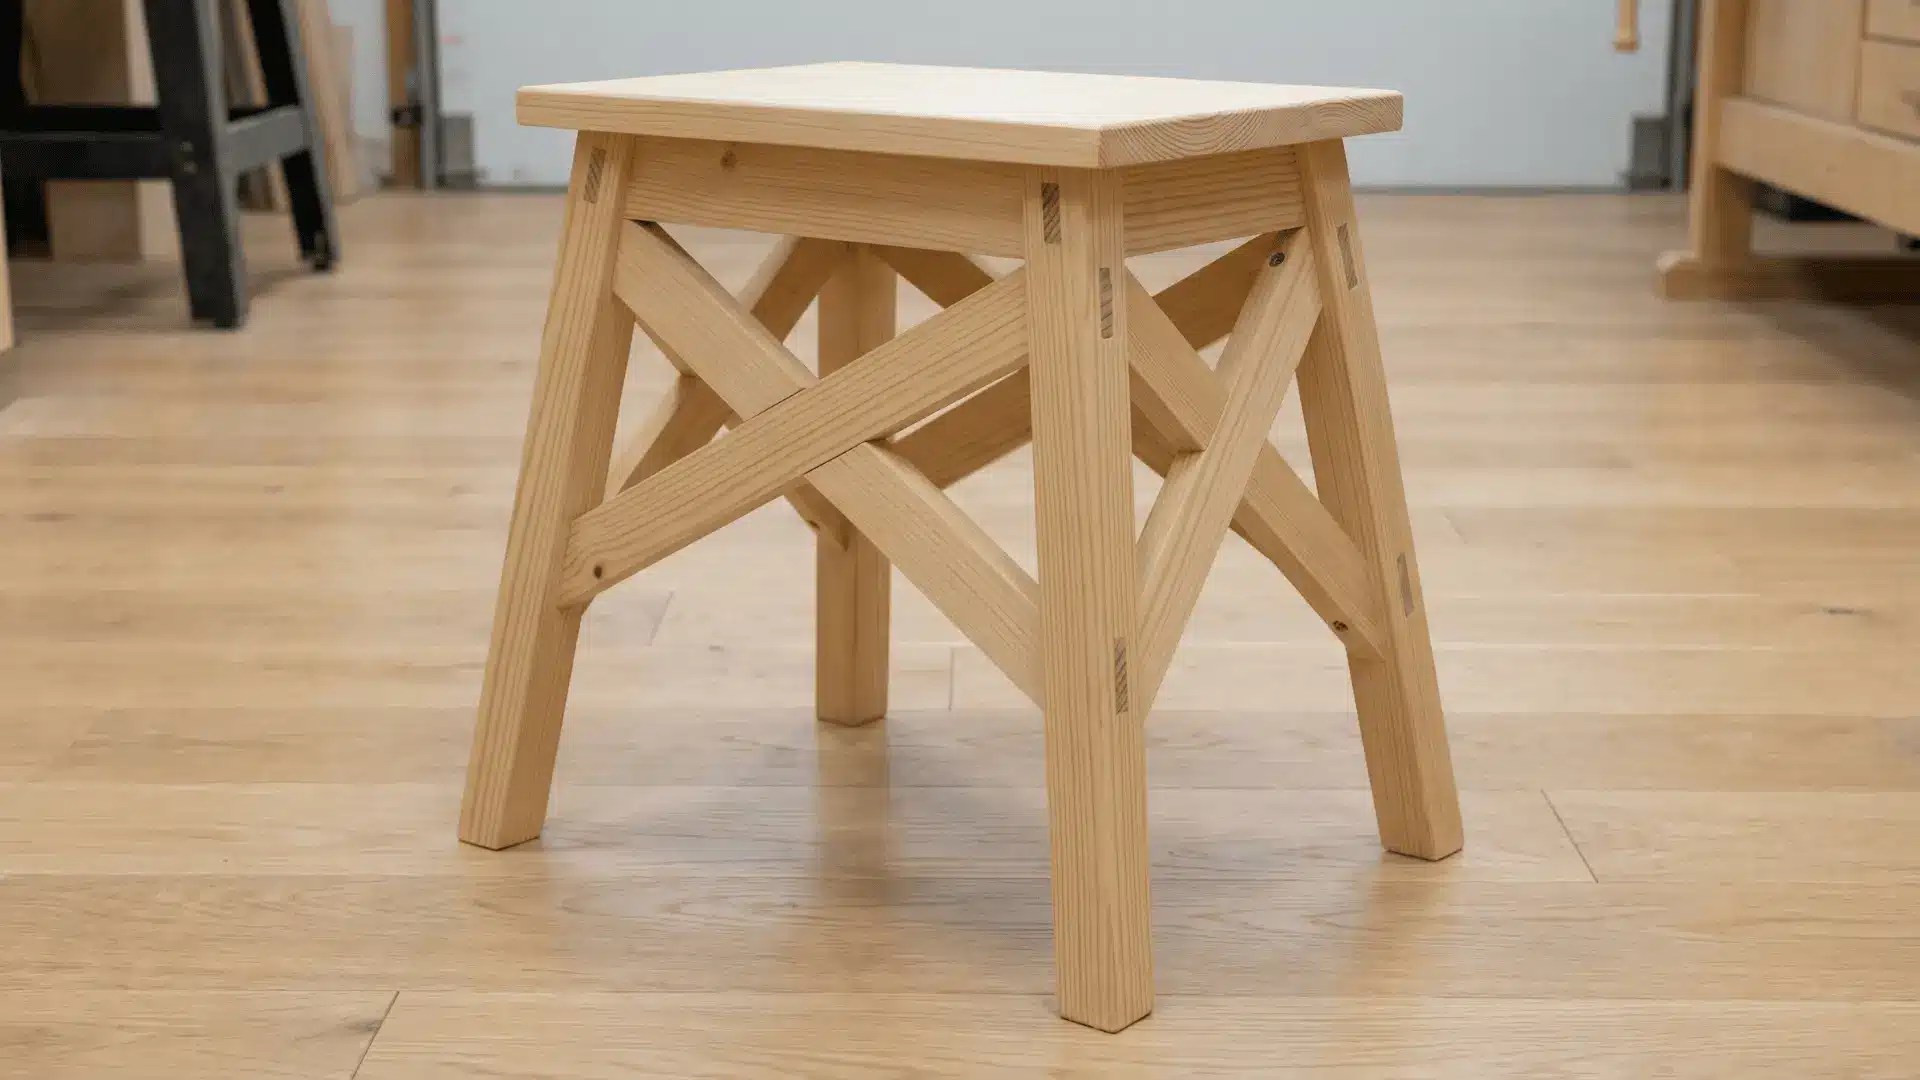
Cut a top platform and four legs of equal length. Attach legs firmly using screws and support braces underneath. Check all angles to keep it stable.
Sand edges for safety. Test weight before use. If joints are weak or legs are uneven, the stool can wobble or fail under pressure.
26. Small Bench
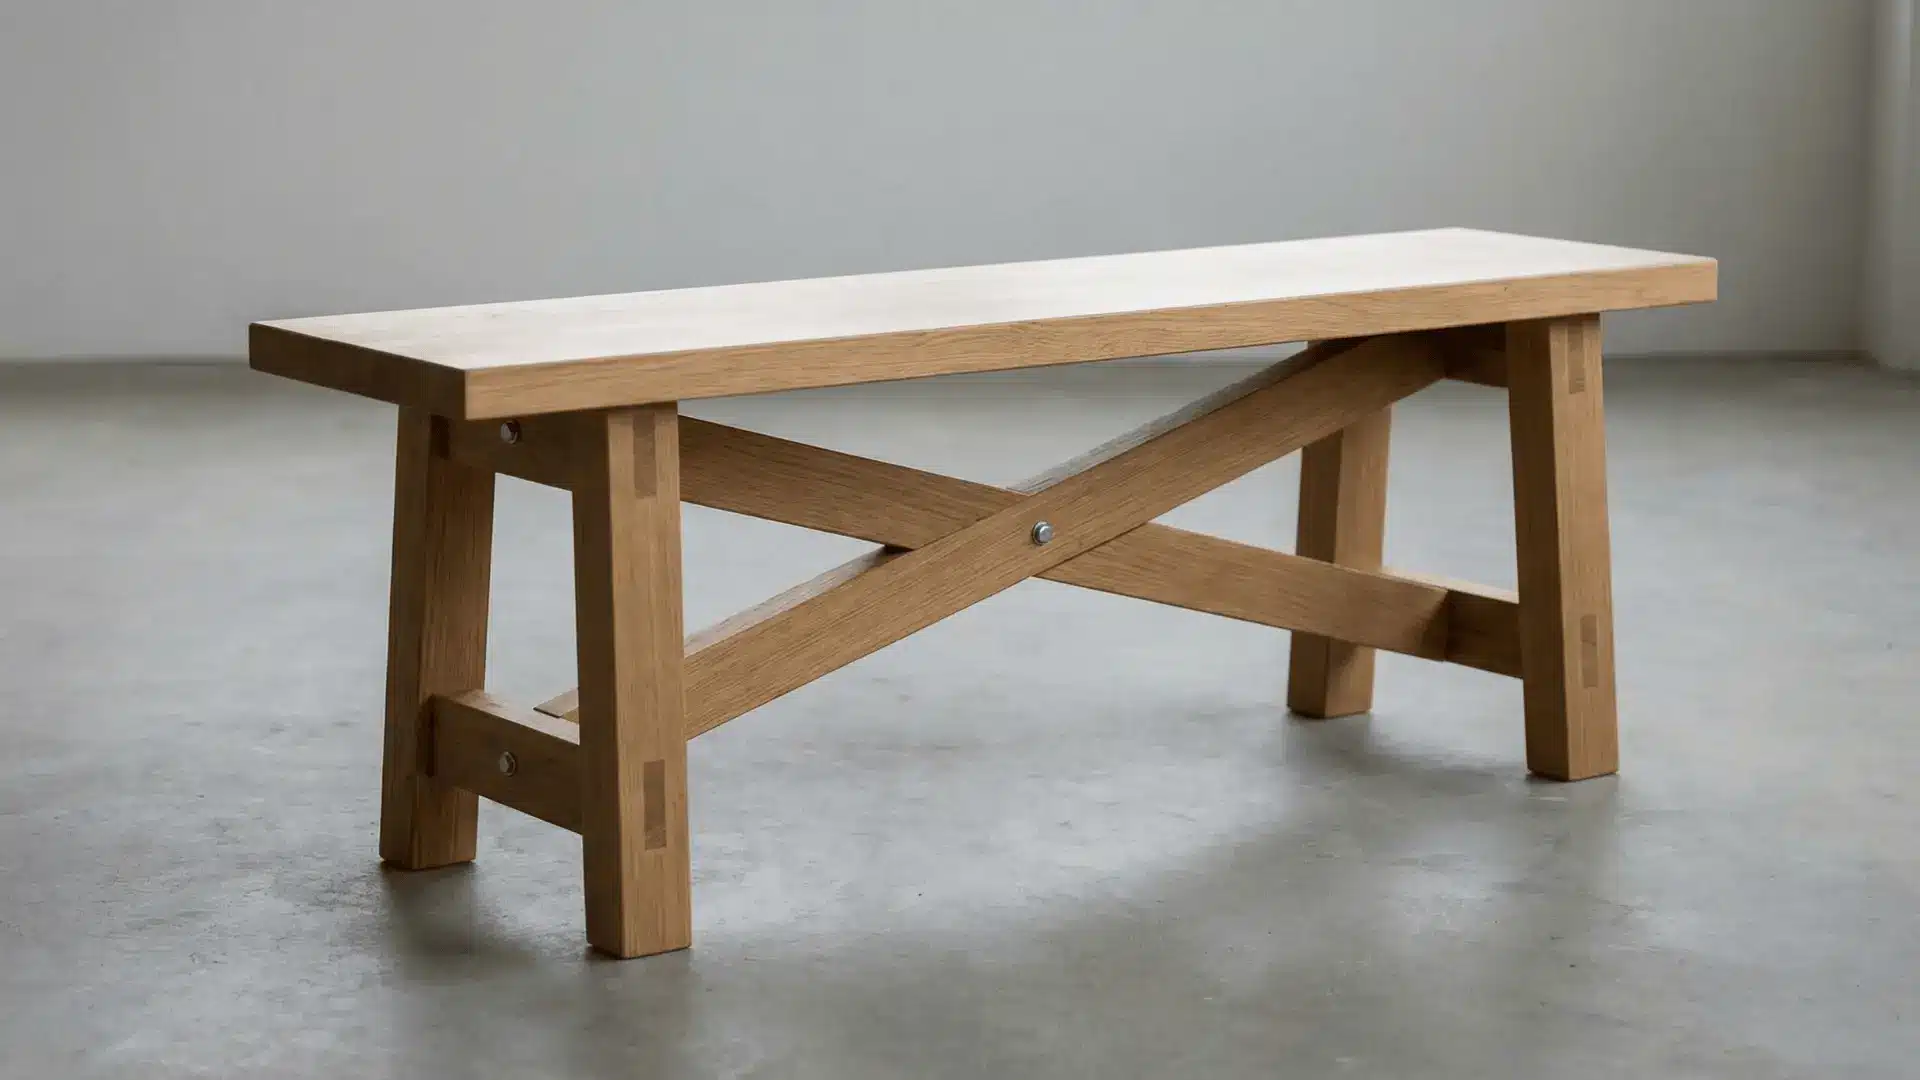
Cut a wider seat board and prepare legs with support braces. Assemble legs first, then attach the seat securely on top. Use screws for strength and check alignment carefully.
Sand all surfaces smooth. Test stability on flat ground. Weak joints or uneven spacing can make the bench unstable or unsafe to sit on.
27. Simple Side Table
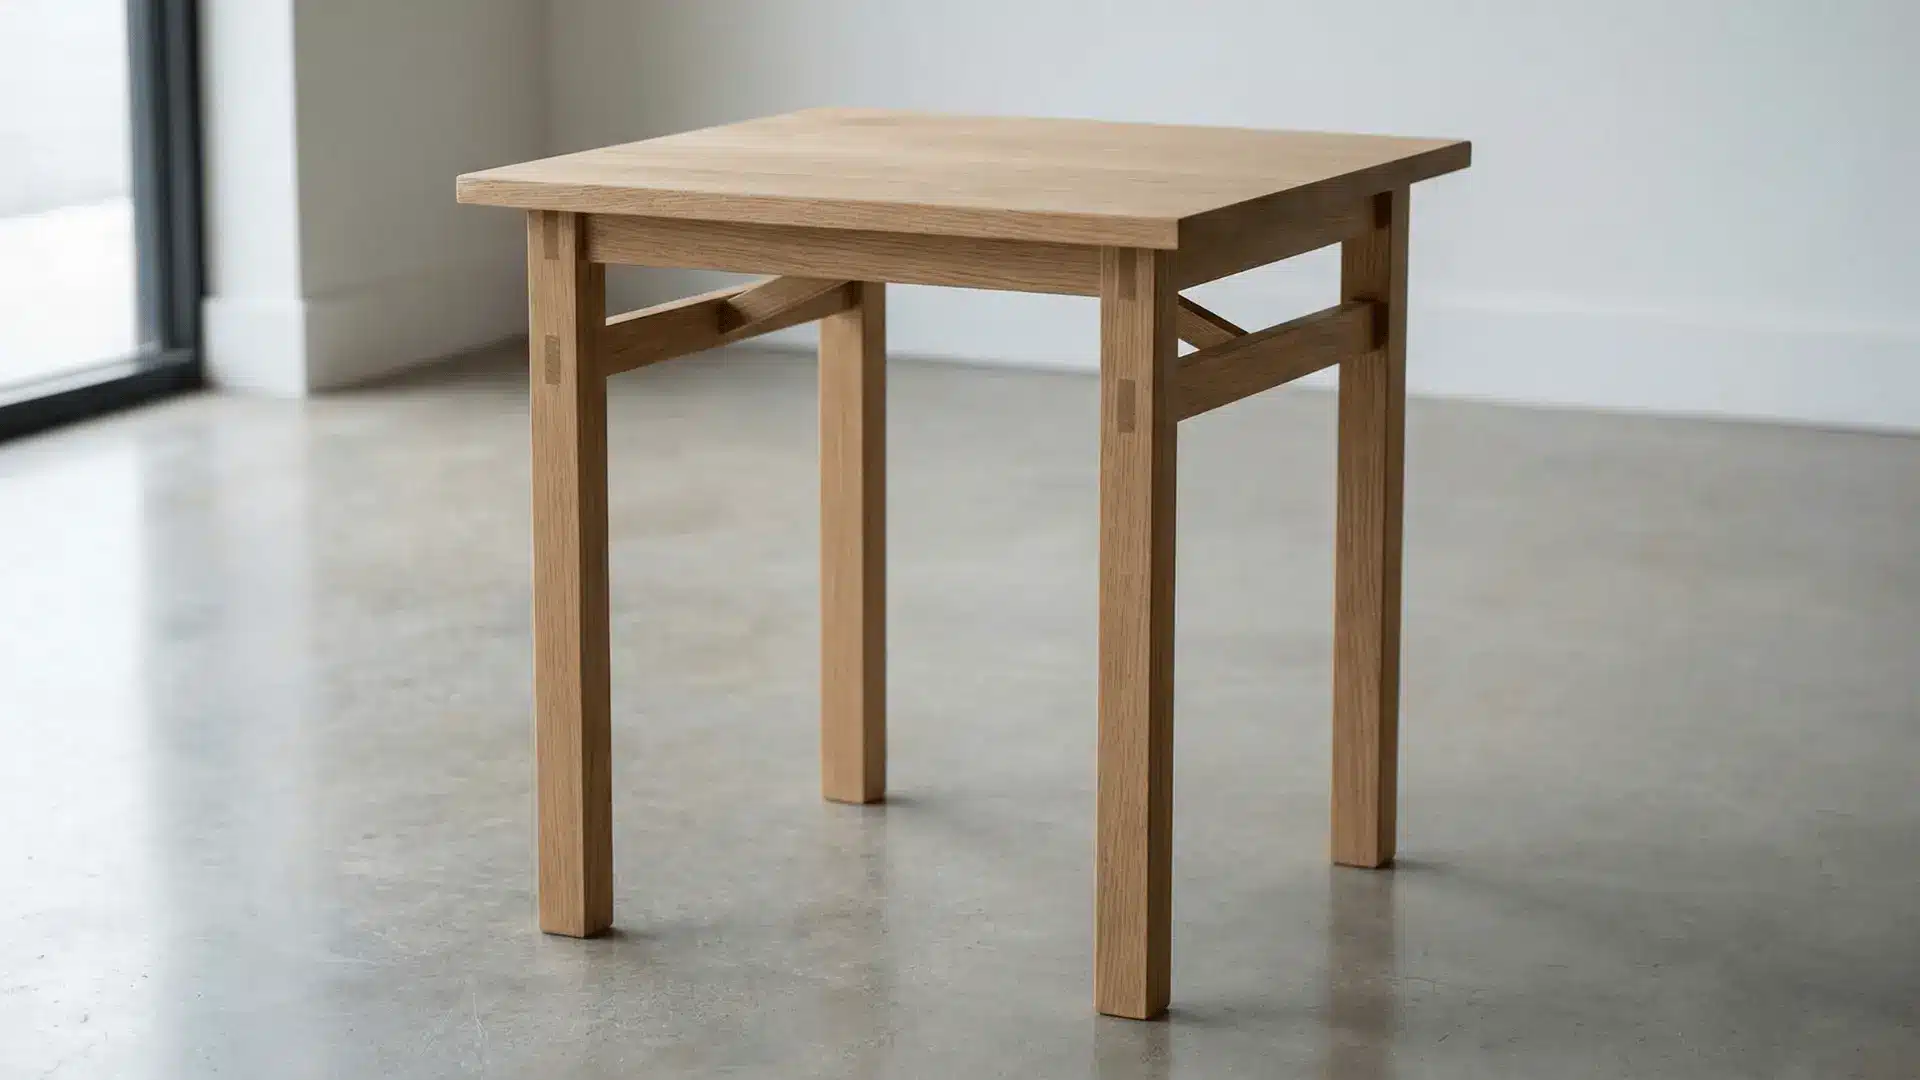
Cut a flat tabletop and four equal legs. Attach legs at each corner using screws or brackets. Check that all legs are the same height before fixing. Use a level to confirm balance.
Sand the entire surface. If legs are uneven or joints are loose, the table will wobble and feel unstable during use.
Common Mistakes that Ruin Wood Projects
- Poor Measuring → Misalignment
Inaccurate measurements cause parts to mismatch during assembly. Small errors multiply across cuts, leading to gaps and crooked builds. Always measure twice, mark clearly, and use a square for straight, reliable alignment. - Wrong Wood Choice → Cracking
Using hardwoods, warped boards, or wet lumber makes cutting harder and increases the risk of splitting or warping. Beginners should choose straight, dry softwoods like pine for easier handling and more forgiving results. - Skipping Sanding → Rough Finish
Neglecting sanding leaves splinters, uneven edges, and poor surface quality. Finishes absorb inconsistently on rough wood. Progressive sanding with medium to fine grit ensures a smooth, safe, and professional-looking result. - Over-Tightening Screws → Splitting
Applying too much force when driving screws can crack the wood, especially near edges. This weakens joints and affects durability. Use pilot holes and tighten screws only until snug to maintain structural strength. - Not Checking Level → Instability
Failing to check level during assembly leads to wobbly furniture and uneven surfaces. Misalignment often goes unnoticed until the project is complete. Regularly use a level and recheck alignment at each stage for a stable, balanced build.
Conclusion
Getting started with woodworking does not require complicated plans or expensive equipment.
The key is choosing manageable builds, using the right tools, and taking your time with each stage.
Easy wood projects help you build real skills while creating useful items you can enjoy or gift. When you focus on simple designs and steady progress, success becomes much more likely.
Pick one project that fits your time and tools, gather your materials, and start building today. Your first finished piece is closer than you think.


