Biology labs can feel confusing at first. You see a lot of tools, but it’s not always clear when to use what.
I’ve seen this happen a lot. Most students try to remember every tool, but that’s not what really helps.
What matters more is understanding how tools work together.
In a real experiment, nothing works on its own. One step leads to the next, and each tool plays a small role in getting the final result.
If you’re still learning what each tool does, it helps to start there first. You can go through this guide on science tools names and uses to get a clear idea before seeing how everything connects in a lab setup.
Once you understand that flow, things start to feel much easier. In this post, I’ll walk you through how biology lab tools are actually used step by step, so you can work with more clarity and fewer mistakes.
How Biology Lab Tools Work Together in Real Experiments
In the main blog, each tool is explained on its own. But in a real lab, tools are never used alone. They work as a system.
Every experiment follows a flow. One step leads to the next. Each tool handles one part of the process.
Every experiment has a reason behind each step. Tools are chosen to bring control, accuracy, and order to the process. When each tool performs its specific task in sequence, the results become reliable and repeatable.
This same idea applies across other science labs as well.
For example, in physics, tools are chosen based on what needs to be measured and how each step connects to the next. You can explore this in more detail in this guide on how to choose the right physics lab equipment based on experiment type.
If even one step is done wrong, the final result can change. That’s why understanding the workflow matters more than just knowing tool names.
Step-by-Step Workflow of a Basic Biology Experiment
Real experiments follow a clear pattern. Here’s how tools are actually used from start to finish.
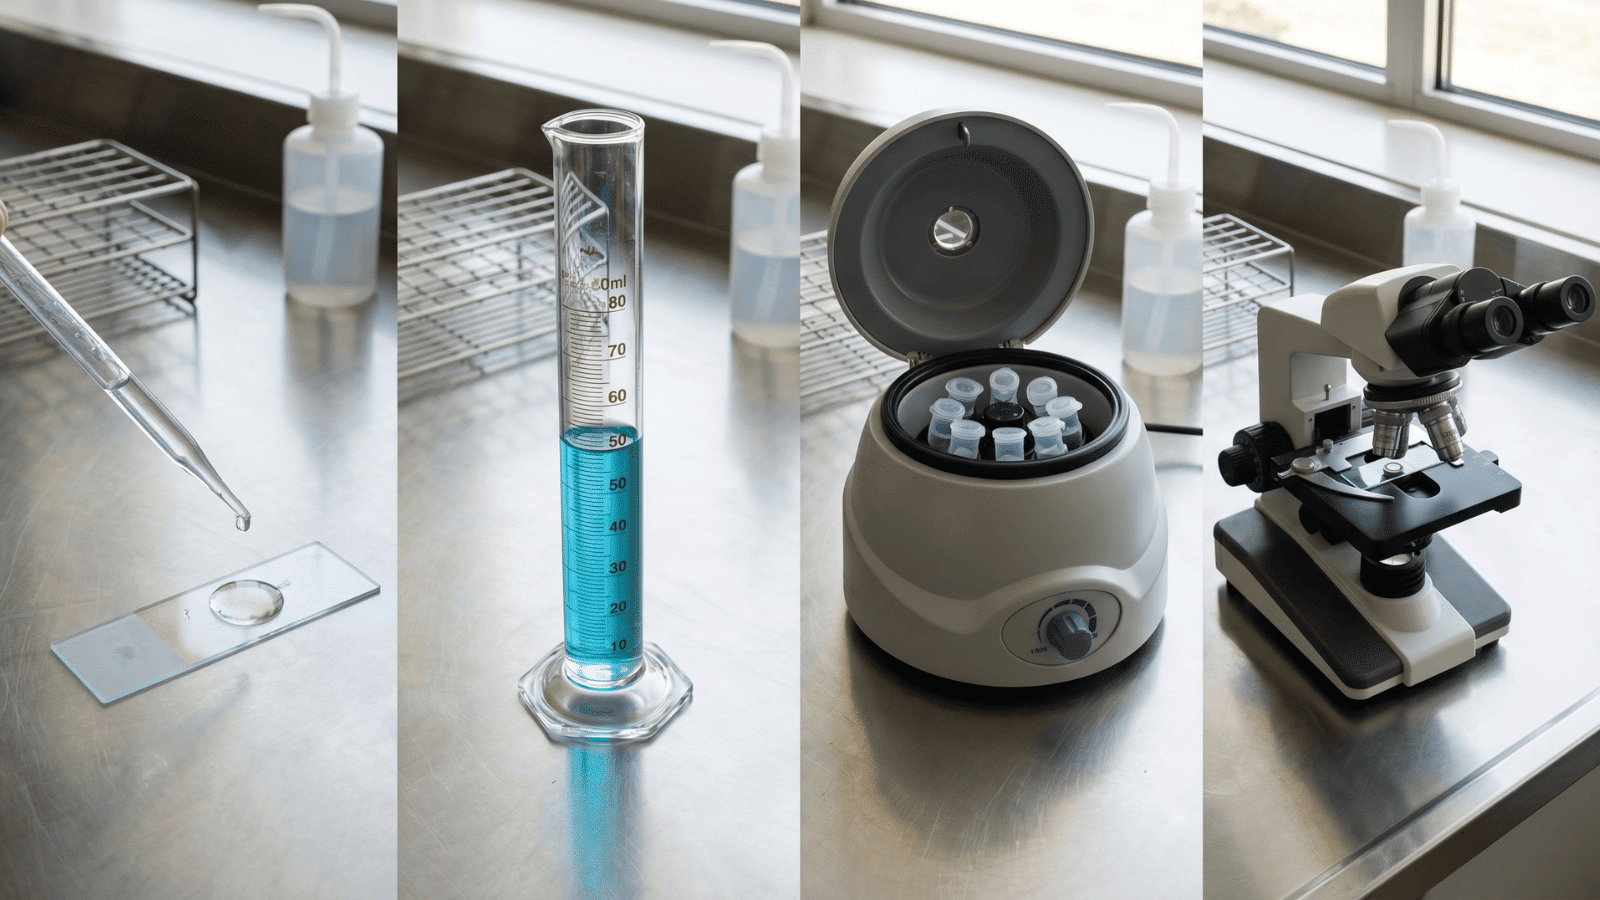
Step 1: Sample Collection and Preparation
Raw samples are often unstable or contaminated, so they need to be handled carefully from the start.
Tools like slides and pipettes help place the sample in the right position without introducing errors. The result is a clean, stable sample that’s ready for testing.
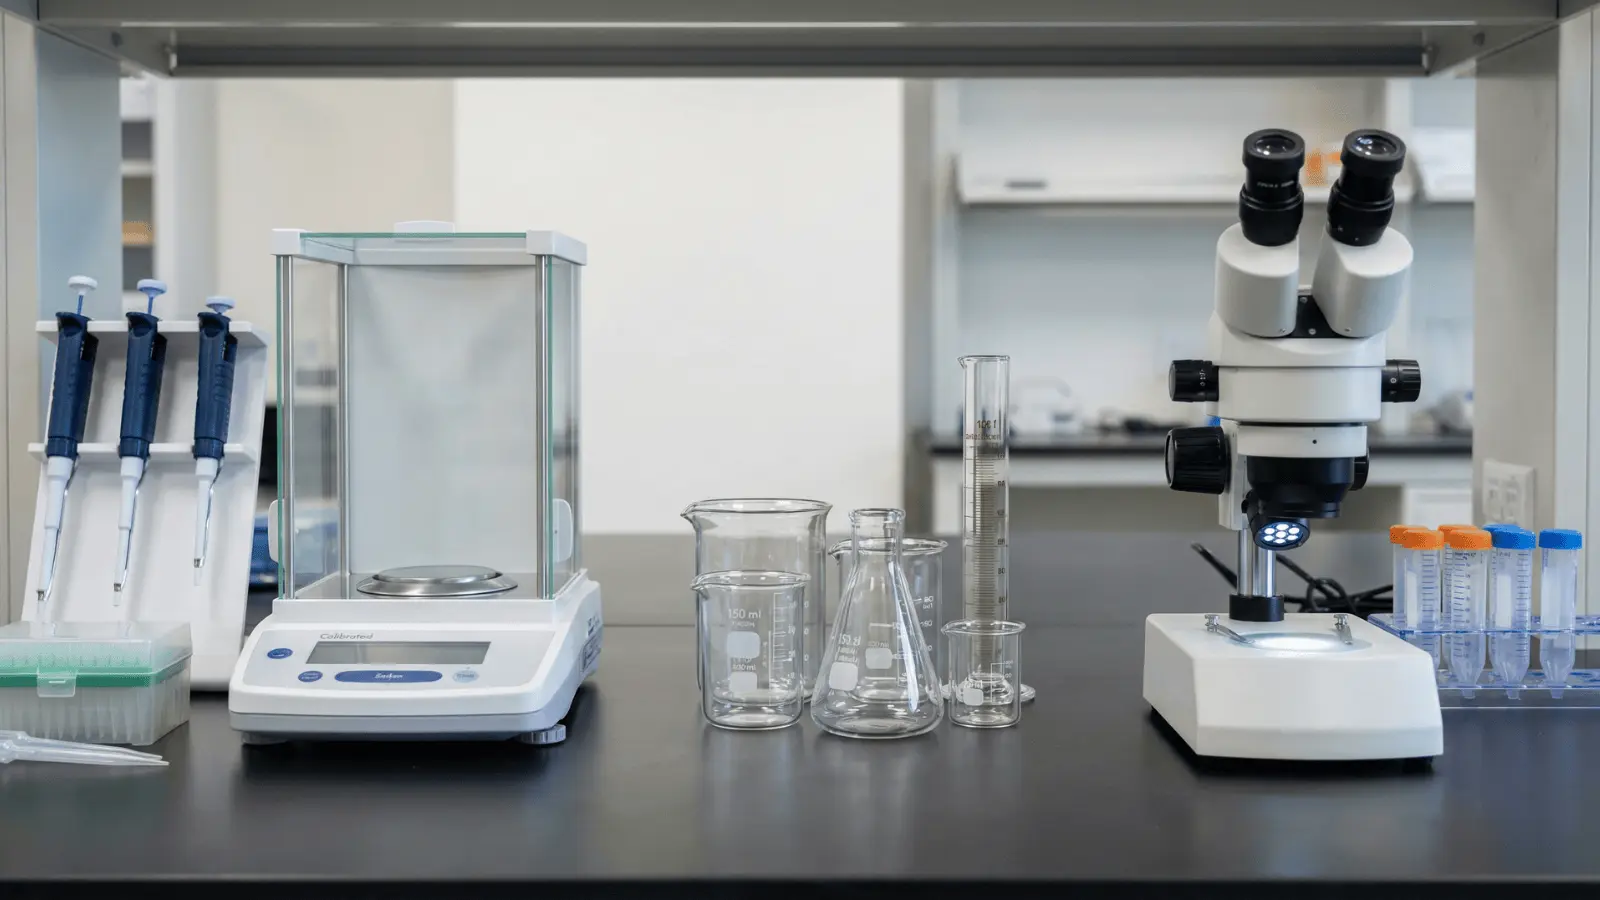
Step 2: Measuring and Transferring Materials
Experiments depend on exact quantities, and even small differences can throw off the outcome. Precise tools make sure every measurement stays consistent across trials.
That consistency is what makes the setup repeatable and trustworthy.
Step 3: Separation or Processing
Most biological samples are mixtures, so different components need to be isolated before analysis. Tools separate materials based on properties like density or size.
When done correctly, you’re left with cleaner, more usable parts that are ready for the next step.
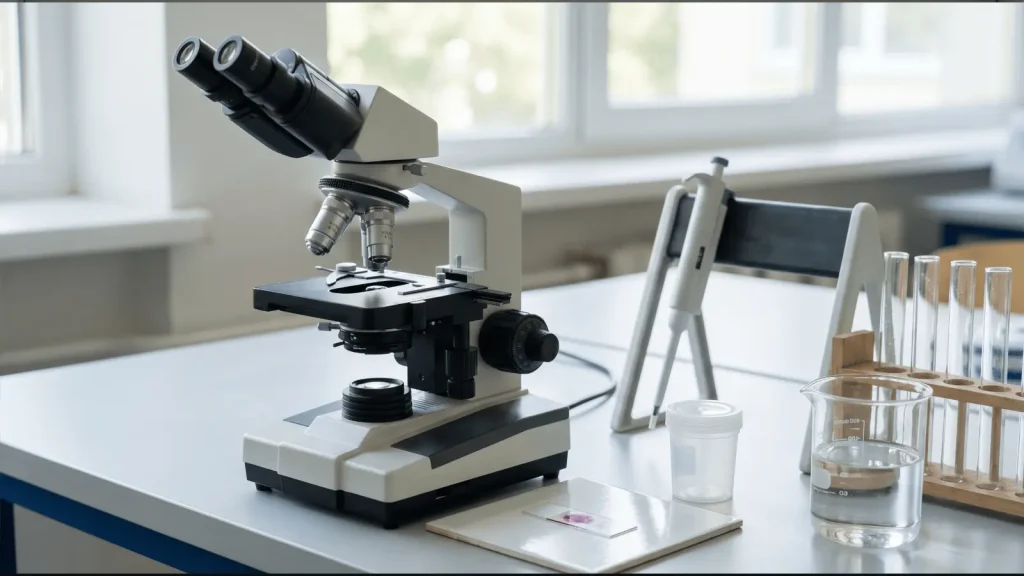
Step 4: Observation and Data Collection
Once the sample is processed, it needs to be studied carefully. Observation tools reveal details or measurements that aren’t visible to the naked eye.
This is where all the earlier steps pay off: clear, visible data that can actually be analyzed.
How to Choose the Right Tool for Each Step
Choosing the right tool is not random. It depends on what the experiment needs.
Based on Precision Required
Some steps demand high accuracy, while others can work with general tools. High-precision tasks like measuring small volumes or counting cells need specialized instruments.
Using a basic tool for a sensitive step can shift your results without you even noticing.
Based on Sample Type
Different materials need different handling approaches. Liquids behave differently from solids, and living samples need extra care to stay intact.
Tools are designed with specific materials in mind, so using the wrong one can damage the sample or change how it behaves during the experiment.
Based on the Experiment Goal
Every experiment has a clear purpose, and the tools should match that purpose directly. Observation-based experiments need viewing tools, measurement steps need accurate instruments, and separation processes need the right processing equipment.
No single tool can do everything, so matching the tool to the goal keeps the workflow clean and efficient.
Common Workflow Mistakes that Affect Results
Many lab errors come from process mistakes, not the tools themselves.
- Skipping preparation leads to contamination.
- Using tools in the wrong order breaks the logic of the experiment.
- Replacing tools with “similar” ones reduces accuracy.
- Not cleaning tools causes cross-contamination.
These mistakes often go unnoticed but can completely change results.
Real-Life Example: From Sample to Result
Let’s take a simple example: testing a water sample to understand how the full workflow plays out in practice.
First, a sample is collected from the source and transferred carefully into a clean container. This sets the foundation for everything that follows. If the collection is careless, the results won’t reflect reality.
Next, the sample goes through a processing step to separate particles or unwanted material. This is where the right tools make a real difference; rushing or skipping this step often leads to unclear observations later.
Finally, the processed sample is observed and analyzed. Each step built on the previous one, and that’s exactly the point. When the workflow is followed correctly, the results are clear, meaningful, and easy to interpret.
Why Understanding Workflow Matters More than Memorizing Tools
Many students try to memorize tool names. That’s not enough.
- Knowing names does not mean knowing usage
- Understanding the sequence improves accuracy
- It helps avoid common mistakes
- Mechanism: process knowledge reduces errors at every step
- Outcome: better results and stronger understanding
A simple shift in thinking makes a big difference. Focus on how tools work together, not just what they are called.
Conclusion
Good lab work isn’t about having the most tools; it’s about using them in the right order, for the right reasons. When you understand the workflow, you work with more confidence and fewer mistakes.
Each step in an experiment connects to the next, and that connection is what produces real results. Whether you’re just starting out or brushing up on your skills, focusing on the process will always take you further than memorizing names.
Ready to put this into practice? Start with one simple experiment and follow the steps; you’ll see the difference.
Frequently Asked Questions
Why are multiple tools used in one experiment?
Each tool handles a specific step. Experiments require a sequence of actions, so multiple tools are needed to complete the process accurately.
What happens if you use the wrong tool in a step?
Using the wrong tool can lead to incorrect measurements, damaged samples, or failed results because each tool is designed for a specific function.
Do all biology experiments follow the same workflow?
Not exactly, but most follow a similar pattern: preparation, measurement, processing, and observation, depending on the experiment goal.
Is the tool order important in experiments?
Yes, order is critical. Each step depends on the previous one, so changing the sequence can lead to inaccurate or unusable results.
How can students improve their lab workflow skills?
Practice regularly, follow the steps carefully, and focus on understanding why each step is done instead of just completing the task.