Chemistry labs run on precision. A reaction that works perfectly in theory can fail completely in practice, not because of the chemistry, but because of how the quantities were measured.
The tools you use to measure volume, mass, time, and temperature directly shape your results. This blog breaks down how each measuring tool works, where it fits, and how to choose the right one for the job.
Whether you’re a student setting up your first titration or reviewing lab fundamentals, understanding these tools is the foundation of reliable chemistry work.
Why Measurement Tools Matter More than Other Lab Equipment
In chemistry, getting the right result depends more on accurate measurement than anything else.
Even a slight error changes the ratio of chemicals, and since reactions depend on exact concentration, volume, and mass, the reaction may fail, slow down, or give the wrong result entirely.
I’ve seen this happen in simple school experiments. Use the wrong measurement, and nothing works the way it should.
This is why tools made for precision matter more than general tools.
If you want a quick refresher on basic lab tools and where measuring tools fit in, you can check the full breakdown of science tools names and their uses.
As explained, every lab tool has a specific role. Measuring tools exist to remove guesswork.
How Different Measurement Tools Control Accuracy
Each measuring tool is designed in a different way to control accuracy. That’s why you can’t swap one for another without consequences.
To see how these tools actually work together in real experiments, you can explore a step-by-step breakdown of how lab tools work together in biology experiments.
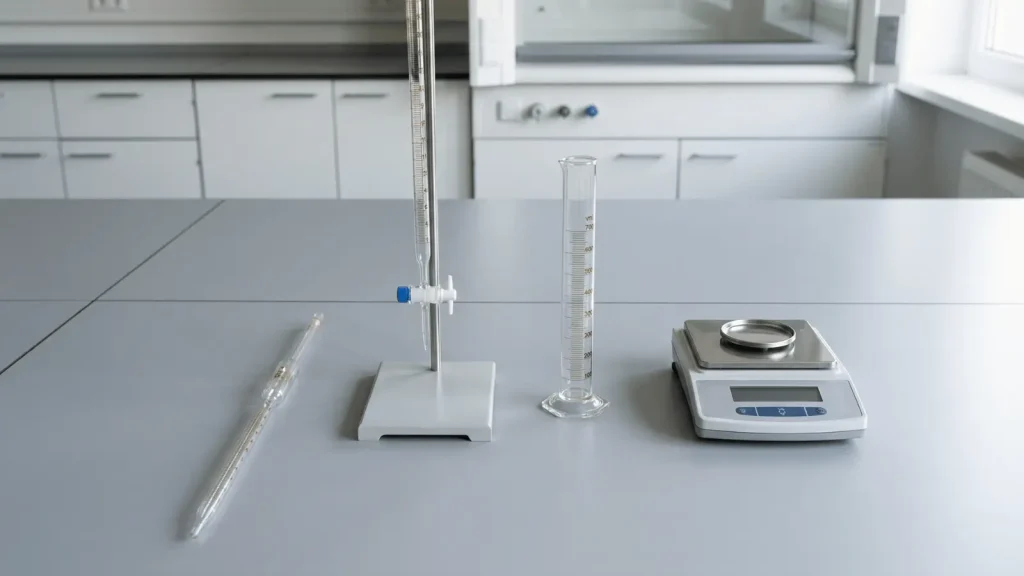
Volume Measurement (Graduated Cylinder vs. Pipette vs. Burette)
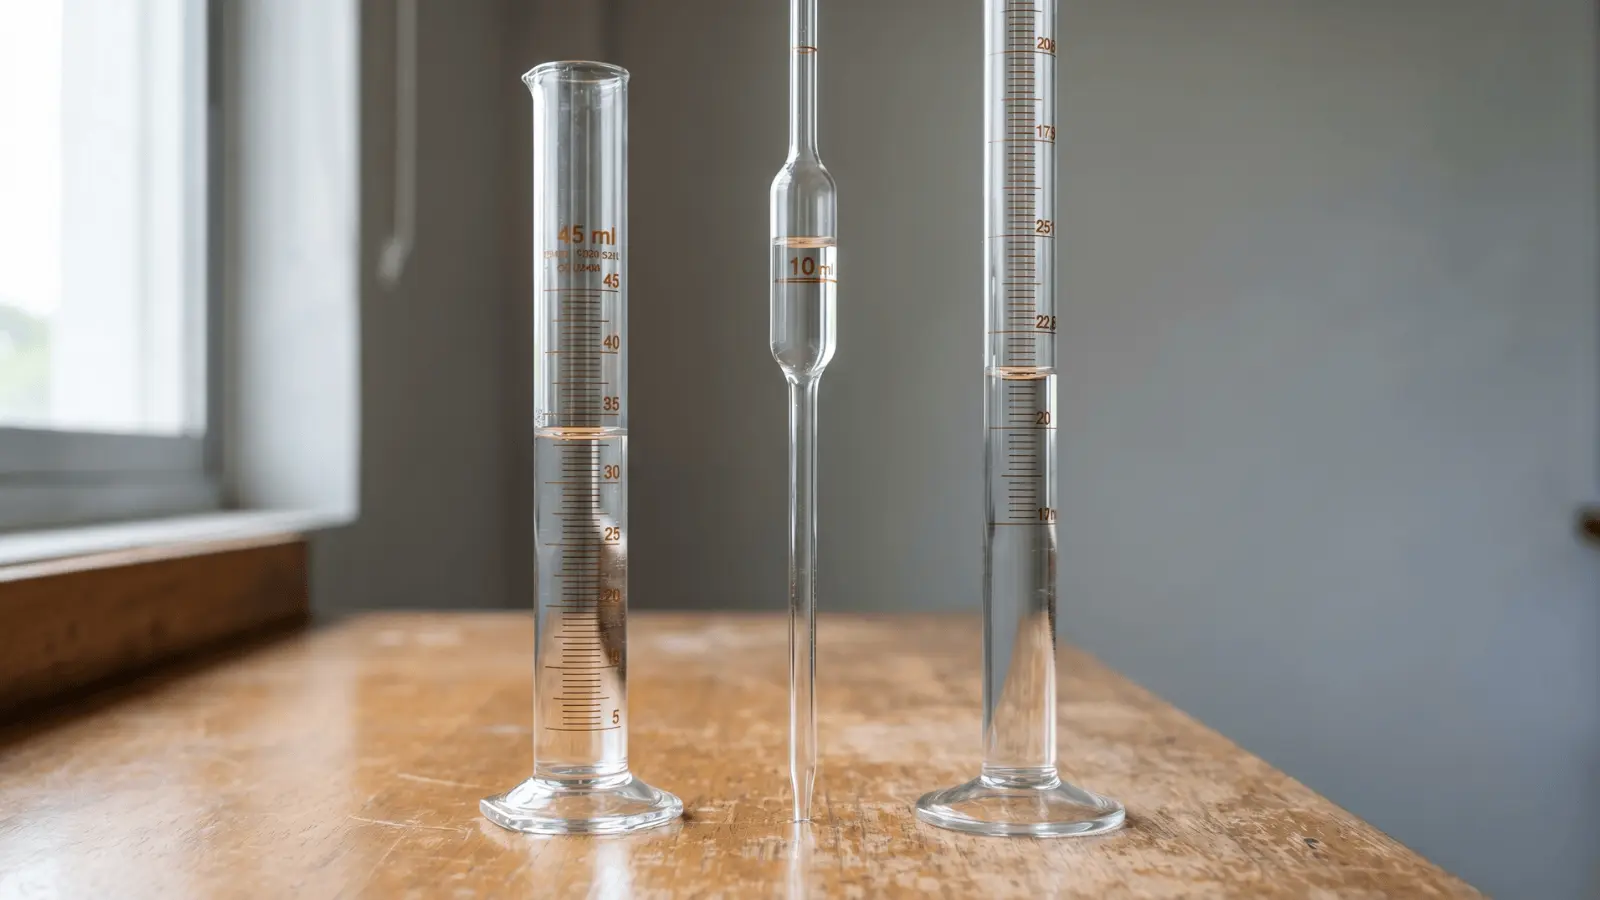
Not all volume tools work the same way. Each one is built for a different level of precision, and choosing between them depends on what the experiment actually demands.
1. Graduated Cylinder
Marked lines along the side show volume levels, making it straightforward to use for measuring medium amounts of liquid.
It works well for general lab work, but you must read the liquid level at eye level at the bottom of the meniscus, or the reading becomes inaccurate. For very precise experiments, this tool isn’t the right choice.
2. Pipette
A pipette uses suction to draw and dispense a fixed amount of liquid, making it the go-to tool for precise volume measurements.
Even a tiny difference in handling can affect accuracy, so air bubbles or incorrect technique will reduce the reliability of your measurement.
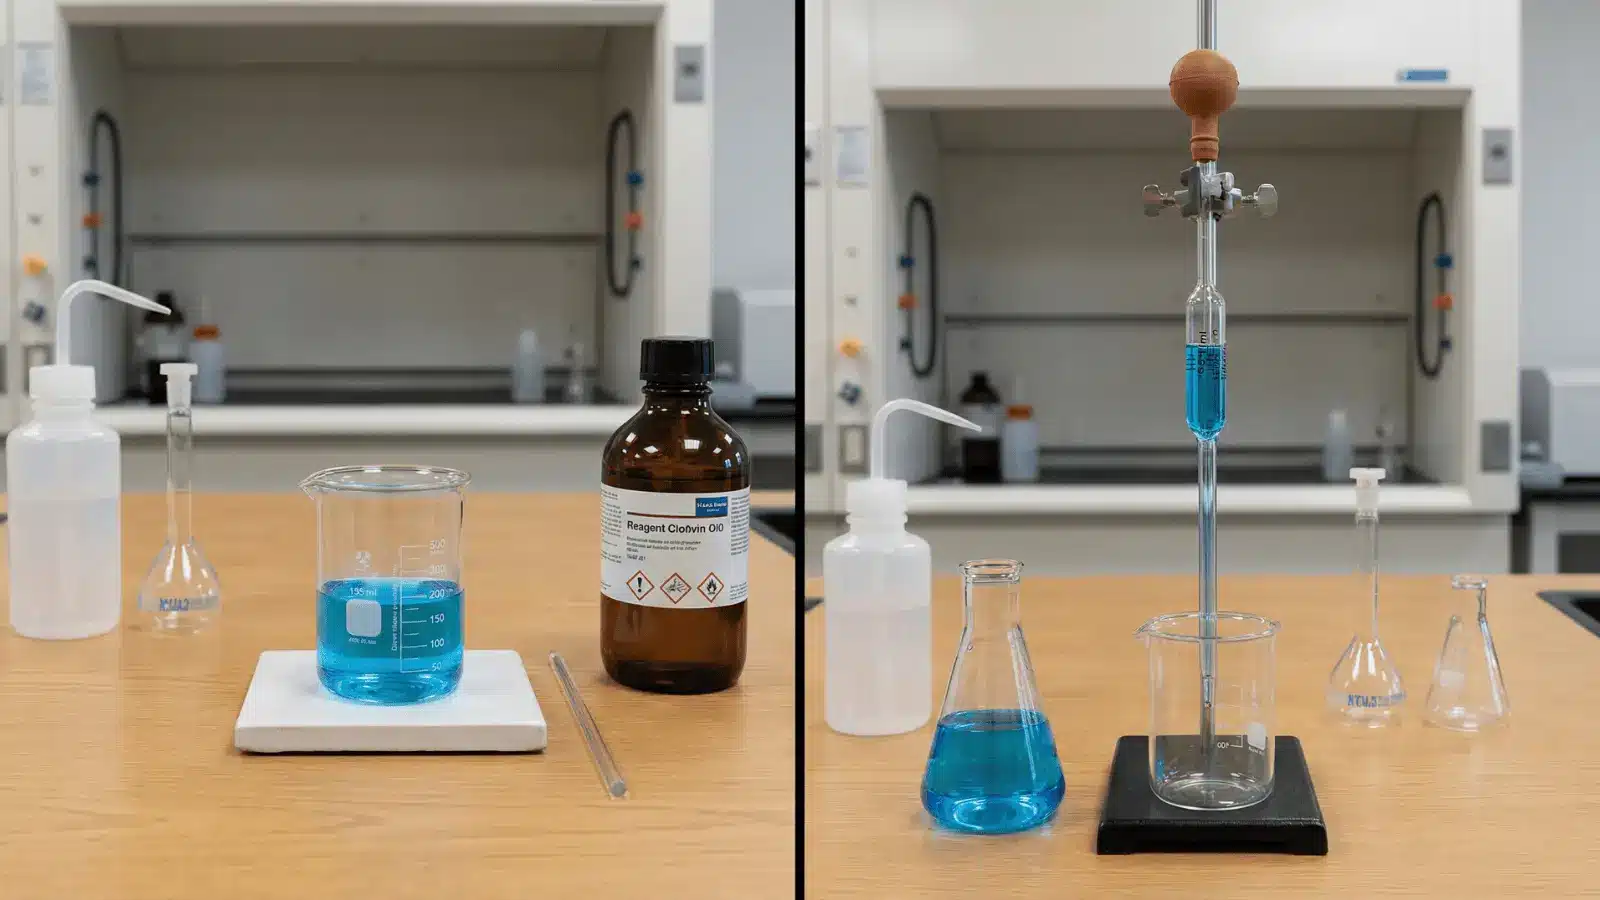
3. Burette
A burette uses a tap to control liquid flow drop by drop, which is why it’s used in experiments like titration, where that level of control is critical.
It’s one of the most precise volume tools available, but one extra drop at the wrong moment can ruin the result entirely.
Mass Measurement (Balance and Gram Scale)
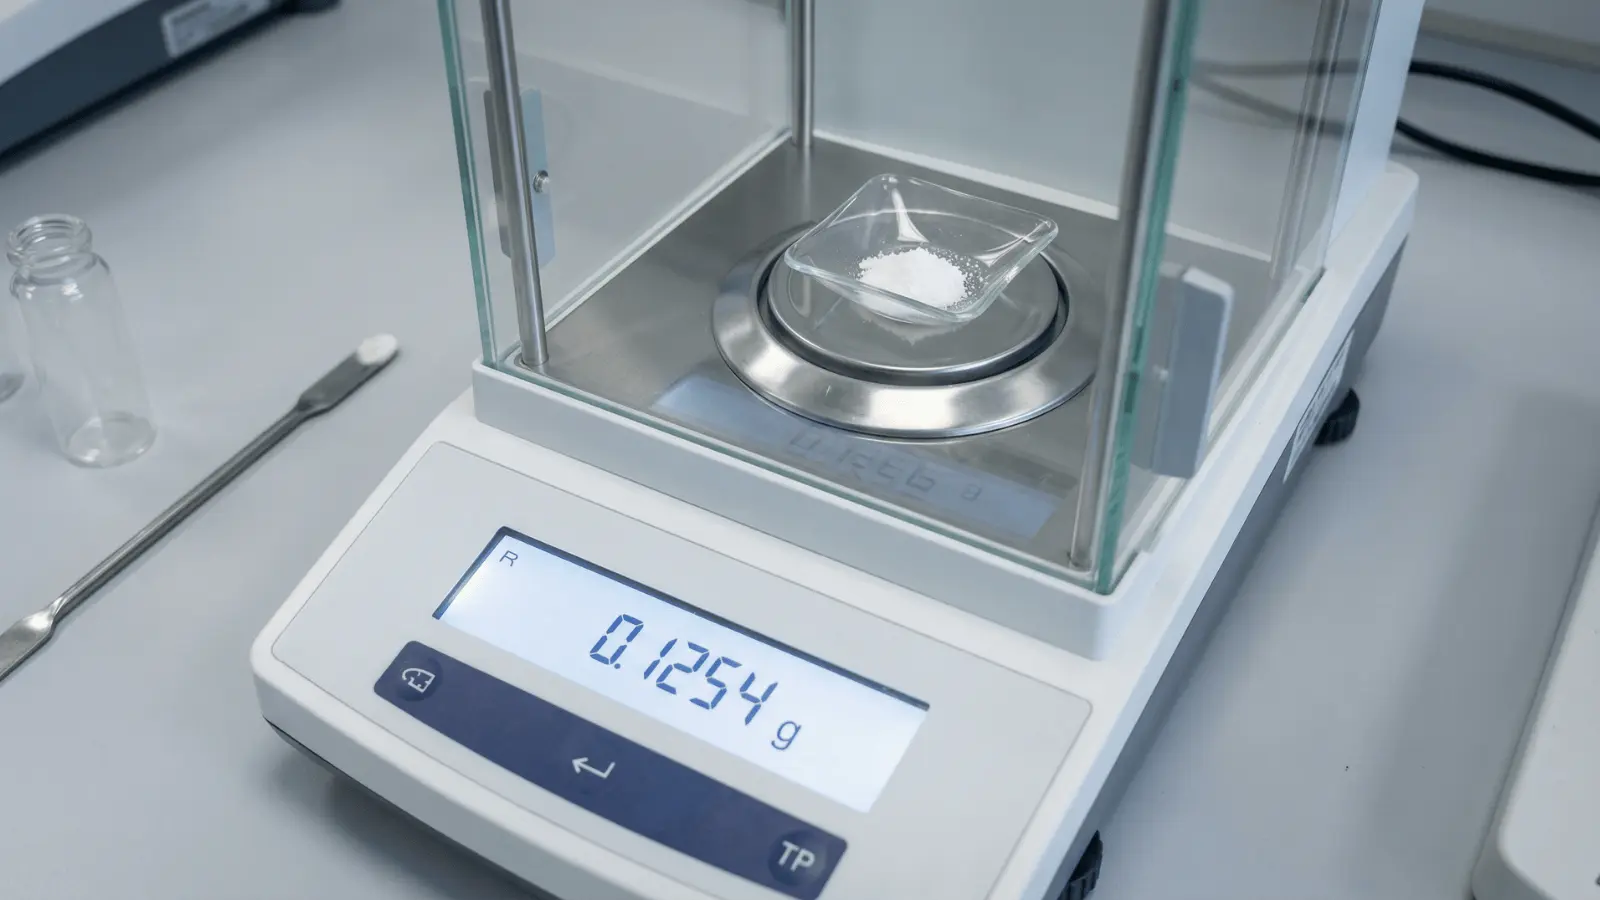
Measuring mass correctly is important before mixing chemicals. Even small mistakes here can affect the final result, so it’s worth doing it carefully.
Mechanical Balance
A mechanical balance compares weight on both sides. You place your sample on one side and add standard weights on the other until both sides match.
It is simple and dependable. It does not need electricity, but it takes more time and attention to get the right reading.
Digital Gram Scale
A digital scale shows the weight instantly using built-in sensors. It is quick and easy to use.
Most people prefer it because it saves time and makes the process smoother, especially when measuring multiple items.
Common Errors to Avoid
Some small mistakes can cause wrong readings. Not calibrating the scale before use is a common one. If the scale is off, all measurements will be off too.
Air movement can also affect the reading. Fans, open windows, or even movement nearby can disturb light samples.
Static electricity can also be an issue. Very light materials may show incorrect weight without any clear reason, so it’s important to be careful in such cases.
Time and Environmental Measurement (Stopwatch, Thermometer)

Time and temperature both play a big role in how reactions behave. If either one is off, the results can change or become unreliable.
Stopwatch
A stopwatch is used to track how long a reaction takes. It helps you understand how fast or slow something is happening.
Small delays can cause errors. Starting or stopping even a second late can affect the final result, especially in fast reactions.
Thermometer
A thermometer measures temperature during the experiment. This is important because many reactions depend on heat.
If the thermometer is not placed correctly, the reading can be wrong. For example, it should be properly dipped in the substance, not just touching the surface or container.
Why Both Matter
Time and temperature directly affect reactions. Some reactions speed up with heat, while others slow down or stop if conditions are not right.
If your timing or temperature reading is incorrect, the whole experiment can give misleading results. That’s why both need careful attention.
Choosing the Right Measuring Tool Based on Experiment Needs
Picking the right tool is about matching it to the task.
Here’s a simple way to think about it:
- Low precision → Beaker (only for rough estimates)
- Medium precision → Graduated cylinder
- High precision → Pipette or burette
Now consider these factors:
- How accurate does the measurement need to be?
- How much liquid or substance are you using?
- Do you need control over flow or just a fixed amount?
What Goes Wrong if You Choose Poorly?
When the tool doesn’t match the task, results become inconsistent or incorrect. In most cases, errors happen not because the student doesn’t know the tool, but because they picked the wrong one for that specific step.
In my experience, most errors happen not because the student doesn’t know the tool, but because they choose the wrong one.
Common Measurement Mistakes that Affect Results
Most lab errors don’t come from equipment failure. They come from technique.
- Meniscus reading error: Reading the top of the curve instead of the bottom is the single most common volume error. It’s consistent, which makes it hard to catch, and it shifts every measurement in the same direction.
- Wrong tool for the task: Using a graduated cylinder for titration, or a beaker to measure a reactant volume, introduces errors that the experiment can’t recover from.
- Uncalibrated balance: If the balance isn’t zeroed or calibrated before use, every mass reading carries a built-in offset.
- Air bubbles in burettes or pipettes: Bubbles displace liquid volume. The reading shows more liquid than is actually being delivered. Always check for and clear bubbles before starting.
The root cause across all of these is the same: misunderstanding what a tool is designed to do versus what it’s capable of doing. A beaker can hold 50 mL. It cannot measure 50 mL accurately.
Real Lab Scenarios Where Tool Choice Changes Results
The same experiment can give very different outcomes depending on which tools you use. Here’s how tool choice plays out in three common chemistry tasks.
Titration requires a burette because you need drop-by-drop control over liquid delivery. Using the wrong tool means you’ll miss the exact endpoint, and the result becomes unreliable.
Preparing a chemical solution requires both a balance and an accurate volume tool, since correct concentration depends equally on mass and volume being measured precisely.
Heating reactions require a thermometer because temperature directly affects how fast or slow the reaction moves, and even a few degrees off can change the outcome.
In each of these cases, the tool isn’t just a preference; it’s what makes the result valid or not.
Quick Reference Table for Chemistry Measuring Tools
| Tool Name | What It Measures | Accuracy Level | Best Use Case |
|---|---|---|---|
| Beaker | Volume | Low | Rough estimates |
| Graduated Cylinder | Volume | Medium | General liquid measurement |
| Pipette | Volume | High | Small precise transfers |
| Burette | Volume | Very High | Titration and controlled flow |
| Balance | Mass | High | Measuring solids |
| Stopwatch | Time | Medium | Reaction timing |
| Thermometer | Temperature | Medium–High | Monitoring heat changes |
Conclusion
Measuring tools are what turn chemistry from guesswork into science. The right tool, used correctly, keeps your data reliable and your results repeatable.
The wrong choice, even with perfect technique, introduces errors that no amount of careful work can fix downstream. Review the tools you have, match them to what your experiment actually needs, and make calibration a habit before every session.
If you’re building out or stocking a lab, use this post as your starting checklist to get the measurement layer right from the start.
Frequently Asked Questions
Which tool is most accurate for measuring liquids?
Pipettes and burettes are the most accurate. Pipettes measure fixed amounts, while burettes allow controlled delivery, making them ideal for precise experiments like titration.
Why is a beaker not used for accurate measurement?
Beakers are designed for holding and mixing, not precision. Their markings are rough, so they can’t provide exact volume measurements needed in experiments.
What causes measurement errors in labs?
Errors usually come from poor technique, wrong tool selection, air bubbles, or incorrect readings. Even small mistakes can lead to incorrect experimental results.
When should you use a burette instead of a pipette?
Use a burette when you need controlled, drop-by-drop liquid delivery. Pipettes are better for fixed volumes, while burettes are ideal for gradual addition in reactions.