Physics labs work best when every tool earns its place. The wrong equipment doesn’t just slow you down; it produces flawed data, failed experiments, and conclusions that don’t hold up.
But choosing the right tools isn’t about grabbing whatever’s available. It’s about understanding what you’re measuring, why it matters, and how different instruments respond to different conditions.
In fact, this becomes even clearer in chemistry labs, where even small measurement errors can completely change results. If you want to see how precision directly affects outcomes, you can explore this guide on chemistry measuring tools and how to choose them correctly.
If you’re setting up a physics lab or refining a research experiment, this will help you make smarter choices from the start.
How Physics Lab Equipment is Organized by Experiment Type
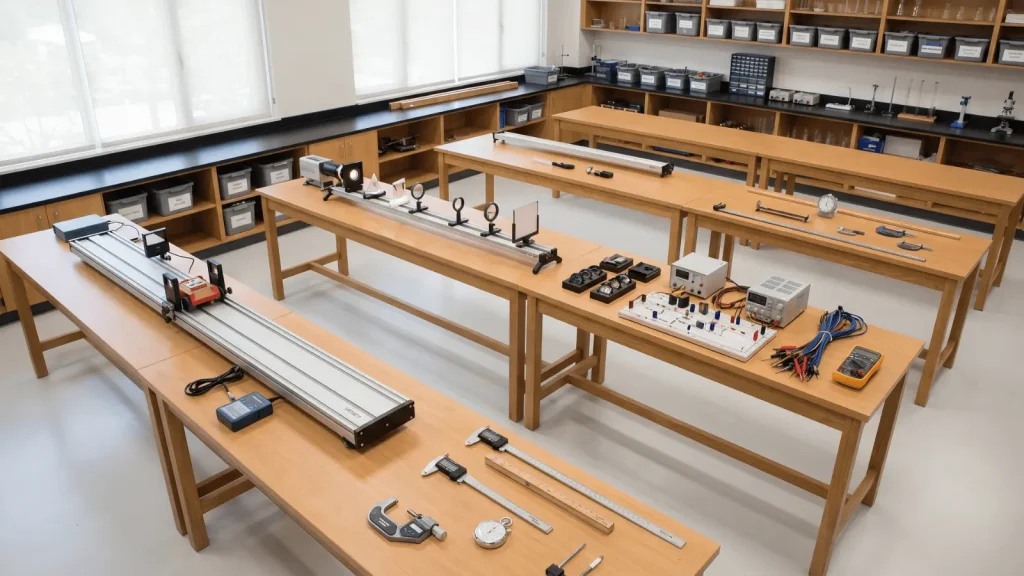
When you first see physics lab tools, they look grouped into categories like mechanics, optics, or electricity.
In practice, tools are chosen based on the experiment, not the category.
The first question is simple: what needs to be measured?
- Motion experiments need distance and time tools
- Light experiments use lenses or prisms
- Electrical experiments need voltage or current tools
Every experiment has a main variable. The tool should directly measure or control that variable.
Using the right tool gives clear data and reliable results. Using the wrong tool leads to messy data and weak conclusions.
Also, many tools are used across different experiments. A stopwatch, for example, is used in mechanics, waves, and electricity. That’s why it’s better to think in terms of the experiment, not fixed categories.
If you need a quick refresher on what each tool actually does, you can go through this complete guide on science tools names with uses and examples, where each instrument is explained in simple terms before applying it in experiments.
Choosing Mechanics Equipment Based on Motion Conditions
Mechanics experiments are all about motion, but not all motion is the same. The tools you choose depend on how that motion behaves.
Linear vs. Oscillatory Motion Setups
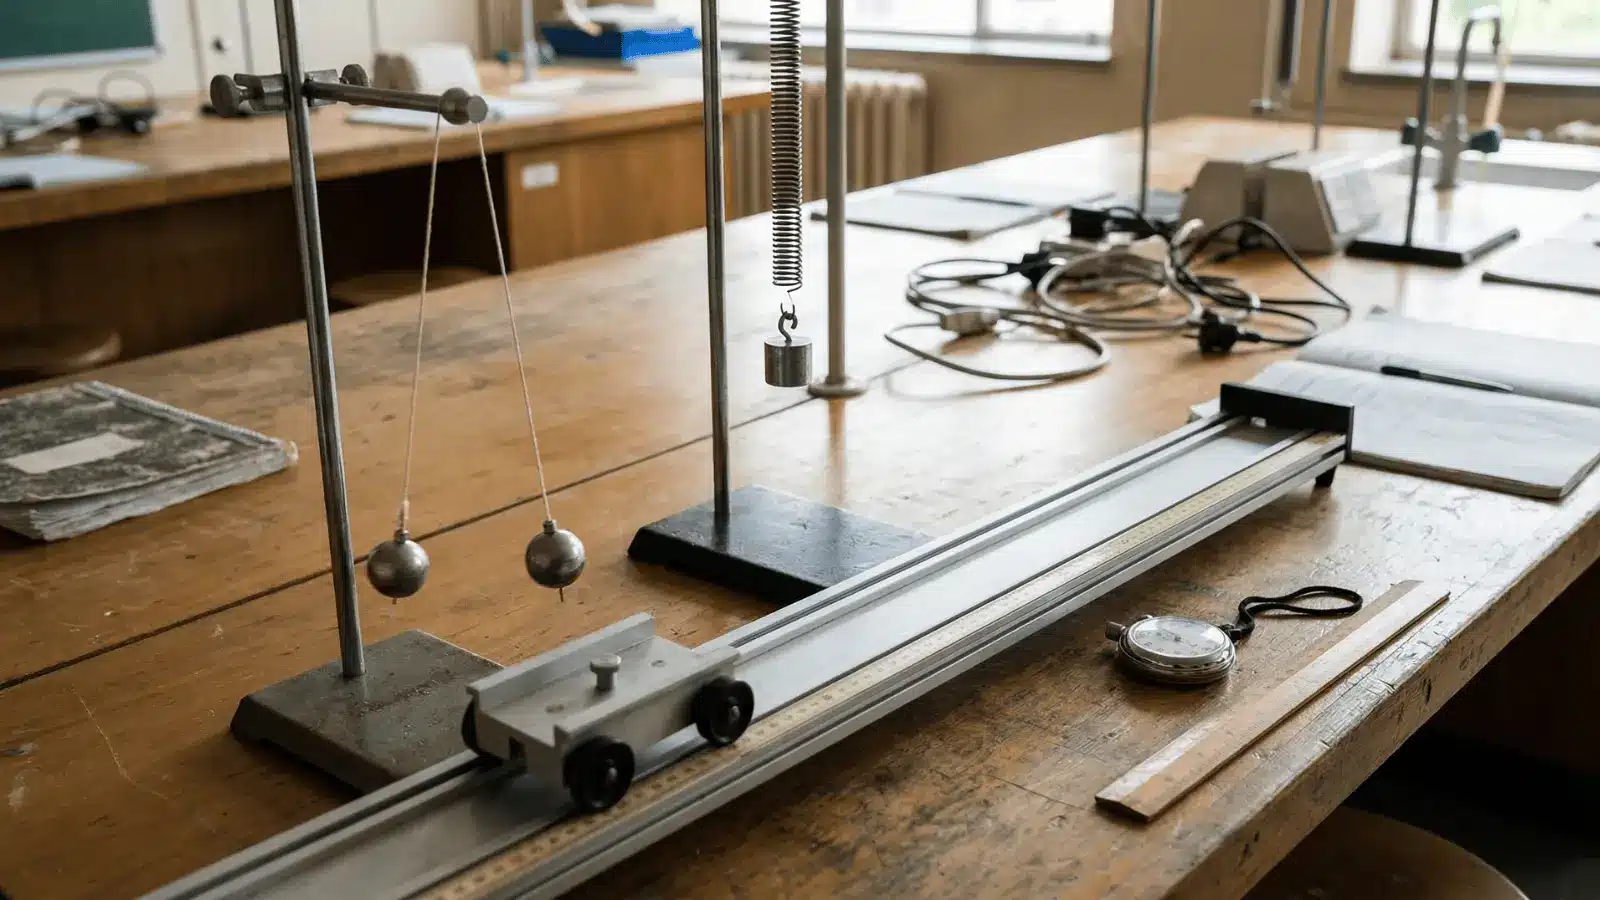
Linear motion means movement in a straight line, while oscillatory motion means repeated back-and-forth movement. Smart carts work well for straight-line motion because they track distance and speed directly.
Pendulums are better for repeated motion because they capture time cycles clearly, and springs help measure both force and extension together.
The key difference is in the variables each motion type requires. Linear motion depends on distance and time, while oscillatory motion depends on time period and frequency.
Using the wrong setup means your results won’t reflect real-world behavior.
Environmental Factors that Affect Tool Choice
Even simple experiments are affected by the surrounding environment. Air resistance slows moving objects, friction changes motion on surfaces, and uneven tracks distort results.
Basic tools handle simple setups well, but when accuracy matters, these factors become a real problem, and more controlled tools are needed.
When Standard Tools Break Down
Stopwatches are common in school labs, but they rely on human reaction time. That creates small timing errors.
In fast experiments, these small errors become big mistakes. That’s where digital sensors or motion detectors come in. They remove human delay and give more reliable data.
Selecting Optics Equipment Based on Light Behavior
Optics is not about tools. It’s about how light behaves. The tool you choose depends on what you want the light to do.
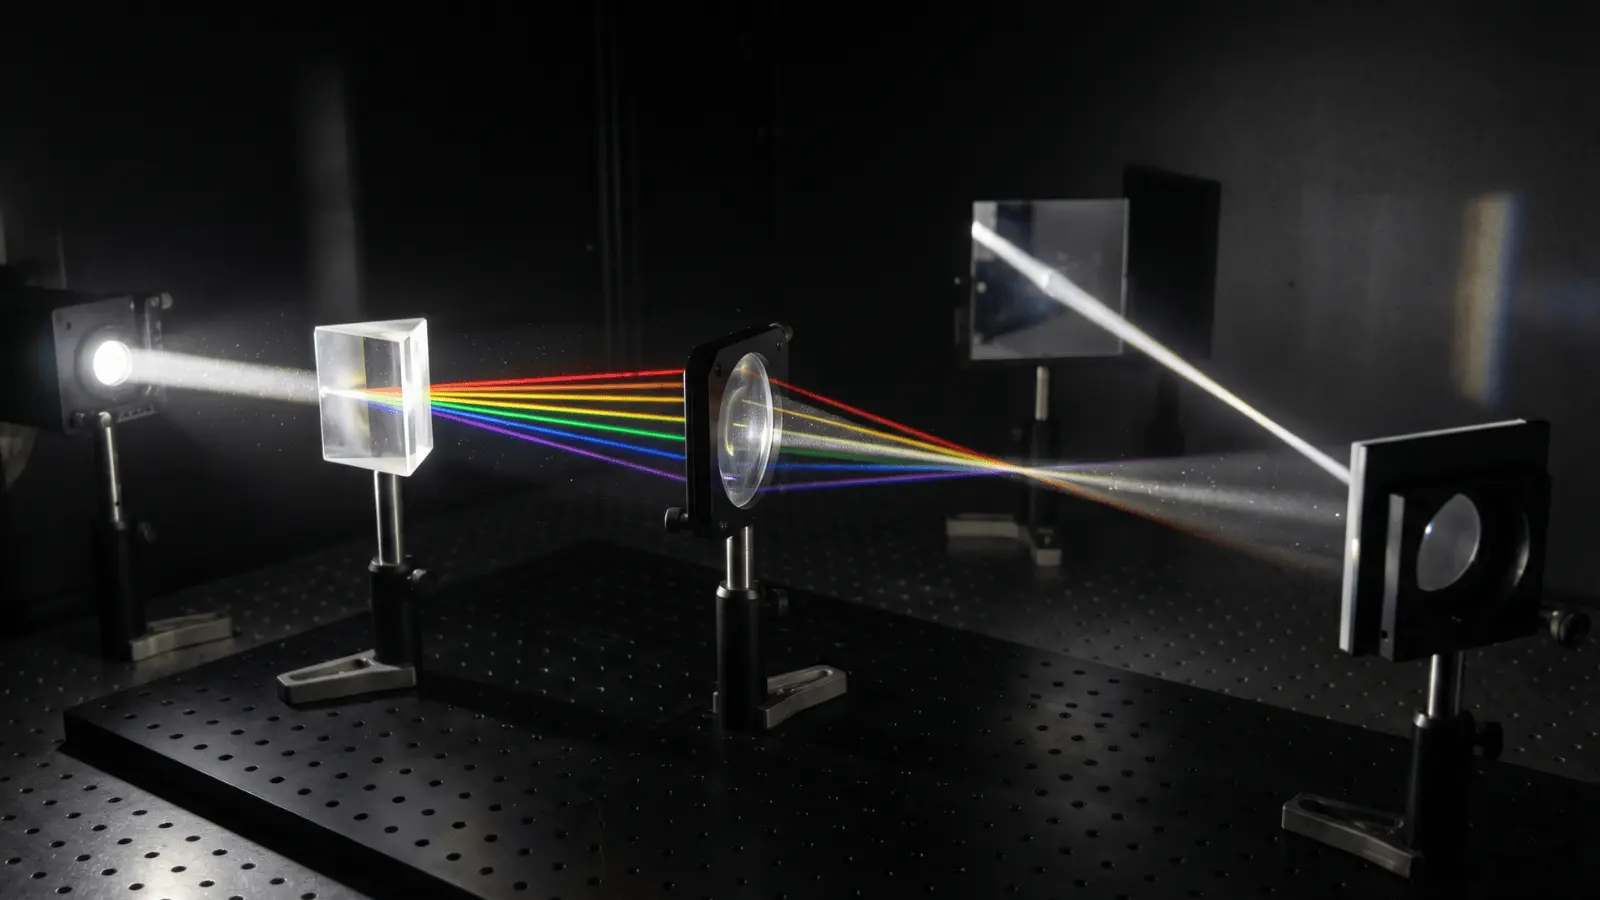
Refraction vs. Reflection vs. Dispersion
Each light behavior needs a different setup.
- Lenses bend light → used for refraction
- Mirrors bounce light → used for reflection
- Prisms split light → used for dispersion
The mechanism is that each tool isolates one type of light interaction. If you mix them up, the experiment won’t show the correct effect.
Alignment Sensitivity and Precision Needs
Optics experiments are very sensitive to alignment. Even a small shift in angle can change the result completely.
That’s why optical benches are used. They keep all parts fixed and aligned. Without proper alignment, the outcome becomes unreliable, even if the theory is correct.
Real Lab Constraints
In real setups, light itself can cause problems.
- Poor light sources give unclear results
- Dirty or scratched surfaces distort light paths
These issues are often ignored in basic explanations, but they are a common reason why experiments fail.
Matching Electrical Equipment to Circuit Complexity
Electrical experiments depend on how complex the circuit is. Simple circuits need simple tools. Complex signals need advanced tools.
Basic Circuits vs. Signal Analysis
Multimeters are used to measure steady values like voltage and current, while oscilloscopes show how signals change over time. The key difference is between static and changing signals.
If your circuit has changing signals and you use a multimeter, you’ll miss important details that only an oscilloscope can capture.
Measurement Accuracy vs. Safety Tradeoffs
Electrical tools must balance accuracy and safety at the same time. The internal resistance of meters can affect readings, and high current can damage equipment if the wrong tool is used.
When the tool isn’t matched properly to the circuit, it either gives wrong readings or fails completely.
Many errors in electrical experiments come from simple mistakes like wrong wiring paths, loose connections, or using the wrong measurement mode.
These mistakes don’t just affect results; they can also damage the equipment itself.
When to Use Wave and Sound Equipment for Accurate Results
Wave experiments depend on matching the tool to the type of wave being studied.
Sonometers work for string vibrations, resonance tubes work for air columns, and tuning forks provide fixed frequencies for controlled testing.
When everything is set correctly, the result is clear, measurable wave behavior.
There are some edge cases worth keeping in mind. Background noise can interfere with sound experiments, and incorrect tension or medium changes can shift results.
Sometimes, simple tools like tuning forks give cleaner results than complex setups because they reduce the number of external variables involved.
Precision Tools Selection Based on Required Accuracy Level
As explained in the main guide, measuring tools are common across all experiments. The key difference is how precise they are.
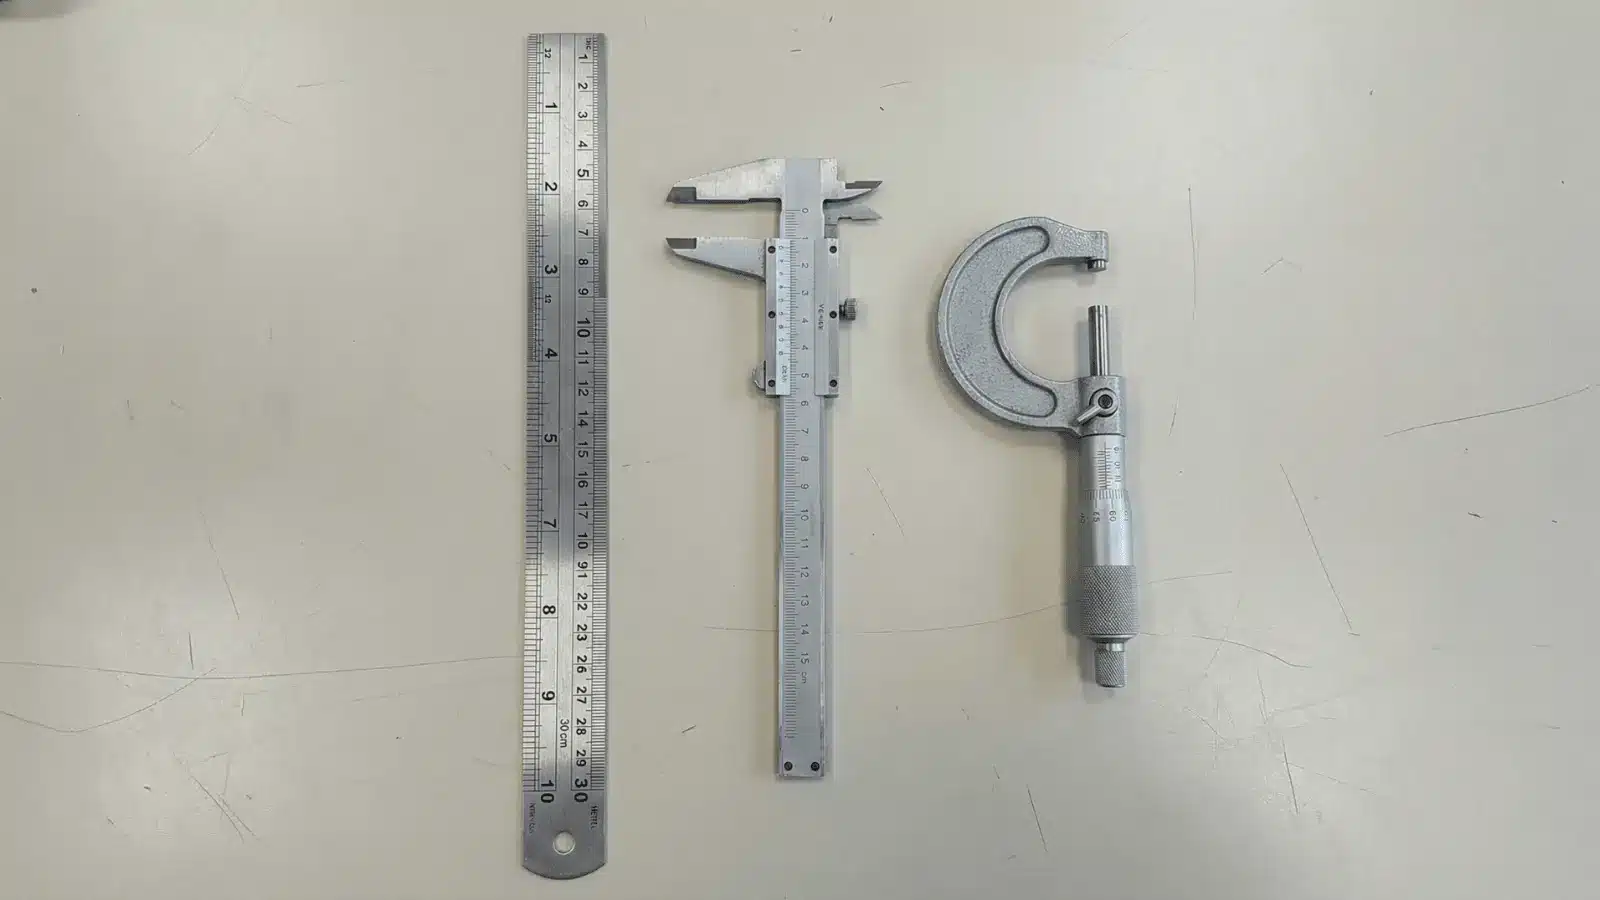
- Ruler → basic measurement
- Vernier caliper → more precise
- Micrometer → very fine measurement
The mechanism is resolution. Each tool can measure up to a certain level of detail. Small errors may seem minor, but they can affect the final result in a big way.
There’s also a tradeoff to consider. Too much precision slows down simple experiments unnecessarily, while too little precision makes results unreliable.
The goal is always to match the tool to the level of accuracy the experiment actually needs.
When Advanced Physics Equipment Becomes Necessary
Advanced tools are not always better. They are used only when basic tools cannot measure what you need.
The trigger is simple. You need to measure something that is too small, too fast, or not directly visible.
- Oscilloscopes show signal patterns over time
- Interferometers detect very small wavelength differences
The mechanism behind these tools is amplification or visualization of hidden effects. But they are not always the right choice.
In basic experiments, they can make things more complicated instead of clearer. A common misunderstanding is that advanced tools improve results. In reality, they only help when the experiment requires them.
Common Equipment Selection Mistakes in Physics Labs
Many lab errors come from choosing the wrong equipment, not from misunderstanding theory.
One common mistake is picking tools based on what is available instead of what is needed.
Another is overcomplicating the setup. Adding advanced tools does not always improve accuracy.
Ignoring calibration is also a big issue. Even a good tool gives wrong results if it is not set properly.
The reason behind these mistakes is simple. The tool does not match the experiment’s requirement, and the outcome is predictable. You get:
- Inaccurate data
- Failed experiments
- Wrong conclusions
To avoid the most common errors, start by identifying the variable you need to measure, then choose the tool that matches the required precision, and always check the setup before starting the experiment.
This straightforward approach keeps the workflow clean and the results reliable.
Conclusion
Choosing physics lab equipment isn’t about finding the most advanced tool; it’s about finding the right one. Start with what you’re measuring, match the precision to what the experiment actually needs, and validate your setup before you begin.
Avoid selecting tools based on availability alone, and don’t overcomplicate setups that call for simple instruments. When these decisions are made deliberately, experiments produce reliable, meaningful data.
Use this blog as your selection framework every time you build a lab setup.