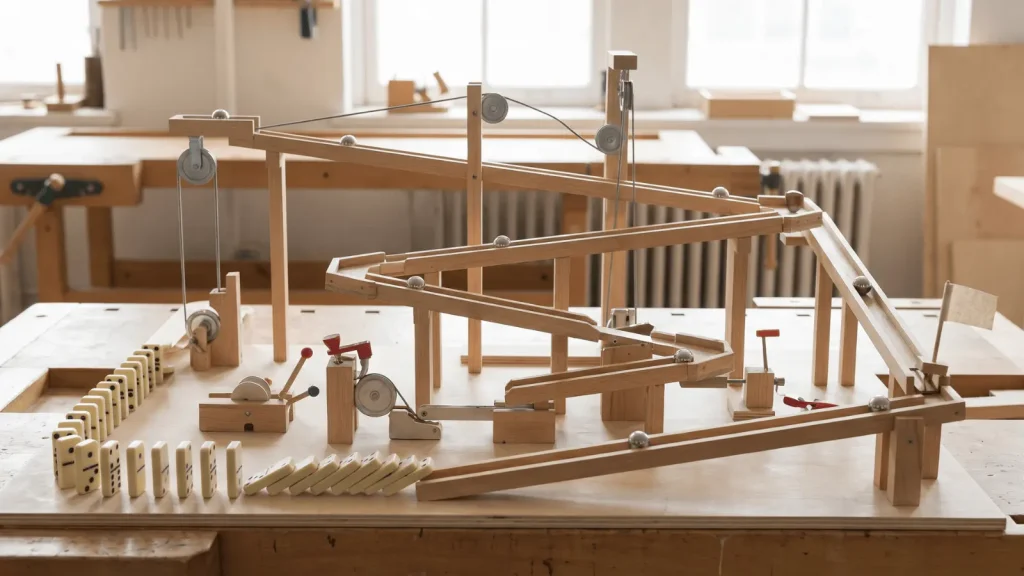
Building a Rube Goldberg machine sounds like pure fun, and it is. But getting it to work consistently? That’s where most people get stuck.
A chain reaction is only as strong as its weakest link. If one step fails, the whole thing falls apart.
This guide walks you through how to design strong connections, prevent random failures, test properly, and fix the spots that break.
If you’re building for a school project or just for the joy of it, these steps will help you go from “it almost worked” to “it ran perfectly three times in a row.”
Start With a Clear End Trigger
Your final step sets the tone for everything else. If the last action needs exact precision, like hitting a tiny button or landing in a narrow cup, one small deviation will ruin the whole run.
Pick a final trigger that’s forgiving. A good end step should:
- Requires low precision to activate
- Involve a clear physical movement like a push, drop, or hit
- Does not need high force from a long, weakened chain
Avoid final steps that depend on perfect alignment or need a strong impact after many energy transfers. Once your end trigger is locked in, design the entire machine to build toward it.
If you’re still deciding what kind of machine to build, you can explore simple setups and creative chain reactions to start with before focusing on making it reliable.
Build Strong Step-to-Step Triggers
This is the heart of the whole build. Every step must reliably activate the next one.
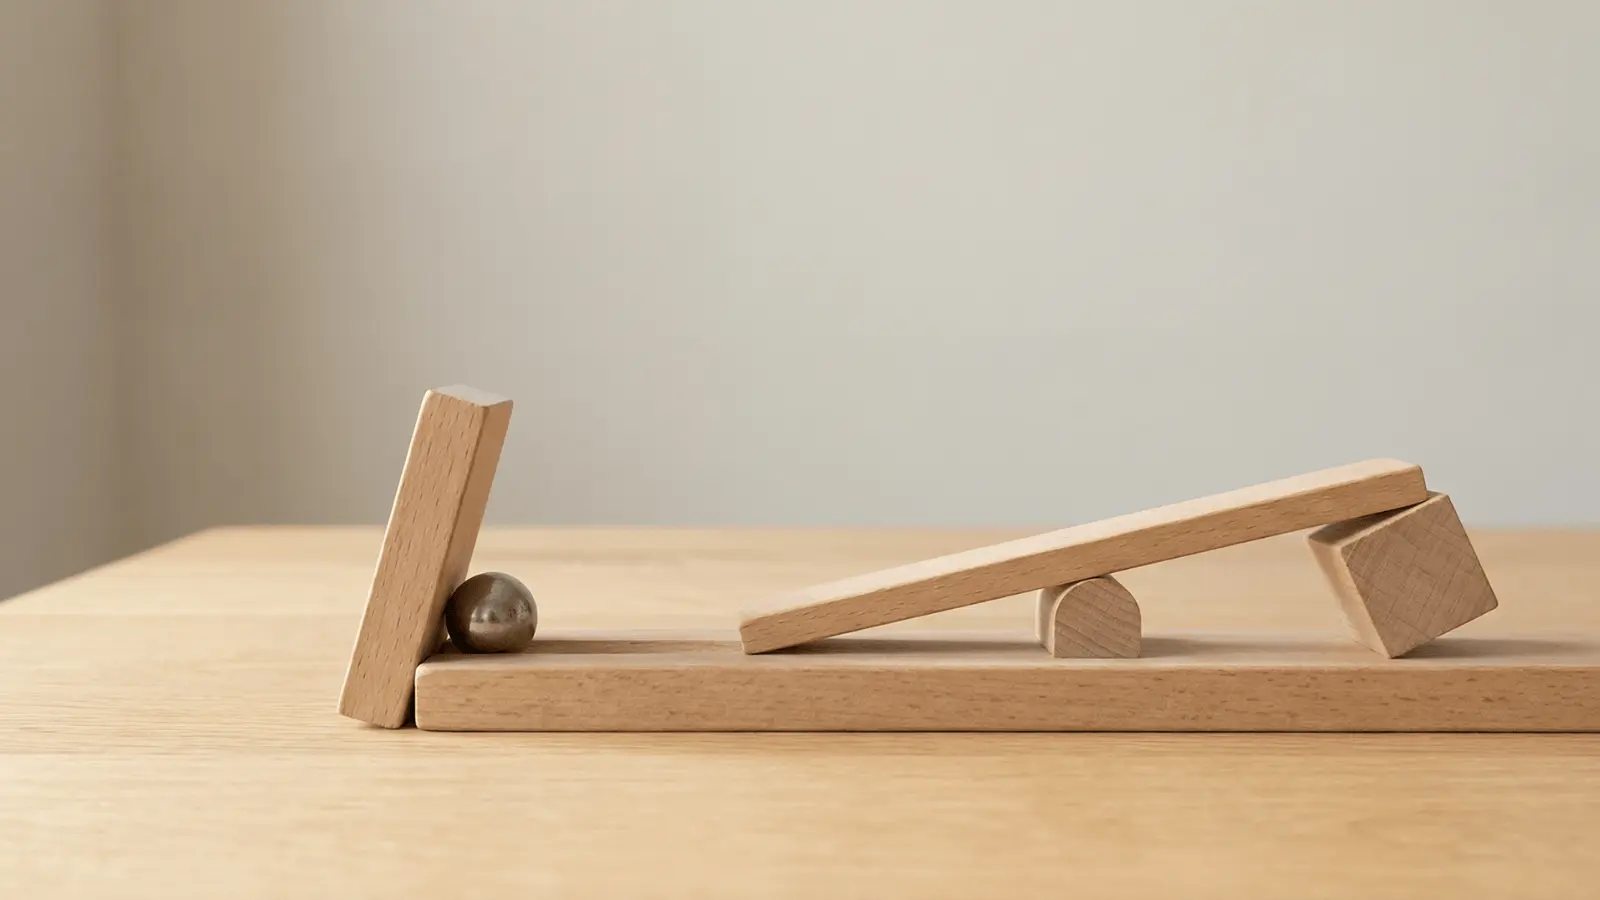
Use Direct Contact Over Indirect Triggers
The more variables involved in a trigger, the more ways it can fail.
A domino hitting a ball directly is more reliable than a string pulling a lever that tips a cup. Keep it simple. Fewer moving parts between steps means fewer failure points.
Match Force Between Steps
A heavy ball rolling into a lightweight stick will likely knock it too far or break the sequence.
Always match energy levels between connected steps, which becomes much easier when you’re selecting materials that behave consistently in each step of the chain. Strong actions should lead to strong next steps. Light actions should connect to light next steps.
Avoid Precision-Only Steps
If a step only works when something lands in a very specific spot, it will fail more than it succeeds.
Replace narrow targets with wider, more forgiving trigger zones. For example, use a wider ramp instead of a small cup as a target.
Control Movement Paths
Even a well-designed trigger can fail if the object doesn’t travel in the right direction. A ball that drifts slightly left, or a rolling object that jumps its track, will miss the next trigger entirely.
Use these tools to guide motion:
- Rails or walls on either side of a path.
- Tape to mark and confine a rolling direction.
- Barriers to prevent objects from falling off tables.
This reduces randomness and keeps each step predictable. Watch out for balls jumping off tracks or objects wandering off course; these are the most common movement failures.
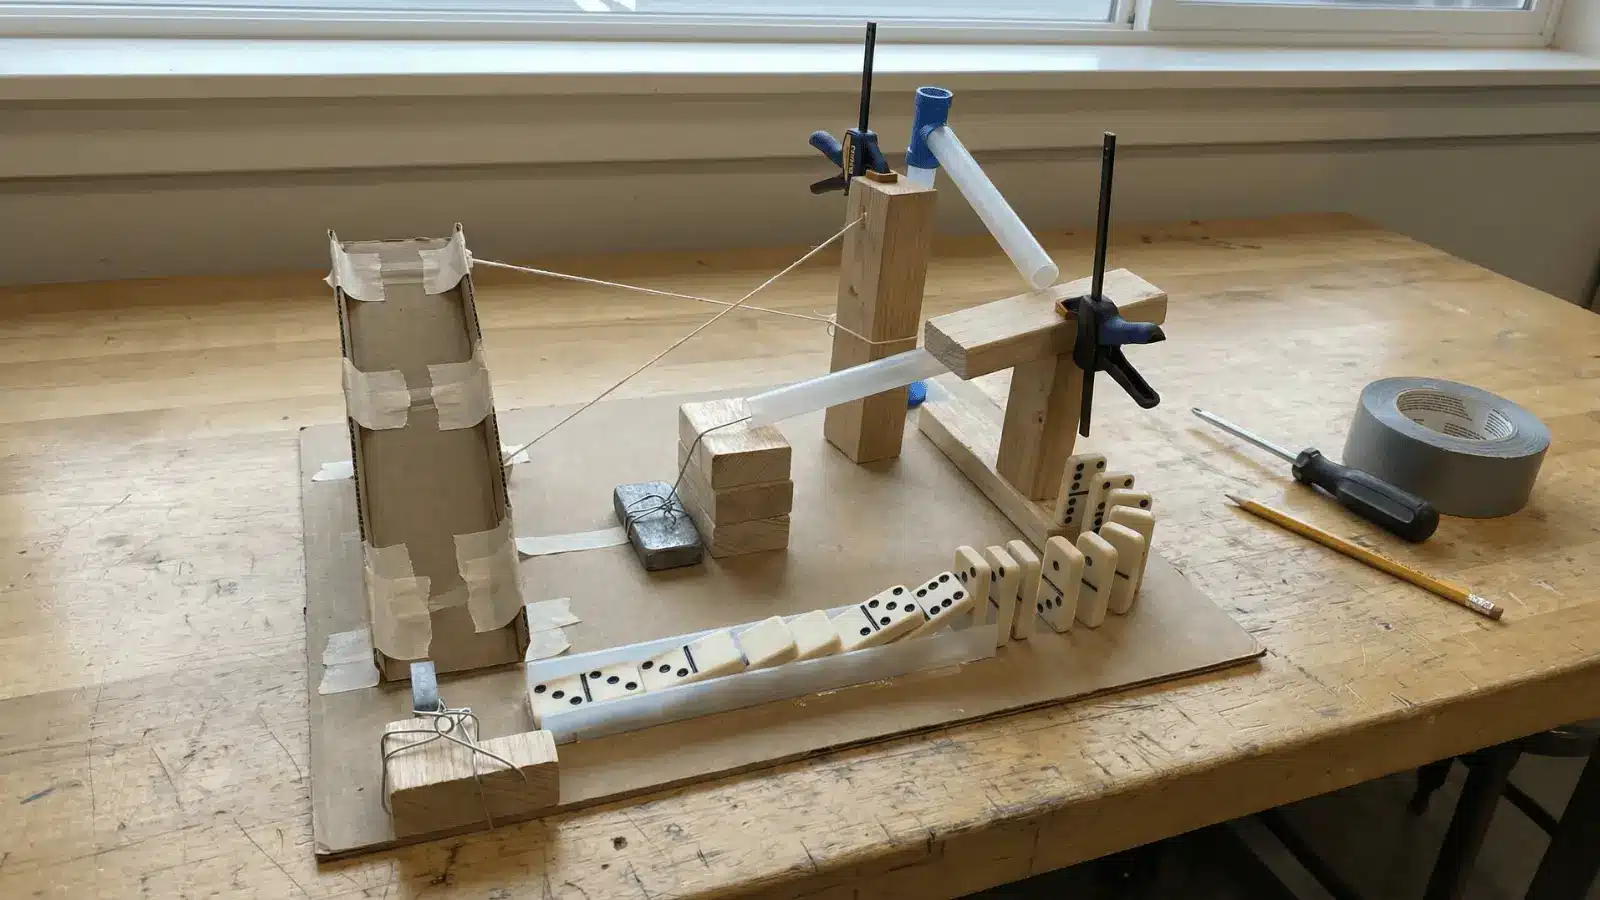
Build in Sections
Don’t try to build the entire machine at once and then test it.
The more steps you add before testing, the harder it is to know which one caused the failure. Instead, break your machine into sections of 2–4 steps each.
Follow this method:
- Build a section
- Test it multiple times
- Lock it in once it’s reliable
- Connect it to the next section
This way, you’re only ever troubleshooting a small part at a time. Skipping section tests is one of the fastest ways to end up with a chain-wide failure you can’t trace.
Test for Consistency, Not Just “It Worked Once”
One successful run doesn’t mean your machine is ready.
Small inconsistencies in one step compound across the whole chain. A trigger that works 7 out of 10 times on its own becomes much less reliable when connected to five other imperfect steps.
Here’s a simple testing method:
- Run each section at least 3 times before moving on
- Once fully built, run the complete machine 3 times in a row
- If it fails during full testing, go back to the section that broke
The goal isn’t a single great run, it’s three consistent ones. That’s your reliability benchmark.
Fix Weak Points that Commonly Break Machines
Some failure types show up again and again. Here’s how to handle each one.
Weak Trigger Force
If a step doesn’t have enough power to activate the next, increase the drop height of the object or swap it for something heavier.
Misalignment Between Steps
If the triggering object keeps missing its target, adjust the angle of approach and reduce the gap between the two steps.
Excess Friction Slowing Motion
A rough surface can stop a rolling ball or slow a sliding object too much. Smooth out the path or reduce the contact area to keep motion flowing.
Overly Complex Steps
If a single step relies on too many things happening at once, simplify it. Break it into two smaller, more reliable triggers instead.
Balance Complexity without Losing Reliability
Adding more steps makes a machine more impressive, but it also adds more chances for failure.
Each new step is a new potential breaking point. The way to scale safely is one step at a time:
- Build and test a new step on its own
- Connect it to the existing chain only after it’s proven reliable
- Never add multiple untested steps in the same session
This controlled approach lets you grow your machine’s complexity without watching your success rate drop. Adding three new untested steps at once is how machines go from “almost working” to “not working at all.”
Final Run Checklist
Before your big run, go through each of these:
- Every section has been tested at least 3 times individually
- All triggers use direct contact where possible
- Force levels match between connected steps
- Movement paths are guided with rails, barriers, or tape
- Weak points have been reinforced
- The full machine has completed at least 3 successful runs in a row
If you can check every box, you’re ready.
Conclusion
A Rube Goldberg machine that works once is exciting. One that works every time is something to be proud of.
The key is building with intention, strong triggers, guided paths, section-by-section testing, and honest troubleshooting. Use this guide as your blueprint every time you build, and you’ll spend less time fixing and more time watching it run.
Ready to start building? Grab your materials, pick your end trigger, and let the chain begin.
Frequently Asked Questions
What household materials work best for a Rube Goldberg machine?
Dominoes, marbles, cardboard tubes, toy cars, and tape work great. Use items that are easy to match in size and weight for consistent force between steps.
How many steps should a Rube Goldberg machine have?
5 to 10 steps are ideal for beginners. It’s enough for a fun chain reaction without making troubleshooting too hard.
Is it better to design a Rube Goldberg machine forward or backward?
Work backward. Start from your end trigger and build toward the beginning. This helps you match force levels and avoid dead ends.
How long does it take to build a Rube Goldberg machine?
A simple 5-step build takes a few hours. A 10+ step machine can take days, especially with proper section-by-section testing included.